

Sites are built on the same platform as your Simplero site. So they'll be brand-consistent, modern, and beautiful. They even use the same page editor as your main site.
Sites feature a Blog, a Forum, a Member Directory, and Engagement Badges. Sites also feature Courses with a structured curriculum and support for quizzes as part of the lesson plan.
Creating a Site
Select Content from your Simplero Dashboard:

In the Sites tab, click the + Create new Site button in the upper right corner:

Enter the site name, and pick the type of site. This will set up some of the Community features for you. The functionality you get access to is the same in all three types so don't worry if you are not too sure which one it falls into or if you are creating a hybrid :)
Just pick one of them and you can review the configuration later. Press + Create site:
Once your site is created, you will be able to click on the Pages tab and Create a new page on the top right corner:

Site Configure Settings
Navigate to the Configure tab:

There are some settings specific to the site that you might want to know a bit more in-depth before launching your new site:
Using a Custom Domain

If you own a domain and would like to link it to your site, click on +Add domain:

NOTE! If you haven't set up your domain on your Account Settings, you might need to do so following the instructions on our guide on utilising a custom domain.
After logout page

Closed Sites (see Site URL section below) would only allow access to contacts via log-in.
This also means they will be able to log out using the profile dropdown on the top right corner of your Site.
By default, we will redirect the end-user to your Main Site, unless you add a URL on the "Redirect after logout" Advanced settings :)
Access to Your Site
You can make your site publicly available or control access:

If private, you'll have 2 options which you can combine as well:
1. Allow users to join for free with a Join page

Which looks something like...

2. Customise a message on the login screen under the Site URL section:

In combination with the Join screen it will show the login custom message on the popup:

Member Directory
Scroll down to the Community features section:

If you disable the Member directory, your contacts won't be able to tag other members on any comments on this site.
When enabled, you will be able to add it to your Site via Layouts & Navigation (here’s our guide on how to do this):

And this is how it will look like on your Site when it goes live:

You can default new members privacy settings to be hidden on this site member directory on the Advanced Settings below:

Adding Sign-up Forms
Using this section, you can add a sign-up form to a page within your Site. Simply select the + Add signup form button, and you can choose any of the sign-up forms you have created within your Simplero account:
Email Settings

Meta Data
Allow showing SEO data when sharing a closed site URL in Facebook by checking the box at the bottom of this section:
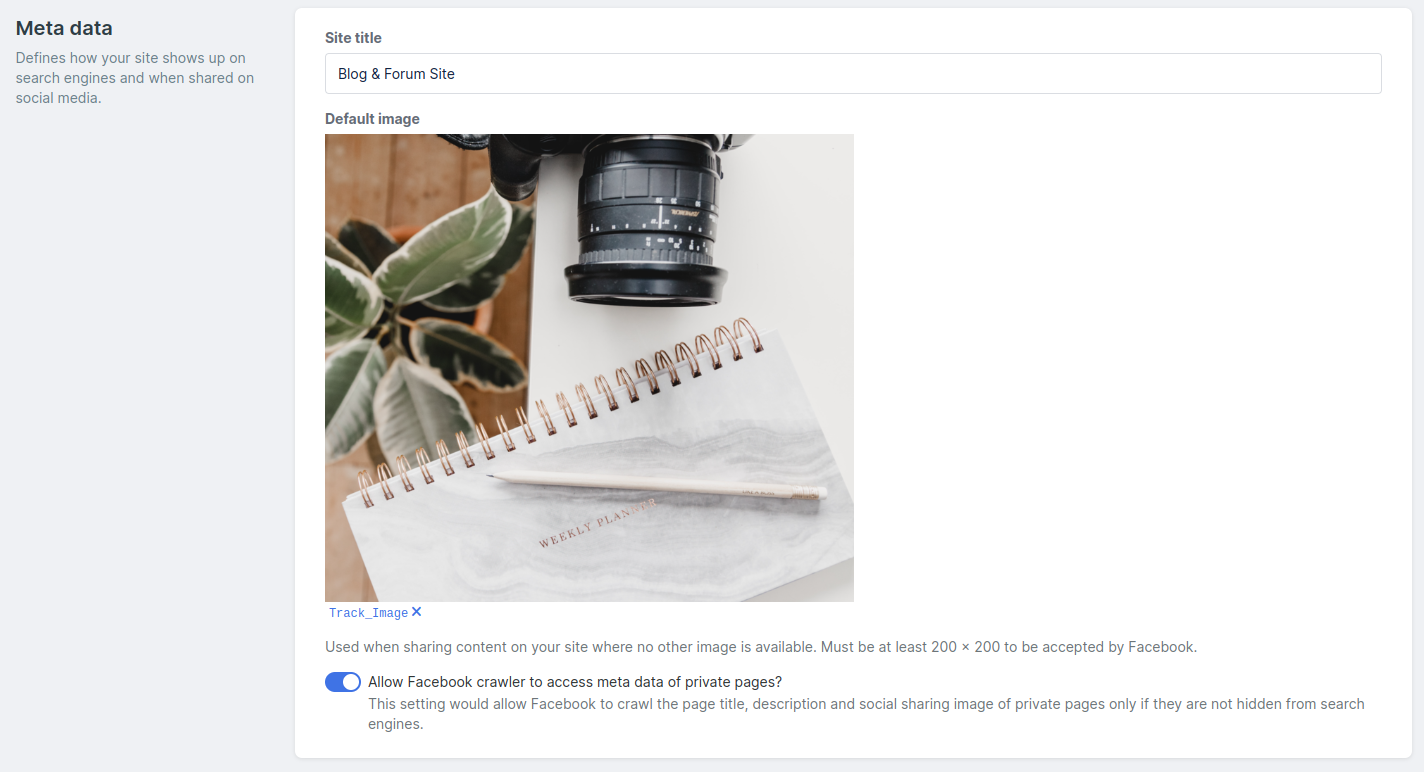
Once it’s been enabled, navigate to Site >> Pages >> SEO to add the Meta Title, Meta Description and Social Sharing Image for each page when sharing the closed URL on Facebook:

You can also go to the Settings for a specific page from Site >> Pages >> Settings icon to add this information individually under the Search engines and social section:


Launch your Site
Once you are ready to Launch your new Site, click on "Launch site now" from any of the tabs.

Connecting a Site to a Product or a List
Select Sales from your Simplero Dashboard.
In the Products tab, select the Product you want them to purchase to get access to the Site.
Go to the Content tab:

In the Sites, Courses, Groups section, search and select the Site that you want to grant access to via the product:

Scroll down to the bottom of the page and click the Save changes button.
Our team built a Demo Site to give you a better idea of how it looks like as an end-user :)
Click here for access to our demo site
Cloning Page to Another a Site
Want to copy your site pages onto a new site?
Head to Site >> Pages
Select the pages you want to copy and choose Select action: Clone to another site:

Choose + Create new site to create the new site and copy this page to it:

Or clone them to another existing site by selecting it from the dropdown instead:

If you get stuck while building your amazing new site, contact Simplero support. We're here to help!
Suite 92530
New York, NY 10003
United States