

Using Labels will give you a better overview of all your things in Simplero.
You can add and filter by labels in most of the tables in Simplero, like media files, broadcasts, and landing pages.
The Labels can give you easy access to your content and can be a good way to see who has created the content or what campaign the content has been used in.
Creating labels
- Select Settings from your Simplero Dashboard
- Scroll down in the Account Settings until you get to the Labels section
- Give the Label a name and select a Color for it
- Click the white + Add a label button to add a new label and repeat step 3
- Scroll down and click the blue Save Changes button

Adding a label to your content
You can also add labels to your content such as Broadcasts, Media files or Landing pages
- Select Marketing from your Simplero Dashboard
- Select the Email broadcasts tab
- Add a checkmark next to the content you want to give a label
- Select and click the Label icon

- In a pop-up screen, type a Label name in the field
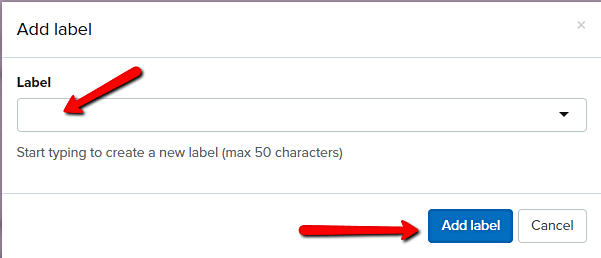
- Click the blue Add label button to save
Note: The same content can have several labels
Use your labels to create tabs
You can now use your labels to filter your content and sort them in tabs. Kind of like having your content in a folder on your computer. This will give you easy access to the content you are working on.
For example:
- Select the Marketing tab from your Simplero Dashboard
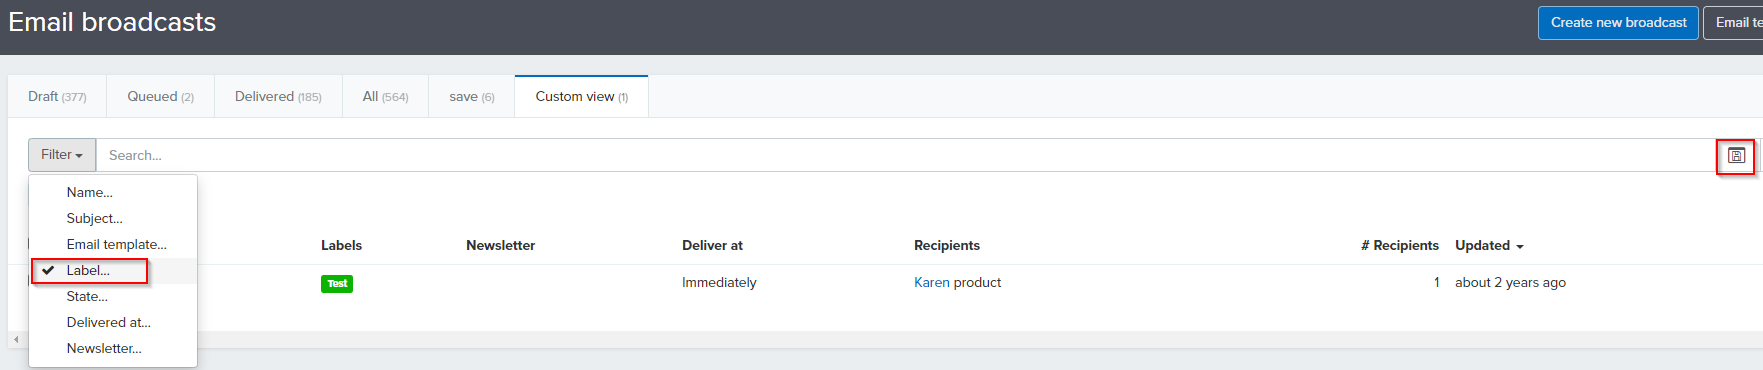
- Select the Email broadcasts tab
- Click on Filter
- Select Label from the drop-down list
- Select the label name you want from the drop-down list to filter by
- When you have done that, you can click Save this view to create a new tab in the table
228 Park Ave S
Suite 92530
New York, NY 10003
United States
Suite 92530
New York, NY 10003
United States
Copyright © 2026 Powerful Through Grace, Inc.
___MESSAGE___
___MESSAGE___