Course Content
-
0 / 8
Contacts
-
0 / 16
Lists
-
Creating a List
-
List Confirmation
-
Manage Your Lists
-
Deleting a List
-
Subscription: Auto-subscribe, Unsubscribe, Suspend, Resume
-
Retargeting Not-Engaged Subscribers
-
Exporting Contacts from my List
-
Preventing SPAM Contacts
-
5 Kick @$$ Strategies to Build your List
-
Create a List Opt-in Form
-
Utilizing More Than One Opt-in Form
-
Integrating a Simplero Signup Form onto another Site
-
Troubleshooting Opt-in Form Issues
-
Auto-Responders
-
Resending Auto-responders
-
Deadline-Funnels
-
-
0 / 3
Segments
-
0 / 2
Notes and Tags
-
0 / 7
Support Tickets
-
0 / 19
Main Website
-
Website Overview
-
Website Settings
-
Website Pages
-
Website Blog
-
Website Navigation
-
Understanding SEO
-
How to Customize Your Website Theme
-
Save As Template Feature
-
Editing your Theme Code
-
Save Website to Phone Home Screen
-
Create Your Own 404 Page
-
Social Sharing
-
Social Sharing Image
-
How to Create Anchor Links
-
How to Add a Custom Font to Your Simplero Website or Membership Site7:14
-
How Can You Add the Pinterest Save Button to Your Website Images?2:21
-
Split Tests
-
Site Redirects and Shortlinks
-
Why does Simplero remove my HTML code?
-
-
0 / 8
Triggers
-
0 / 32
Broadcasts
-
Broadcast Overview
-
Email Font Size
-
Creating a Broadcast
-
Quick Emails
-
Send an Email to an Individual or Single Contact
-
Resend a Broadcast
-
Handle Replies to Mass Emails with Ease
-
Expiring Links
-
Insert Option for Broadcasts
-
Magic Content URL
-
Interpolation Keys
-
Editing an Incorrect Link in a Broadcast
-
Dripping a Page in a Broadcast
-
Using Emojis
-
Subject Lines and Preheaders
-
Email Deliveries
-
About Open Rates for Broadcasts and Auto-Responses
-
How the Sending Limit Works
-
What Do the Secretive Options Mean
-
Why Simplero Doesn't Do Fancy Graphic Emails
-
Delaying Normal Broadcasts During an Email Funnel
-
What Is the Spam Check on Emails?
-
Editing the email prefix and footer
-
Creating a Button in a Broadcast
-
Delivery vs. Deliverability
-
Magic Login Link
-
Code in emails
-
Email Shows "Read" But not "Delivered"
-
Troubleshooting Email Addresses
-
Why is my E-mail not being delivered?
-
Bounced Emails
-
Spam reports
-
-
0 / 1
Newsletters
-
0 / 7
Landing Pages
-
0 / 11
Affiliate Programs
-
0 / 10
Automations
-
All the Ways You Can Automate Things in Simplero
-
Automations: Creating and Managing
-
Starting an Automation
-
Stopping, Pausing, Resuming an Automation
-
Reentering or Starting Mid Automation
-
Time Zone Specific Automations
-
Flows
-
Advancing a Flow in an Automation
-
Duplicate Automations in Different Languages
-
What is the Difference Between Automations and Auto-Responses?
-
-
0 / 1
Email for automations
-
0 / 2
Done For You Campaign
-
0 / 38
Products
-
Creating a Product
-
Closing a Product
-
Deleting a Product
-
Creating Multi-Level Access Products
-
Membership Levels
-
Combining a Tangible Product With Your Online Product
-
Tiered Pricing in a Single Product
-
Evergreen Course
-
Student Paced Course
-
Connecting Content to a Product
-
Selling a Downloadable Product
-
Purchase Confirmation Thank You Page
-
How to Create Product Prices in Simplero
-
A Warning about Editing an Active Price
-
Campaign and Discount Pricing
-
Multiple Seat/User Pricing
-
Secret Prices and Coupon Codes
-
Subscription Prices
-
Gift Pricing
-
Pay-What-You-Can
-
Price Restrictions
-
Quoting Prices in Multiple Currencies
-
Date Specific Installments
-
Milestone Installments
-
Trial Period (Free or Discounted)
-
Giving a Paid Customer a Free Month
-
Free Products
-
Participant Limit
-
Upsells
-
Downsells
-
Order Bumps
-
Order Forms
-
Order Form vs Freebie Link
-
Authorize-Only Pricing
-
Understanding Your Change in Monthly Recurring Revenue Graph
-
Troubleshoot Price Issues
-
One product - Two Languages
-
A product for each language
-
-
0 / 2
Catalog
-
0 / 26
Purchases
-
Participants 101 and Simplero IDs
-
Purchases 101
-
Editing a Purchase
-
Charges & Payments Box in the Purchase
-
Purchase Summary
-
Moving a Purchase to Another Product
-
Adding a Charge to an Existing Purchase
-
Editing a Charge Amount
-
Manual Product Purchase
-
Manual Credit Card Charge
-
Manual Payment or Partial Payment Collection
-
Refund Period
-
Full and Partial Refunds
-
Credit to Transactions
-
Collecting Money Outside Simplero
-
Stop Customers Subscription Payments and Keep their Access Open
-
Migrating a Customer's Purchases from Another System
-
How to Test the Purchase Process and Send Login Credentials
-
Can't access the content they purchased?
-
Troubleshooting Stripe payment issues
-
When a PayPal Payment Doesn't Show in Simplero
-
QuickPay Payment Doesn't Show in Simplero
-
Why do my customers have to manually go in and pay the next installment/renewal of their subscription?
-
Troubleshooting Payments and Refunds
-
Viewing Custom Questions On Order Forms
-
Changing a Participants Email Address
-
-
0 / 2
Receipts and Tasks
-
0 / 2
Pipelines and Deals
-
0 / 18
Membership Sites
-
Creating a Membership Site
-
Membership Site Blog
-
Membership Site Forum
-
Membership Site Pages
-
One Membership Site with Multiple Products/Classes
-
Site and Page Access
-
How to Use Drip Content
-
Membership Site Footer Navigation
-
Membership Site Redirects
-
Membership Site Theme
-
Embedding Videos on Your Site
-
Free and Paid Access to a Single Membership Site
-
Dripping: A Visual Representation
-
Membership Groups
-
How to Use Engagement Badges
-
Troubleshooting Forum Notifications
-
Deleting a Membership Site
-
Multi-Language Site
-
-
0 / 10
Courses
-
0 / 2
Events
-
0 / 17
Media Library
-
Uploading Media Files
-
Video versioning
-
Captions, Subtitles and Transcripts
-
Image Sizes Across Simplero
-
Can You Download an MP3 on an iPhone?
-
Picking a Different Video Still
-
PDF Stamping
-
Protecting Your Content
-
Editing Images
-
Embedding Content
-
Insert and Edit Media2:22
-
Images on Order forms
-
Restricting Downloads
-
Troubleshooting Videos Not Playing
-
Troubleshooting Upload issues
-
Troubleshooting Lost Images
-
Microsoft Says a File Has a Virus
-
-
0 / 3
Worksheets
-
0 / 6
Scheduling Links (Beta)
-
0 / 35
Account Settings
-
How the Trial Works
-
How to See Your Account Overview
-
Changing Your Time Zone
-
Default Account Currency
-
Default Account Email Contact Information
-
Account Location and Language
-
Account Terms
-
Cookie Consent Banner
-
Using Your Custom Domain (URL) With Simplero
-
GoDaddy Domain
-
UnoEuro Domain
-
Setup a Custom Email Domain
-
Understanding DKIM and SPF
-
Preferred Sender Program
-
Add an Email Filler Copy
-
Billing at Simplero
-
How to Change Your Plan and Billing
-
Account Administrators
-
Setting Labels
-
Merging Multiple Simplero IDs
-
Password Security
-
Submitting a Feature Request
-
Submitting a Help Ticket
-
Simplero Account FAQ
-
Closing your Account
-
Your First Three Wins
-
Getting In-Person Help with Concierge
-
Global Snippets7:18
-
Running an International Business
-
Simplero Translation
-
GDPR and DPA Agreement
-
GDPR Consent
-
Right to be Forgotten
-
NPS Surveys
-
How to Get Help in Simplero
-
-
0 / 10
Marketing Settings
-
0 / 18
Sales Settings
-
Payment Processor Setup
-
How to Configure PayPal Payment Processor3:15
-
How to set up PayPal Payouts
-
How to setup MobilePay
-
Authorize.net
-
Understanding the Manual Payment Processor
-
Switching Payment Processor Mid-Stream
-
Credits (soon to be known as Points)
-
Global Coupons
-
Collecting Tax
-
EU Vat
-
Taxes on Multiple Currency Products
-
Collecting an Outstanding Balance
-
Troubleshooting Payment Processor Issues
-
Default Opt-in Box on Order Forms
-
Renewal Notifications
-
Receipt Settings
-
Retrying Failed Charges
-
-
0 / 2
Contacts Settings
-
0 / 21
Integrations
-
Using Simplero With Your Existing Website
-
API Keys
-
Leadpages
-
WebinarJam
-
EverWebinar
-
How to Integrate Simplero with Mailchimp
-
How to Integrate WiserNotify With Simplero
-
How to Integrate Group Collector With Simplero
-
How to Integrate Interact Quizzes With Simplero
-
Zapier
-
Pipedream
-
How To Use the Zoom Integration
-
Acuity Scheduling for Bookings
-
Twitter
-
TikTok Pixel
-
Embed a Facebook Page Widget
-
Debug a Facebook or LinkedIN share
-
Facebook Pixel and Verifying Domains2:12
-
Facebook Messenger Chat
-
Embed Your Google Docs, Sheets, and Slides into Simplero
-
Use Merge Fields to Register a Subscriber for a Webinar
-
-
0 / 17
Deprecated Features
-
Spaces (deprecated)
-
Troubleshooting Space Access (A deprecated feature)
-
Space FAQ (deprecated)
-
Space and Space Page Access (deprecated)
-
Page Types (deprecated)
-
One Space Multiple Products/Classes (deprecated)
-
Free Spaces and Spaces with both Free and Paid content (deprecated)
-
Multi-Language Spaces (deprecated)
-
Postponing Access to a Space Until Later (deprecated)
-
Rearranging the Tabs/Pages/Subpages Within a Space (deprecated)
-
Embedding Videos in Your Spaces (deprecated)
-
Resurrect a Deleted Space (deprecated)
-
Podcast Feature in Spaces (deprecated)
-
FAQ Page in Your Space (Deprecated)
-
Adding a Home Link to the Navigation Menu in Spaces (Deprecated)
-
Deactivating Landing Pages (deprecated )
-
How to Embed a PDF into a Course
-
Split Tests
Why split test?
Split tests are a great way to optimize the performance of your landing pages and web pages.
You want your pages to convert viewers to subscribers or purchasers at the highest possible rate. So you might split test your pages to evaluate which page section layout, headline text, or the combination of colors and media resources you use results in the best conversion rate.
How to split test in Simplero
When creating a Split Test, you start by choosing which of your existing pages you want to run the test on. This is called the Control page. (Put your science hat on. We're talking experiment with controls and hypothesis here...)
Then, you create one or more copies of that Control page in order to test specific changes (like headline text, or image choice). Those new pages are called the Variants and they will be generated when you set up the Split Test. They are also referred to as 'Challengers'.
Once a Variant is created, you'll get access to the page editor to make the changes. You might want to rename the Variants to keep everything straight.
You'll then tell Simplero what percentage of the page traffic to send to which page in the test. This is called the page weight. You send all traffic to the URL of the Control page, tell us what percentage of that traffic to send to the Control and each Variant and and we will do the rest for you in the backend.
If your Control is already giving you high conversion rates, you might consider giving it a higher weight, minimizing the risk of losing conversions while running the test.
You can create Split Tests on web pages and on landing pages. For the purposes of this guide, we'll use the web page example. It works exactly the same way for landing pages.
Create a Split Test
Navigate to your Site's Pages tab and hover over the page you would like to start a Split Test on:
As soon as you click "Start Split Test" you'll be able to give the test a name, add Variants and set the Control and Challengers weights:
Editing the Control & Variants
You can edit a Split Test while the test is on Setup and Active status.
- Make changes to the design of the Control and Variants via
- Edit the internal name of the Control and Variants hovering on their names to then click on
- Do you want to make small changes to the Control on a new Variant? >> Duplicate Control
- You already have an existing page on your site that you'd like to test against this Control? >> Create new
- Have you worked on the changes on the Variant and want to compare it against a third Variant with tiny little changes? >>
- Edit the weights dragging the indicator on the progress bar resource.
Editing the Test URL
When starting the Split Test, we randomly send traffic to the Control into the different Variants (Challengers) you create on the test.
The URL displayed for these pages can be either the Control's URL or a custom URL.
Start the Split Test
Before you start the Split Test, check these things:
- Control page and Variants designs ✔️
- Weights to distribute the traffic on each of the Variants ✔️
- Set up URL as the Control or set up a custom URL ✔️
If all the above tasks are completed now, then you are ready to start the test!
You need some more time to finish up the checklist... Save and start later instead.
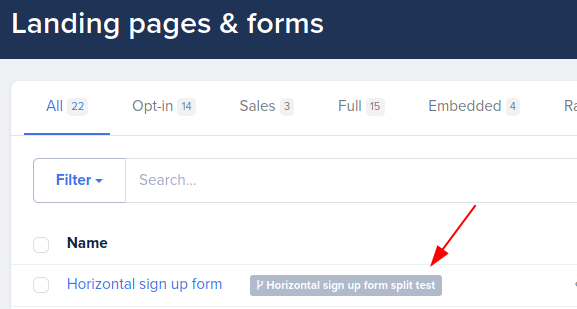
You'll be able to access the Split Test editor your Site>>Pages (blue label):
Choosing a Winner & End of the Split Test
You've had your test running for a while and collected enough conversion rate data, in other words, you know which one is the winner.
Click on the active test (green label):
Choose the winner and end the test.
From now on, all traffic to the URL will be redirected to the winner Variant. The winner will replace the page on your site completely (including the Page Editor). The Variants/Challengers will disappear.
Completed Tests
They will show on a grey label next to the page name.
You'll now be able to start new split tests on this page if you wish to :)
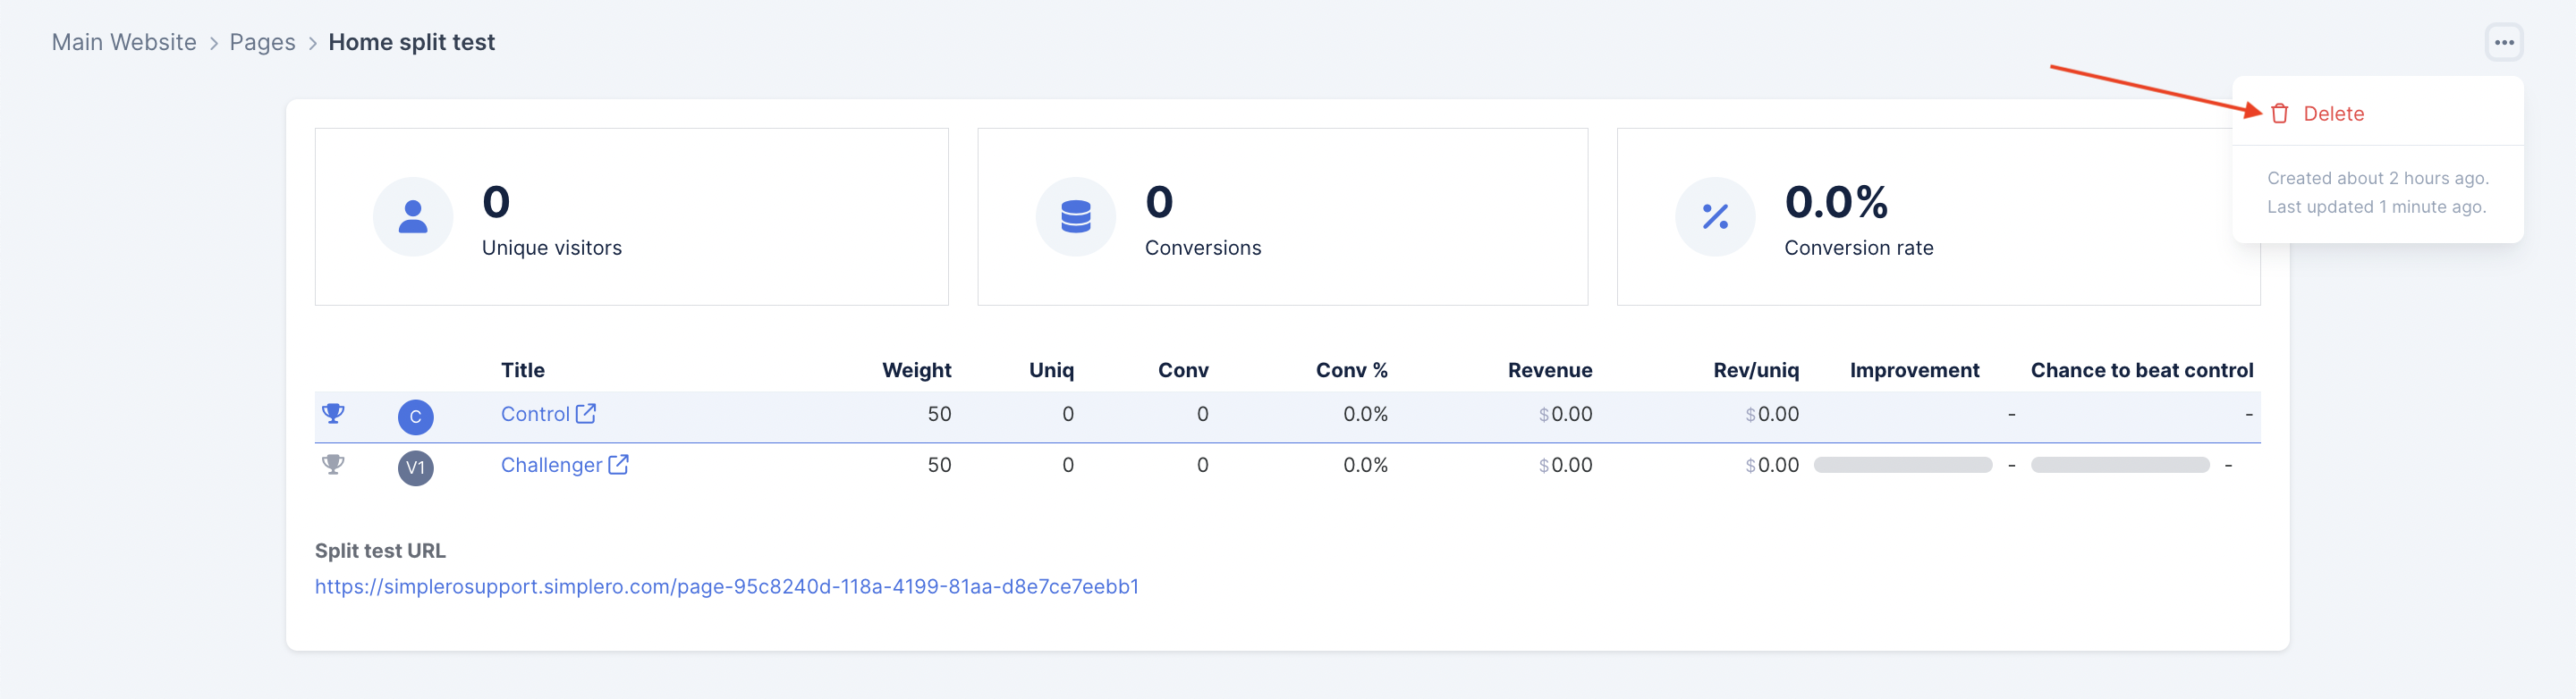
In a completed Split Test you'll find the test result data. If you would like to delete the split test now that it has been completed, you can do so on the delete option on the top right corner.