

What’s a Pipeline
Included in Simplero plans: Skyrocket. See plans here.
Pipelines are a visual representation of your sales process (or any process you take your leads or customers through). We make it simple to track leads, interactions and sales.
Deals might not always end up in successful wins but there are many steps that go from the start to the end of a pipeline which could make a huge difference in the end result. It’s a great overview to analyze what works and what doesn’t in your sales process.
Define the pipeline stages.
Set up automatic triggers when Deals get added to a stage.
Add any Custom fields to record specific details about your Deals.
Edit the Pipeline
Navigate to the Deals page under Sales, choose the Pipeline (you’ll have one by default), then click on Edit Pipeline under the “…” menu.


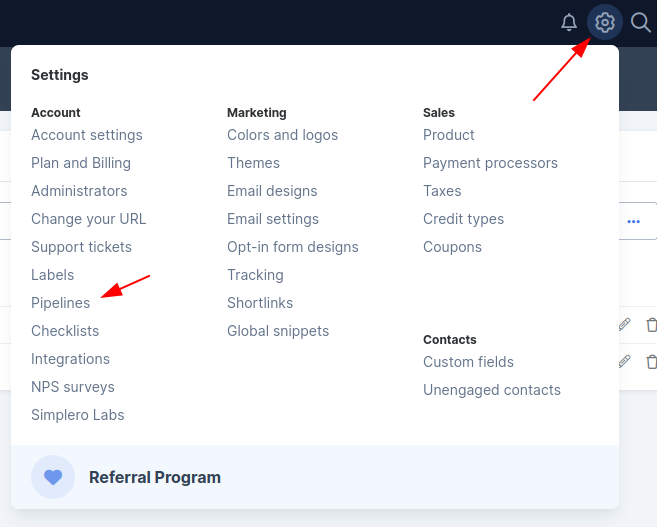
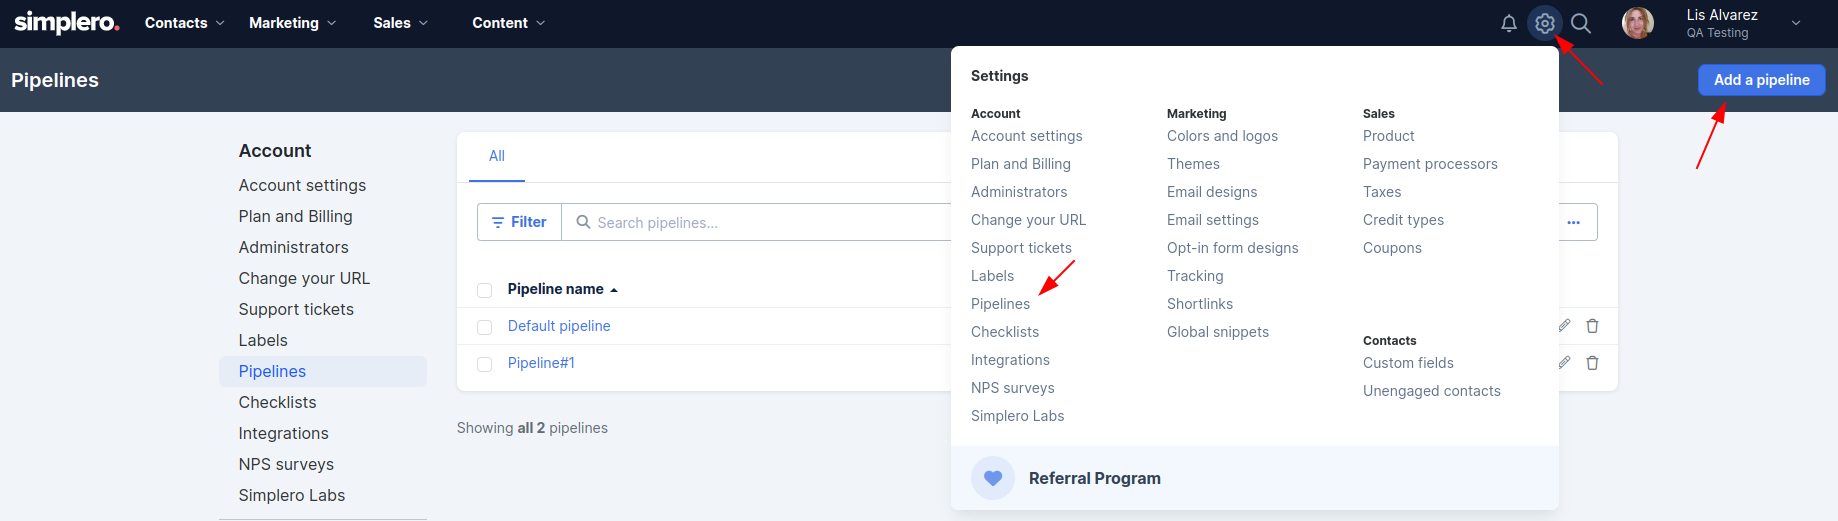
You can also access the Pipelines settings page through your Account Settings > Pipelines.
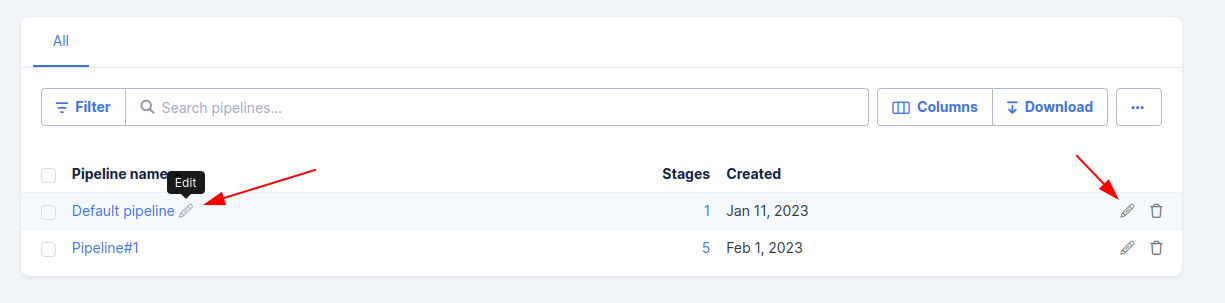
Edit the Pipeline name on the pencil icon next to it. To edit the pipeline stages click on the Edit icon at the far right.
Add a Stage
We call each step on the Pipeline a Stage. You can have unlimited stages and you add them using the top right corner button ‘Add a stage’.

The first step is generally on an Open status and refers to the first steps on the caption of the lead, for example, an opt-in process.
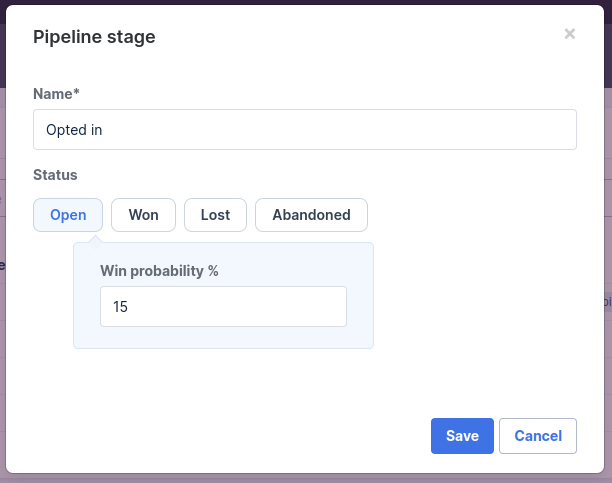
You can set up a win probability as a reference point as well.
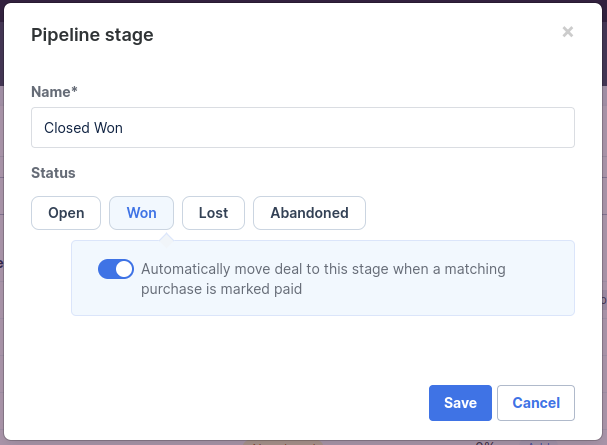
The Won stage is self-explanatory. Once your Deal has purchased the product, it can be moved to the Won stage. In fact, we can also move it automatically for you if you turn on the switcher on the Won step.
You’ll want to add a Lost stage so you can place those Deals that don’t end as Wons.

Abandoned is probably the most optional stage although it might be helpful in some cases, for example when a Deal doesn’t qualify.
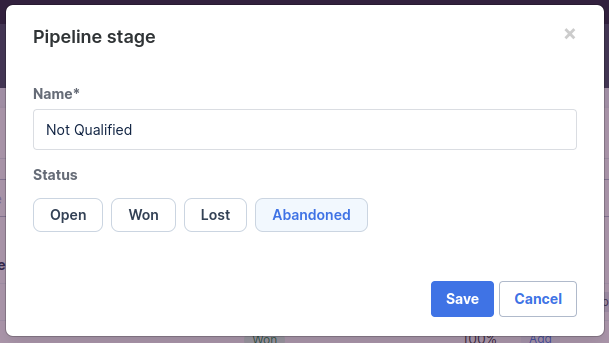
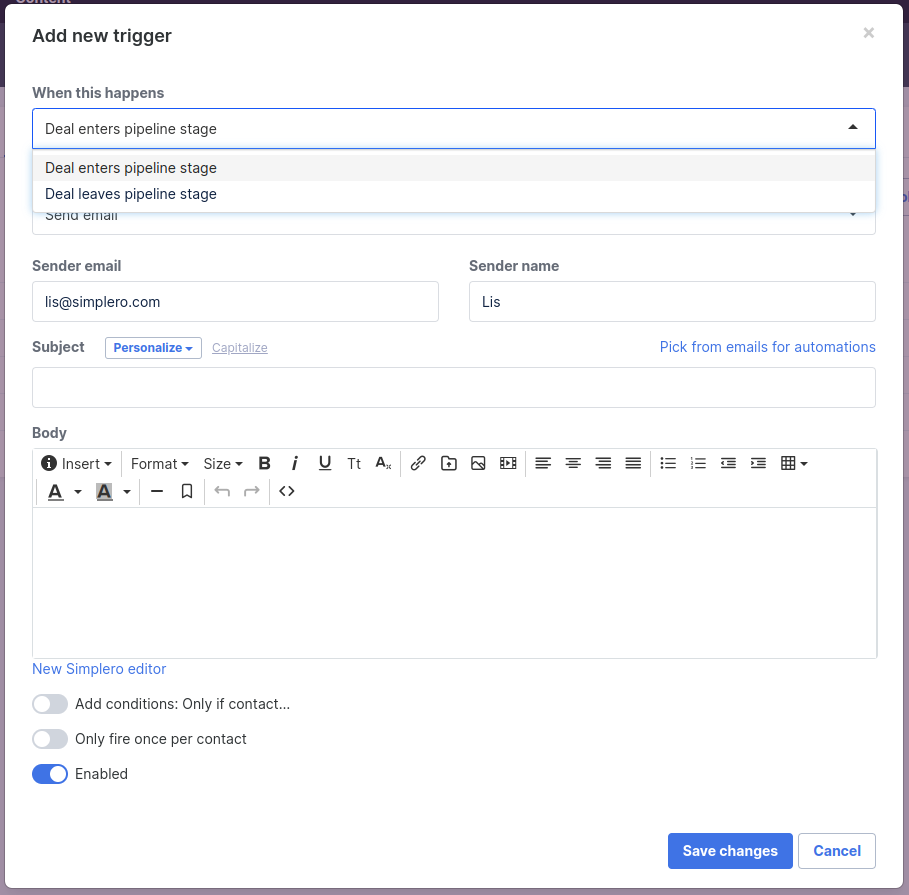
Lastly, add triggers when Deals enter or exit the stage.

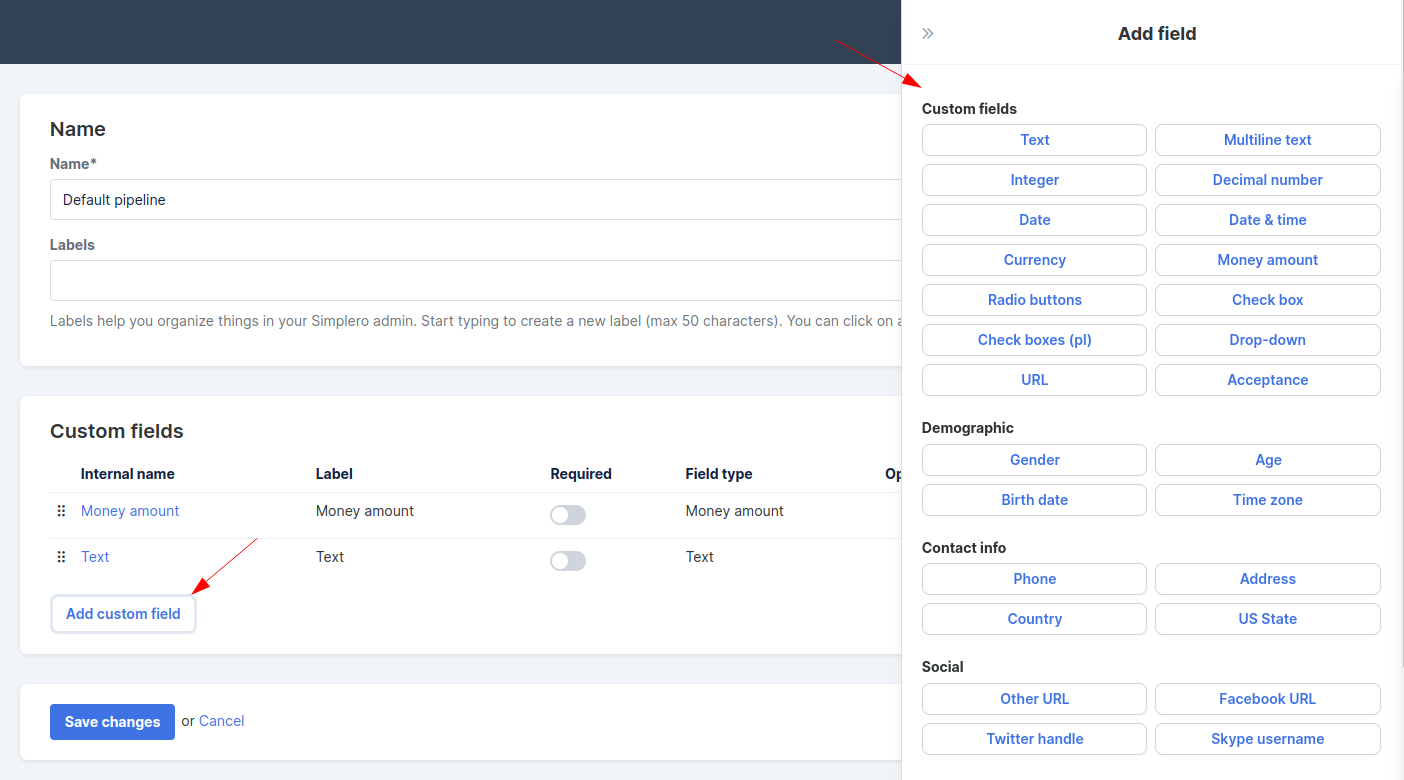
Set up Custom fields
Any custom fields added on at the Pipeline settings level will then show on the Deals modal. You can use it to record particular info related to the Deal such as Phone numbers, Shipping addresses, etc.
Click on the top right Settings icon:

Then Add a Custom Field, and pick from the right-side bar to add a Custom Field to the list:
You can see where these custom fields are used in the next lesson, Deals.
Create additional Pipelines
It’s really easy to run multiple Pipelines at the same time in Simplero.
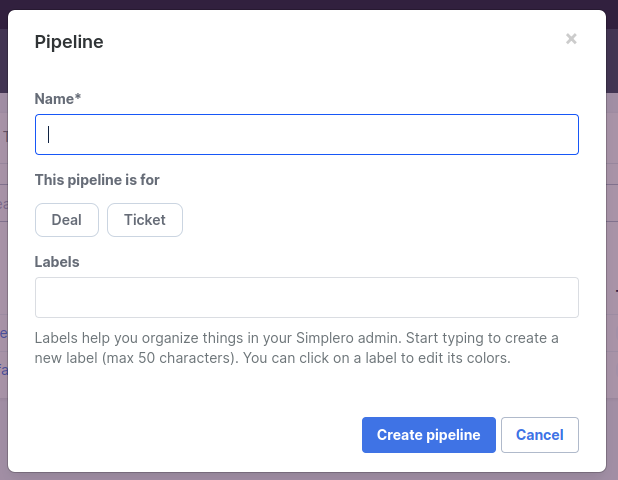
Navigate to your Account Settings > Pipelines, then Add a pipeline on the top right corner.
Choose whether the pipeline will be used for Deals or Tickets.
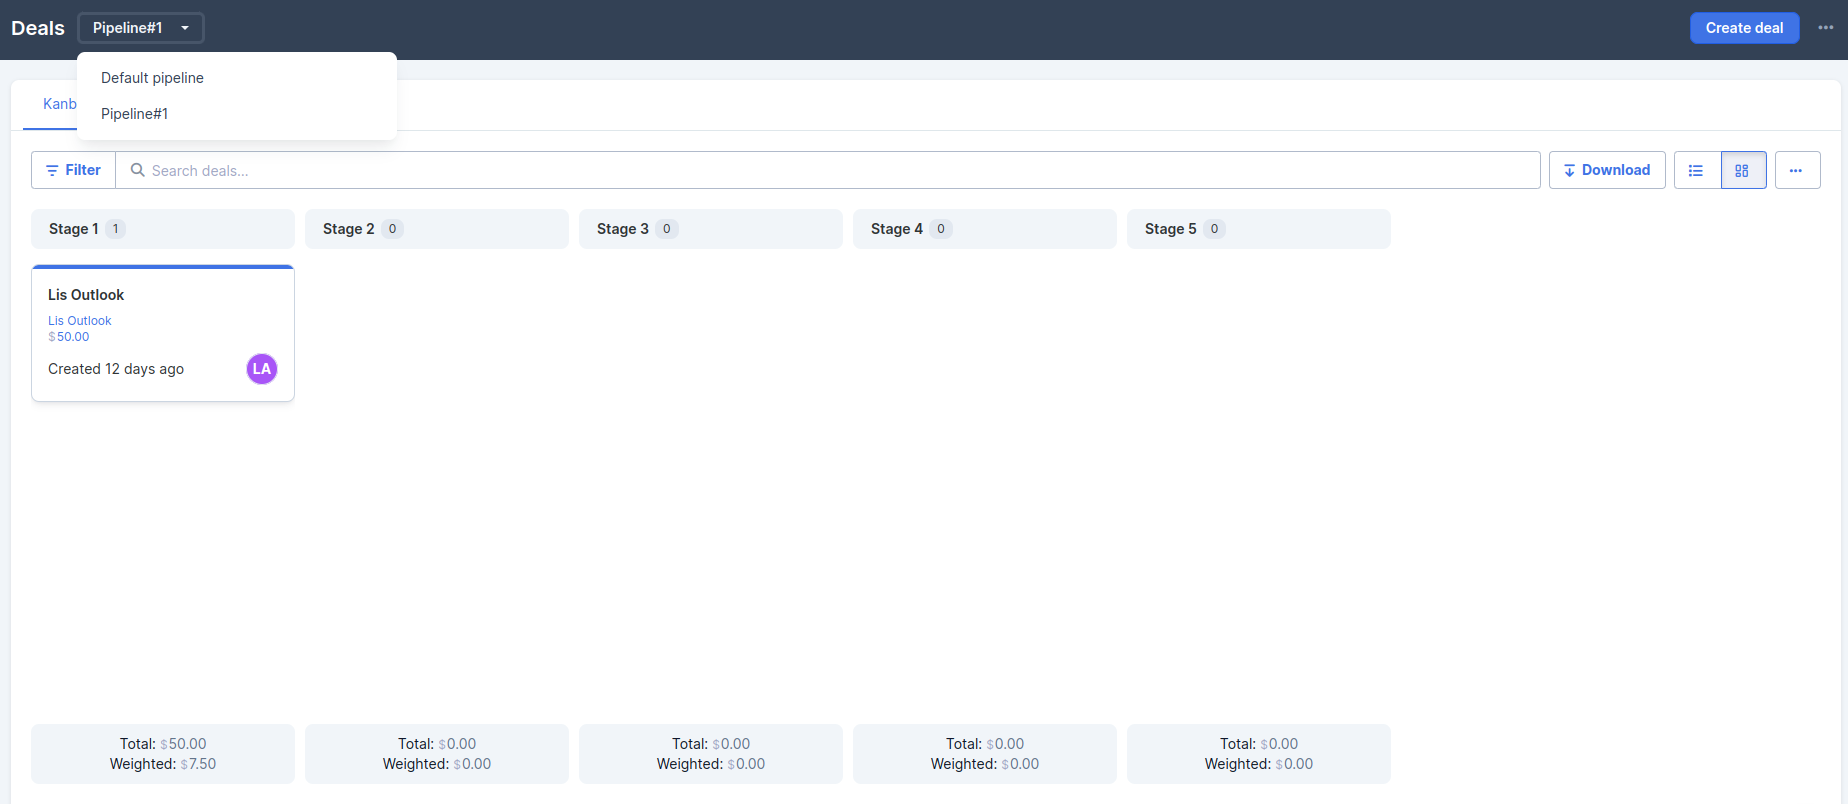
You can change to a different Pipeline on the Deals (or tickets) page using the dropdown on the top left.
Suite 92530
New York, NY 10003
United States