

To use this kind of event you only need a Zoom account that you can sync with your Simplero account through a simple integration.
If you haven't yet, please see this guide on how to get your Simplero and your Zoom account connected!
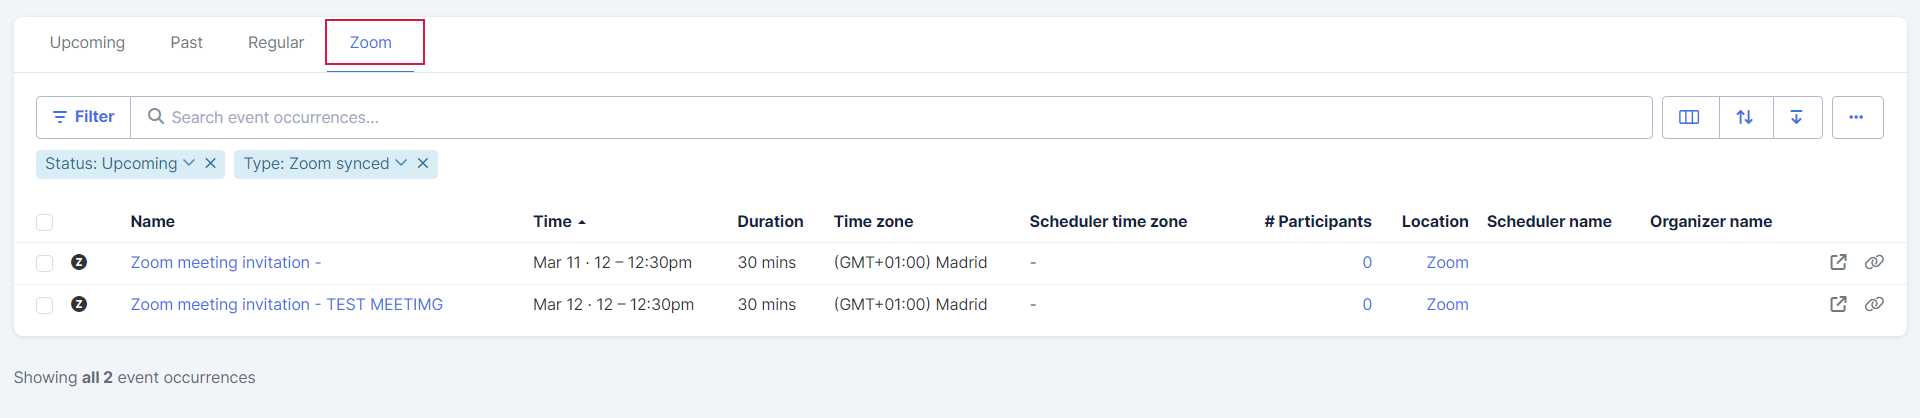
Once you’ve imported your Zoom events, you will be able to see them in Simplero under the Zoom tab:
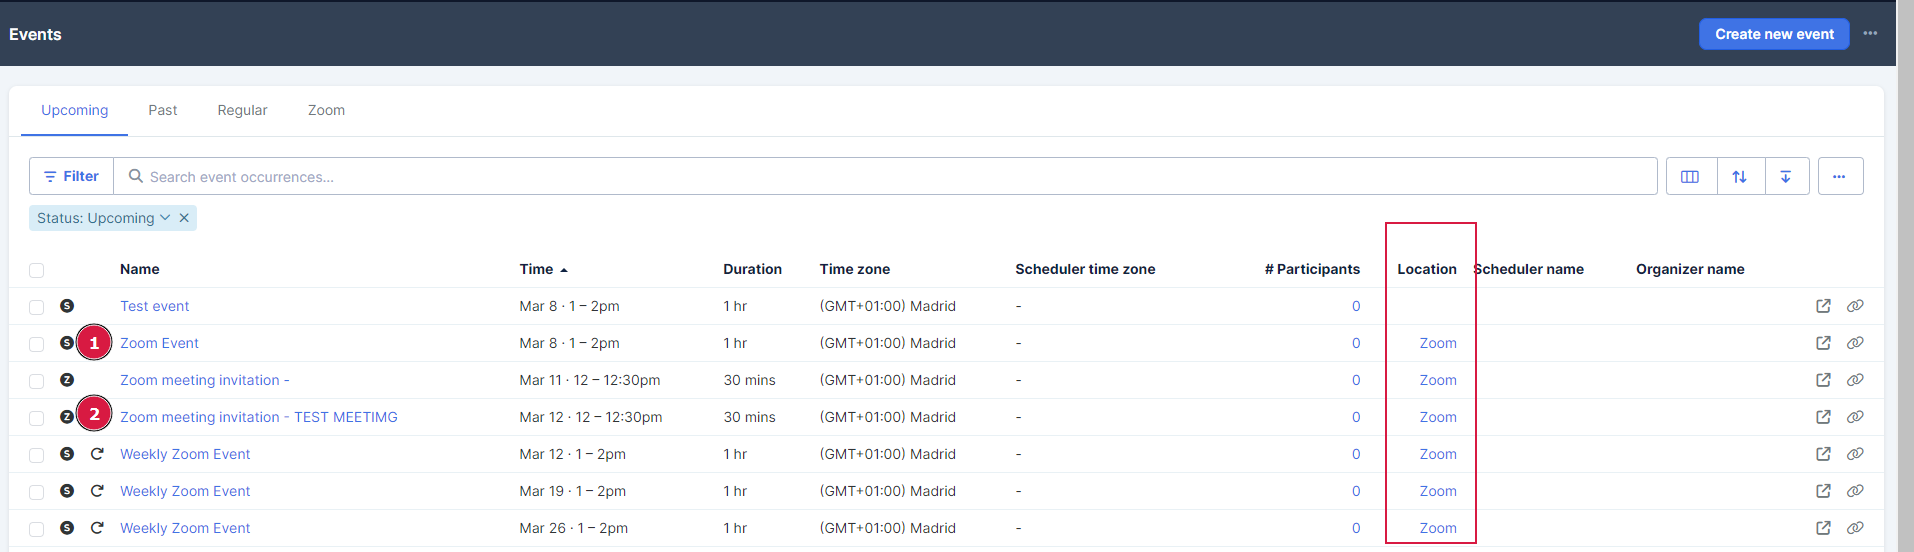
If you look at the upcoming events, for example, on the top left you will see :
1- S icon if the event was created from Simplero
2- Z icon if the event was created on Zoom and synced with Simplero
If you click on the Event Title and press the pencil icon in the top right-hand corner, you’ll see the settings option:

This will allow you to update most of the basic settings of the event or the event series.
Note: Occurrence repetition, date, and time of a recurring series will direct you to Zoom to edit those details.

You can also automatically import your Zoom recordings to Simplero by following the steps in this guide
Registration Settings
When setting up your event to require registration inside of Simplero, it will sync to also require registration in Zoom. However, when you require registration in Simplero, this will automatically turn off the setting to send a calendar invite email after registering through Zoom. Due to Zoom having a unique participant URL to sync participant attendance, each participant will get a unique 'event location' URL on their Simplero registration to be able to sync their registration to Zoom.
This will also allow for you to track when people join as well as when they leave. For example:

This will allow you to utilize the 'join' and 'left' triggers as well as have a clear idea of who truly did attend your event.
Why We Generate Login Info
If you select Automatic Approval or Manual Approval under the Registration section in Simplero, the system will generate login information for them and email it to them if they use Simplero’s registration page to sign up:

If they already have login details, we will remind them they need to log in with those details to see their registration status and access the event details:

The same goes for Basic events.
Why do we require login info? We generate login information for event registrants so they can reschedule or cancel their spot if needed, and so we can show them the location of the event only after they sign up.
Triggers on Zoom Events
Under a Zoom event, you will see the same triggers available for all events (when registration is activated) plus these triggers :
-
A participant joins an event.
-
A participant leaves an event or the event ends.
Create a Basic Event with a Zoom Location
If you don’t want to sync your Zoom account or if you want to use a different account from the one integrated with Simplero, you’ll first need to grab the meeting room link from Zoom (by using a recurring Zoom link, or creating the event in Zoom and grabbing the link that’s generated for it).
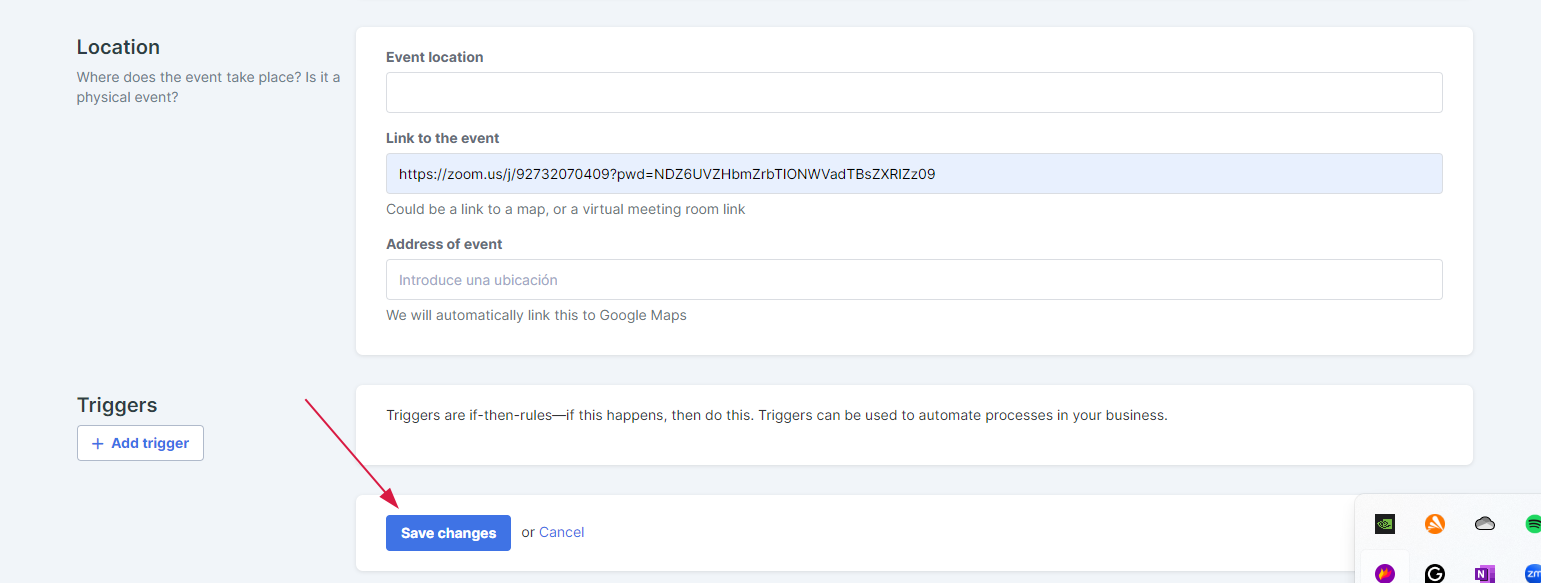
Then create a Basic Event in Simplero and pick ‘Online’ as the location. Add the meeting room link that was generated from Zoom to the Location section of the ‘Event location URL’ in Simplero:

Paste the Zoom link in the Link to the event section, and click on save changes:
This is how it will be a non-recurring Zoom event created by Simplero:

This is how it will be a Recurring zoom event created from Simplero:

On the events summary you will see all upcoming events, Under Location you will see if they will occur on Zoom. There will also be the Zoom icon the event card and all past events on the bottom portion.
NOTE! If you create a Basic Event and give it a Zoom location (following the steps above), the participants will not sync with your Zoom account. If you want the event to sync with Zoom, you need to use our Zoom integration - see our guide on how to do this. Once your account is linked, pick ‘Zoom’ as the location for the event.
Deleting a Zoom event in Simplero will delete in your Zoom account.
Suite 92530
New York, NY 10003
United States