

Scheduling Links are the equivalent of Booking Calendars. When you set one up and share it with your members, they’ll see a Calendar where they can book an appointment (a meeting, event, etc)... with you.
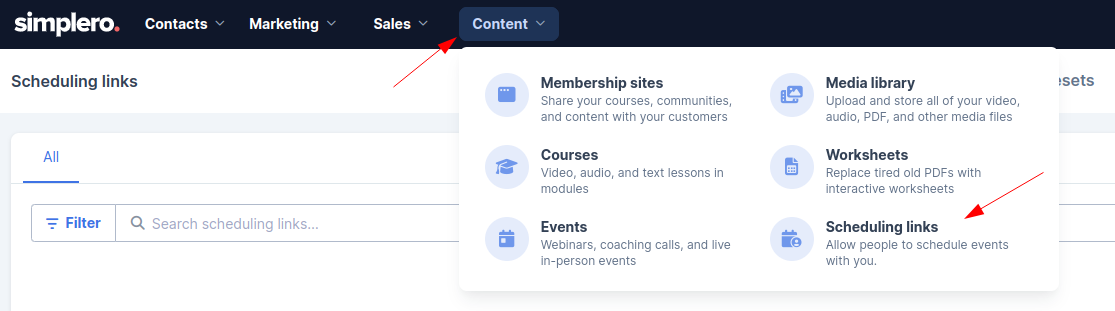
Navigate to Content >> Scheduling Links:
Click on Create scheduling link, give it a name, description and duration, choose Individual, then select the owner of the calendar and press Create scheduling link:
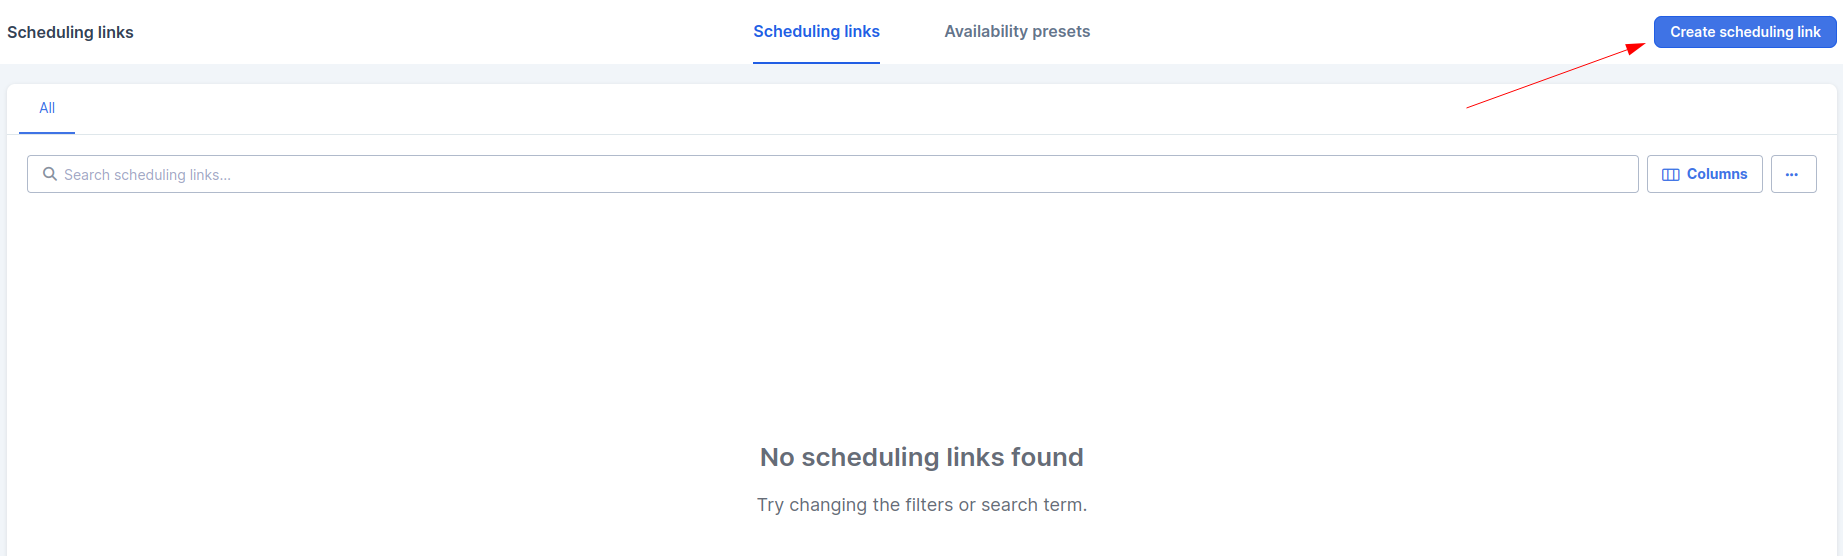

You are now presented with the scheduling link setup page:
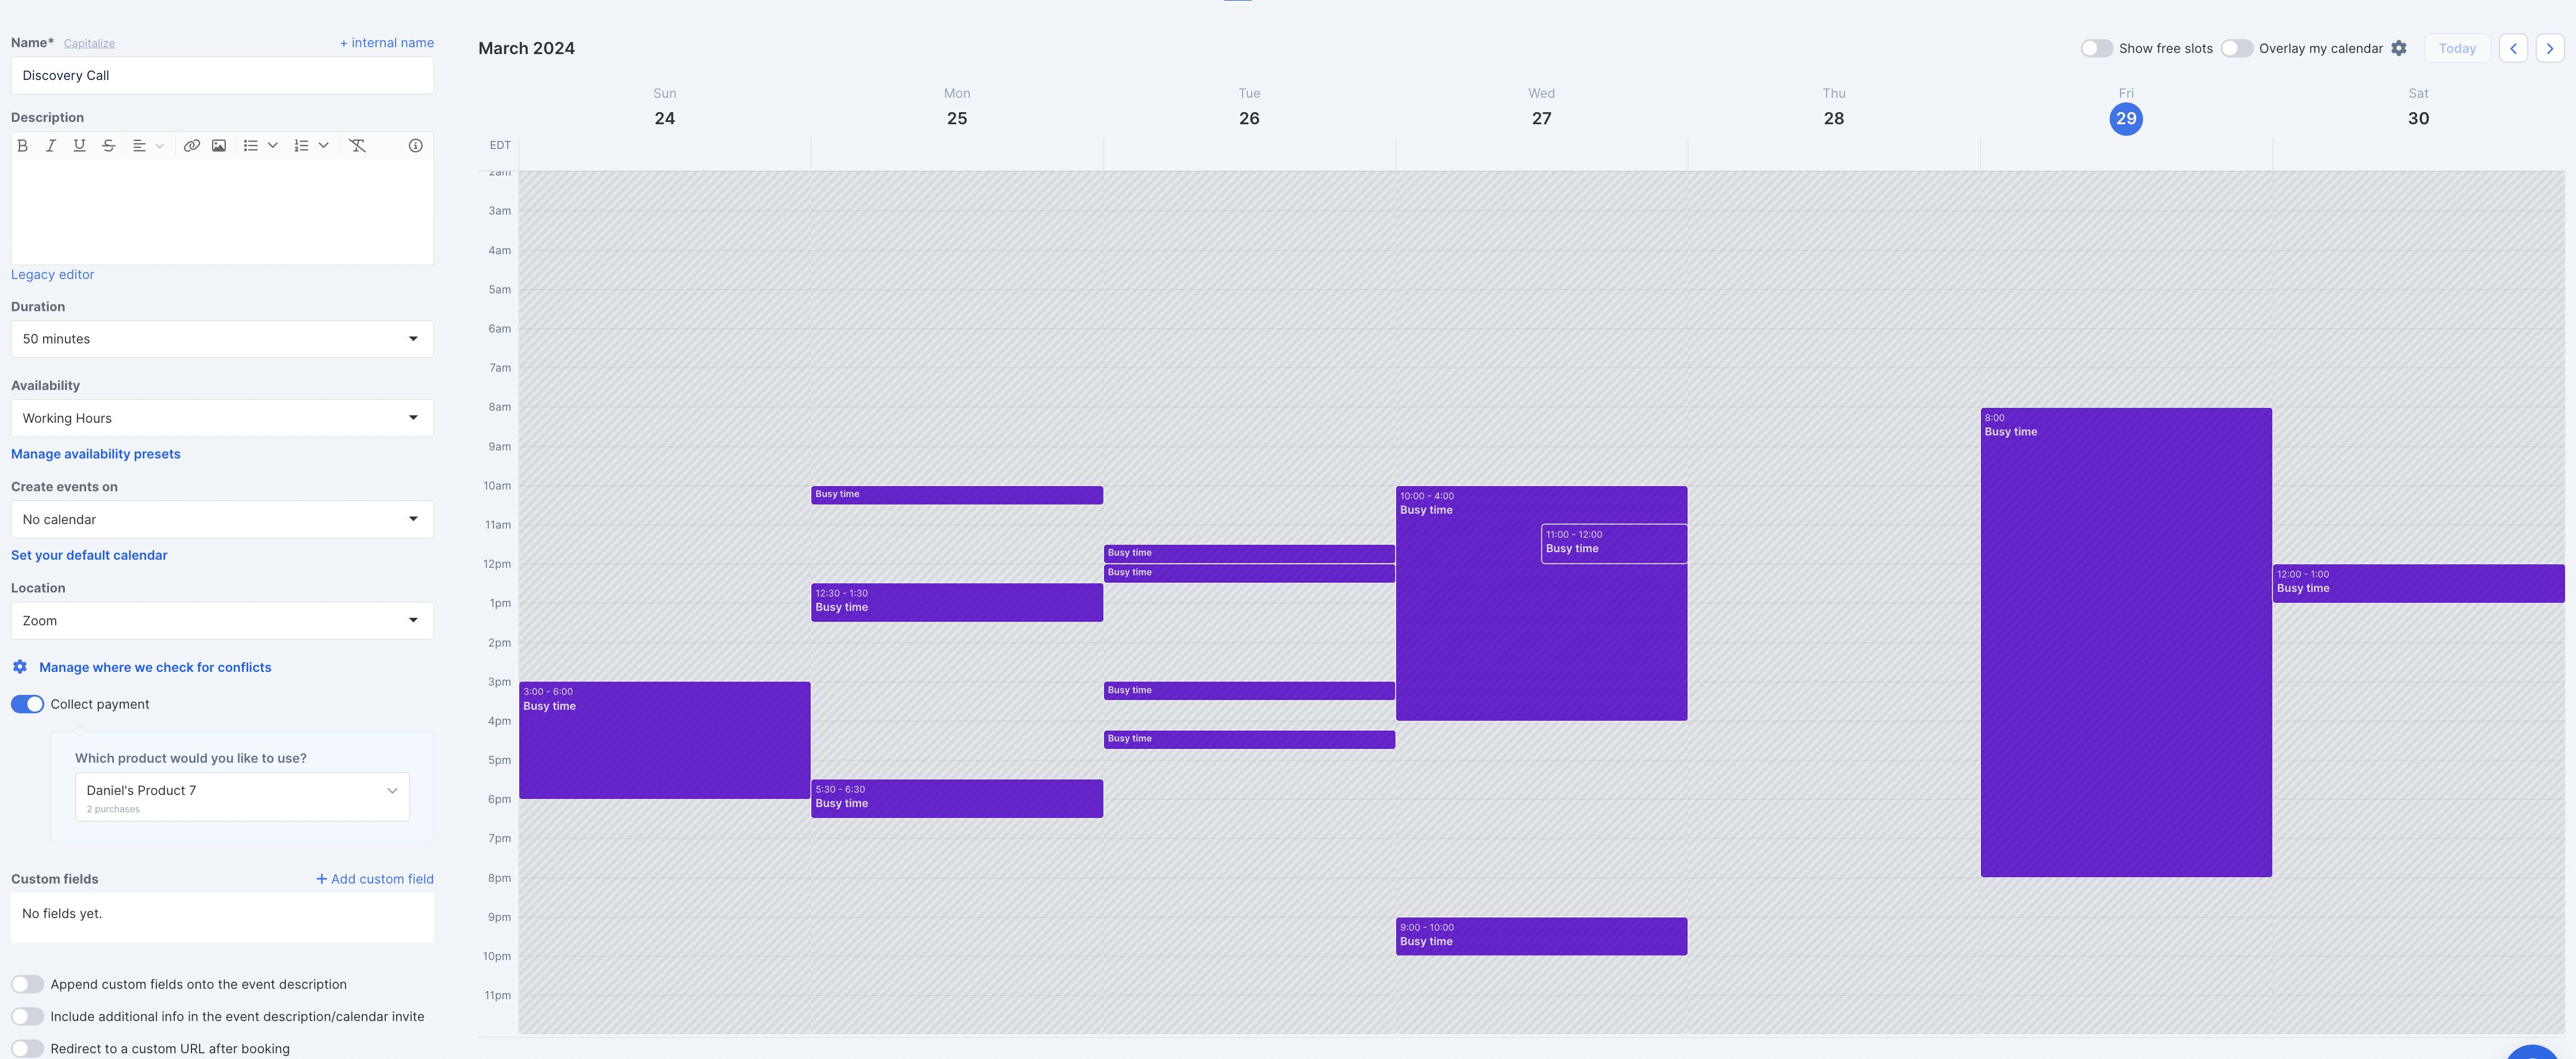
You'll be able to edit the following settings:
Name: shown on the Scheduling Link page.
Description: shown on the Scheduling Link page.
Form title: Override default booking form title.
Duration: how long would you like the duration of the events to be.
Availability: select a default availability preset or set up a custom availability.
Create events on: tell us which calendar we should use to add events scheduled through this link. Choose no calendar (we don't save the event on any calendar), or your Google calendars, Microsoft or iCal calendars.
-
Location: you can choose between:
None
A Zoom event: if you have an active integration with Zoom we will automatically create the event on Zoom for you too!
Google Meet: make sure you pick which calendar to create the event on
A Custom URL
Collect payment: set up which product order form the user should be redirected to make a payment before the event is scheduled.
Custom fields: require additonal info from your clients prior to making an appointment. For example, their phone number if it's intended for sale calls. Then add them to the event summary page by turning the toggle Append custom fields onto the event description ON.
Include additional event info: shown in email notifications and the event page after someone schedules an event.
Redirect to a custom URL after booking: It can be anywhere inside or outside of Simplero.
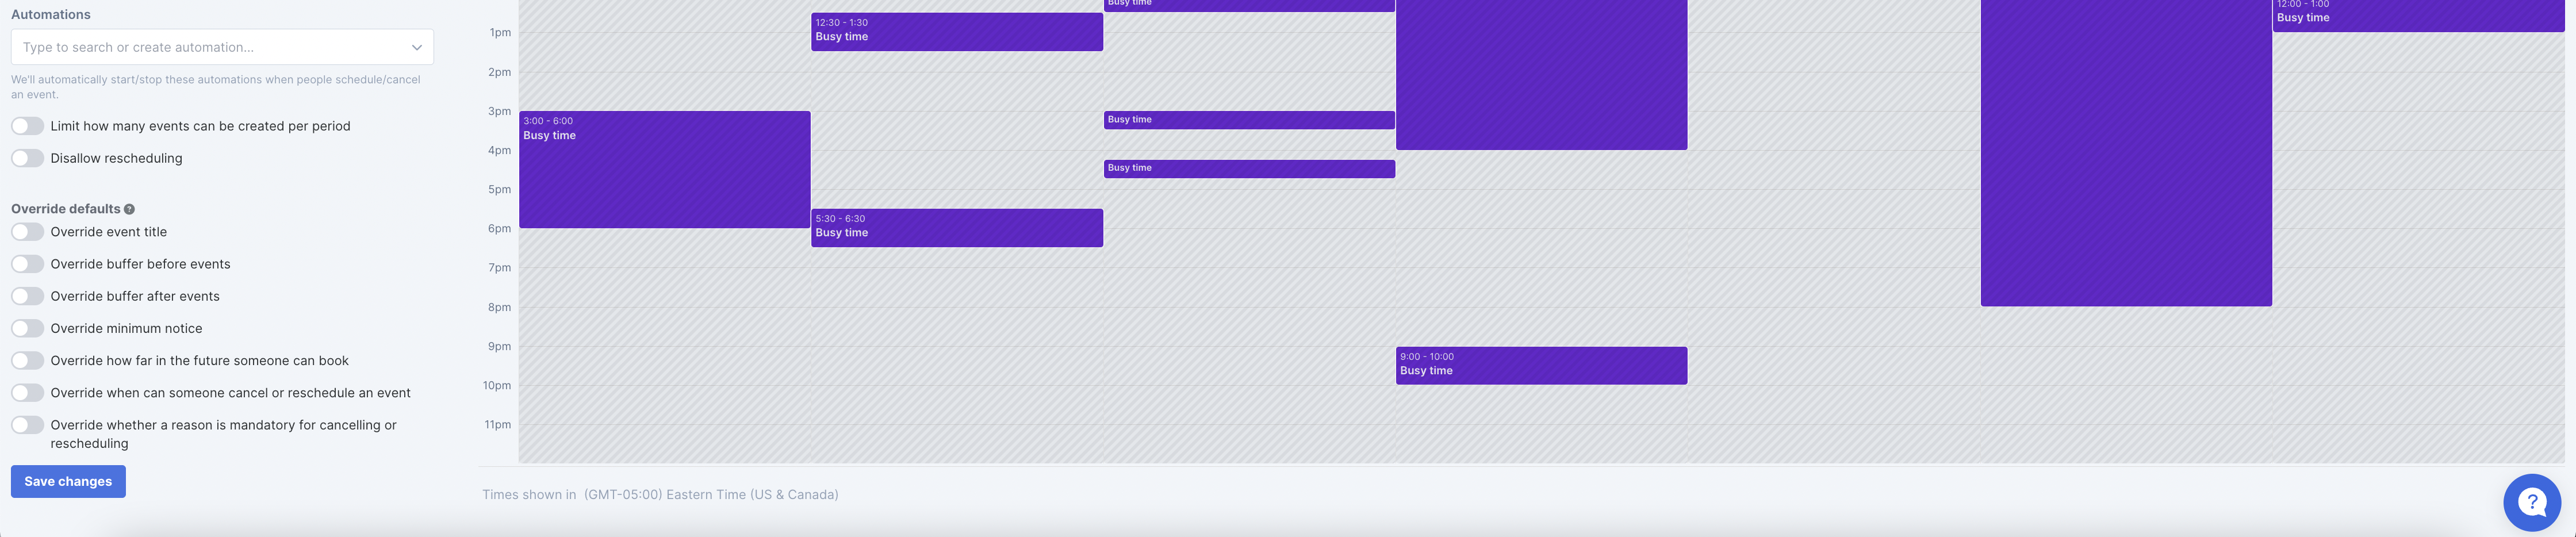
Automations: add any automations you’d like to start/stop for contacts that schedule/cancel an event through this scheduling link.
Limit how many events can be created per period: Set the max per day, per week and per month.
Disallow rescheduling: Turn off the ability for your clients to reschedule their meeting.
-
Overriding your default preferences:
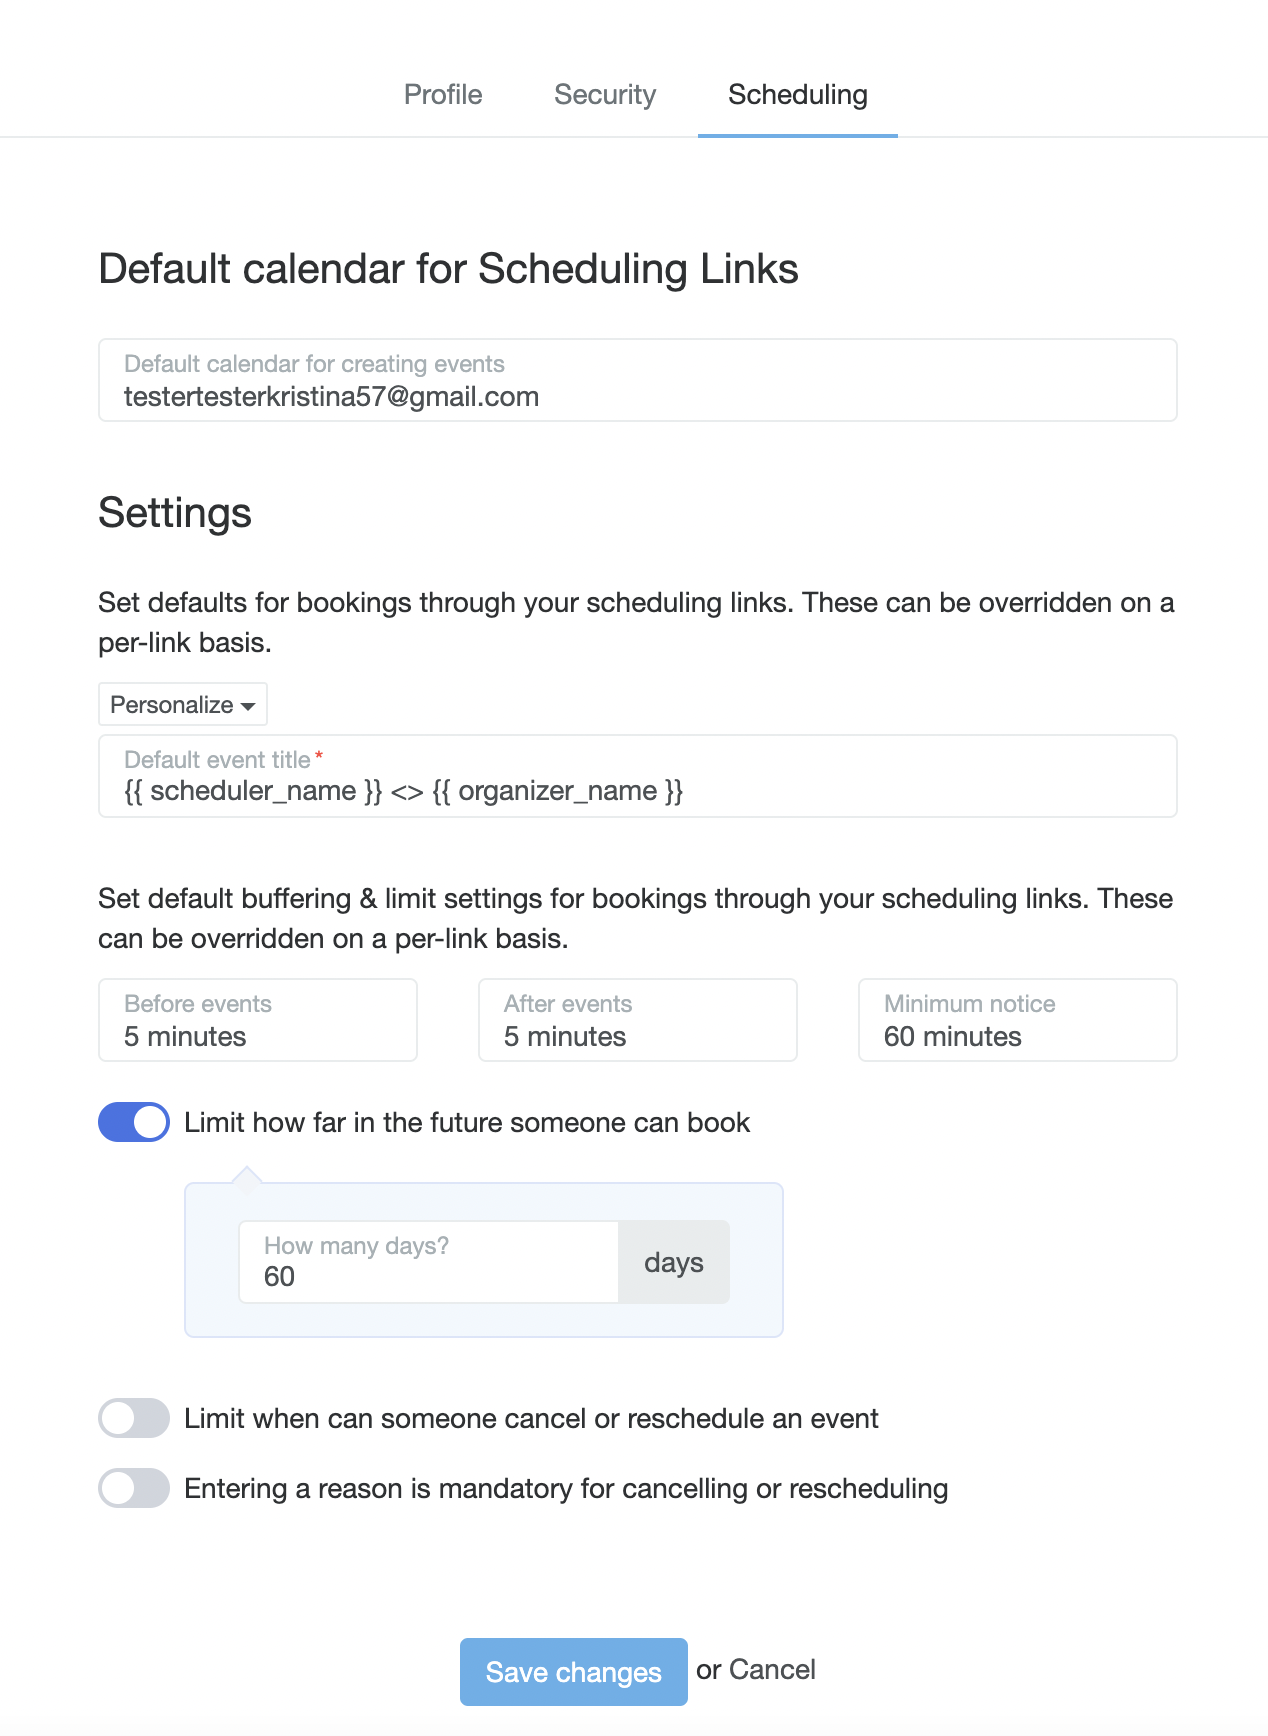
Event title: used in email notifications, the event page after someone has scheduled an event, etc.
Buffering rules to give you some time before and after booked events.
Minimum notice to book an event.
Limit how far in the future someone can book an appointment with you.
Limit when someone can cancel/reschedule their appointment with you: this applies for the period right after booking, and the period before the event starts.
Master Scheduling Links
Now that you are familiar with Individual Scheduling Links, let's jump into the next scheduling level. Create master scheduling links to combine multiple admins' availabilities.
Round Robin
This allows you to present users with the union of all the scheduling link availabilities added to the Round-robin scheduling link.
For example: You have a team of 2 Concierge members and you'd like to allow your customers to book with any of them.
In that case, you’d create a Round-robin scheduling link and add all two concierge members individual scheduling links to join their availability.
1. Create a Scheduling link for each of your team members: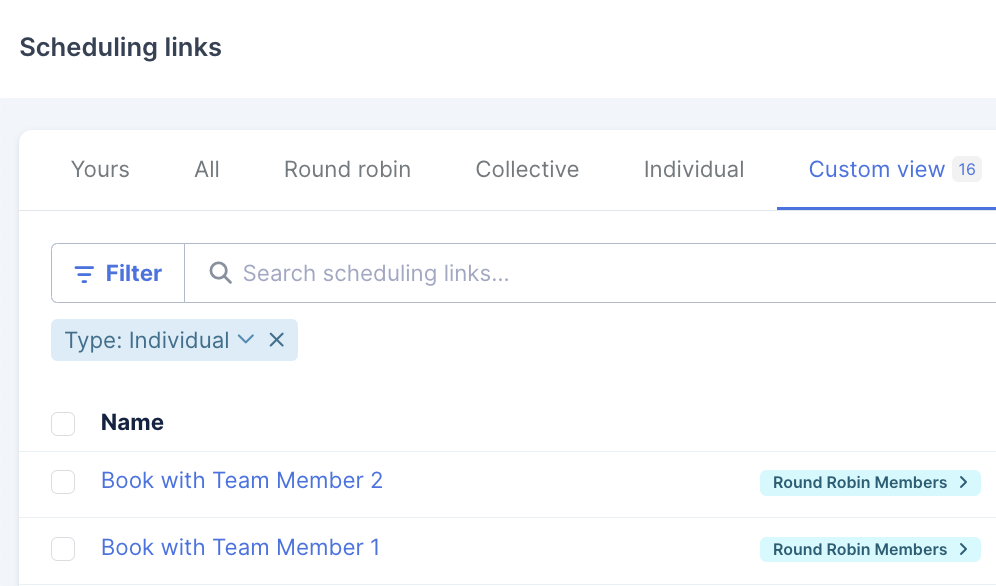
2. Create a Round-robin scheduling link:

3. Add your team members scheduling links to the Round-robin scheduling link. You'll see both members’ availabilities now show on the calendar availability presets:
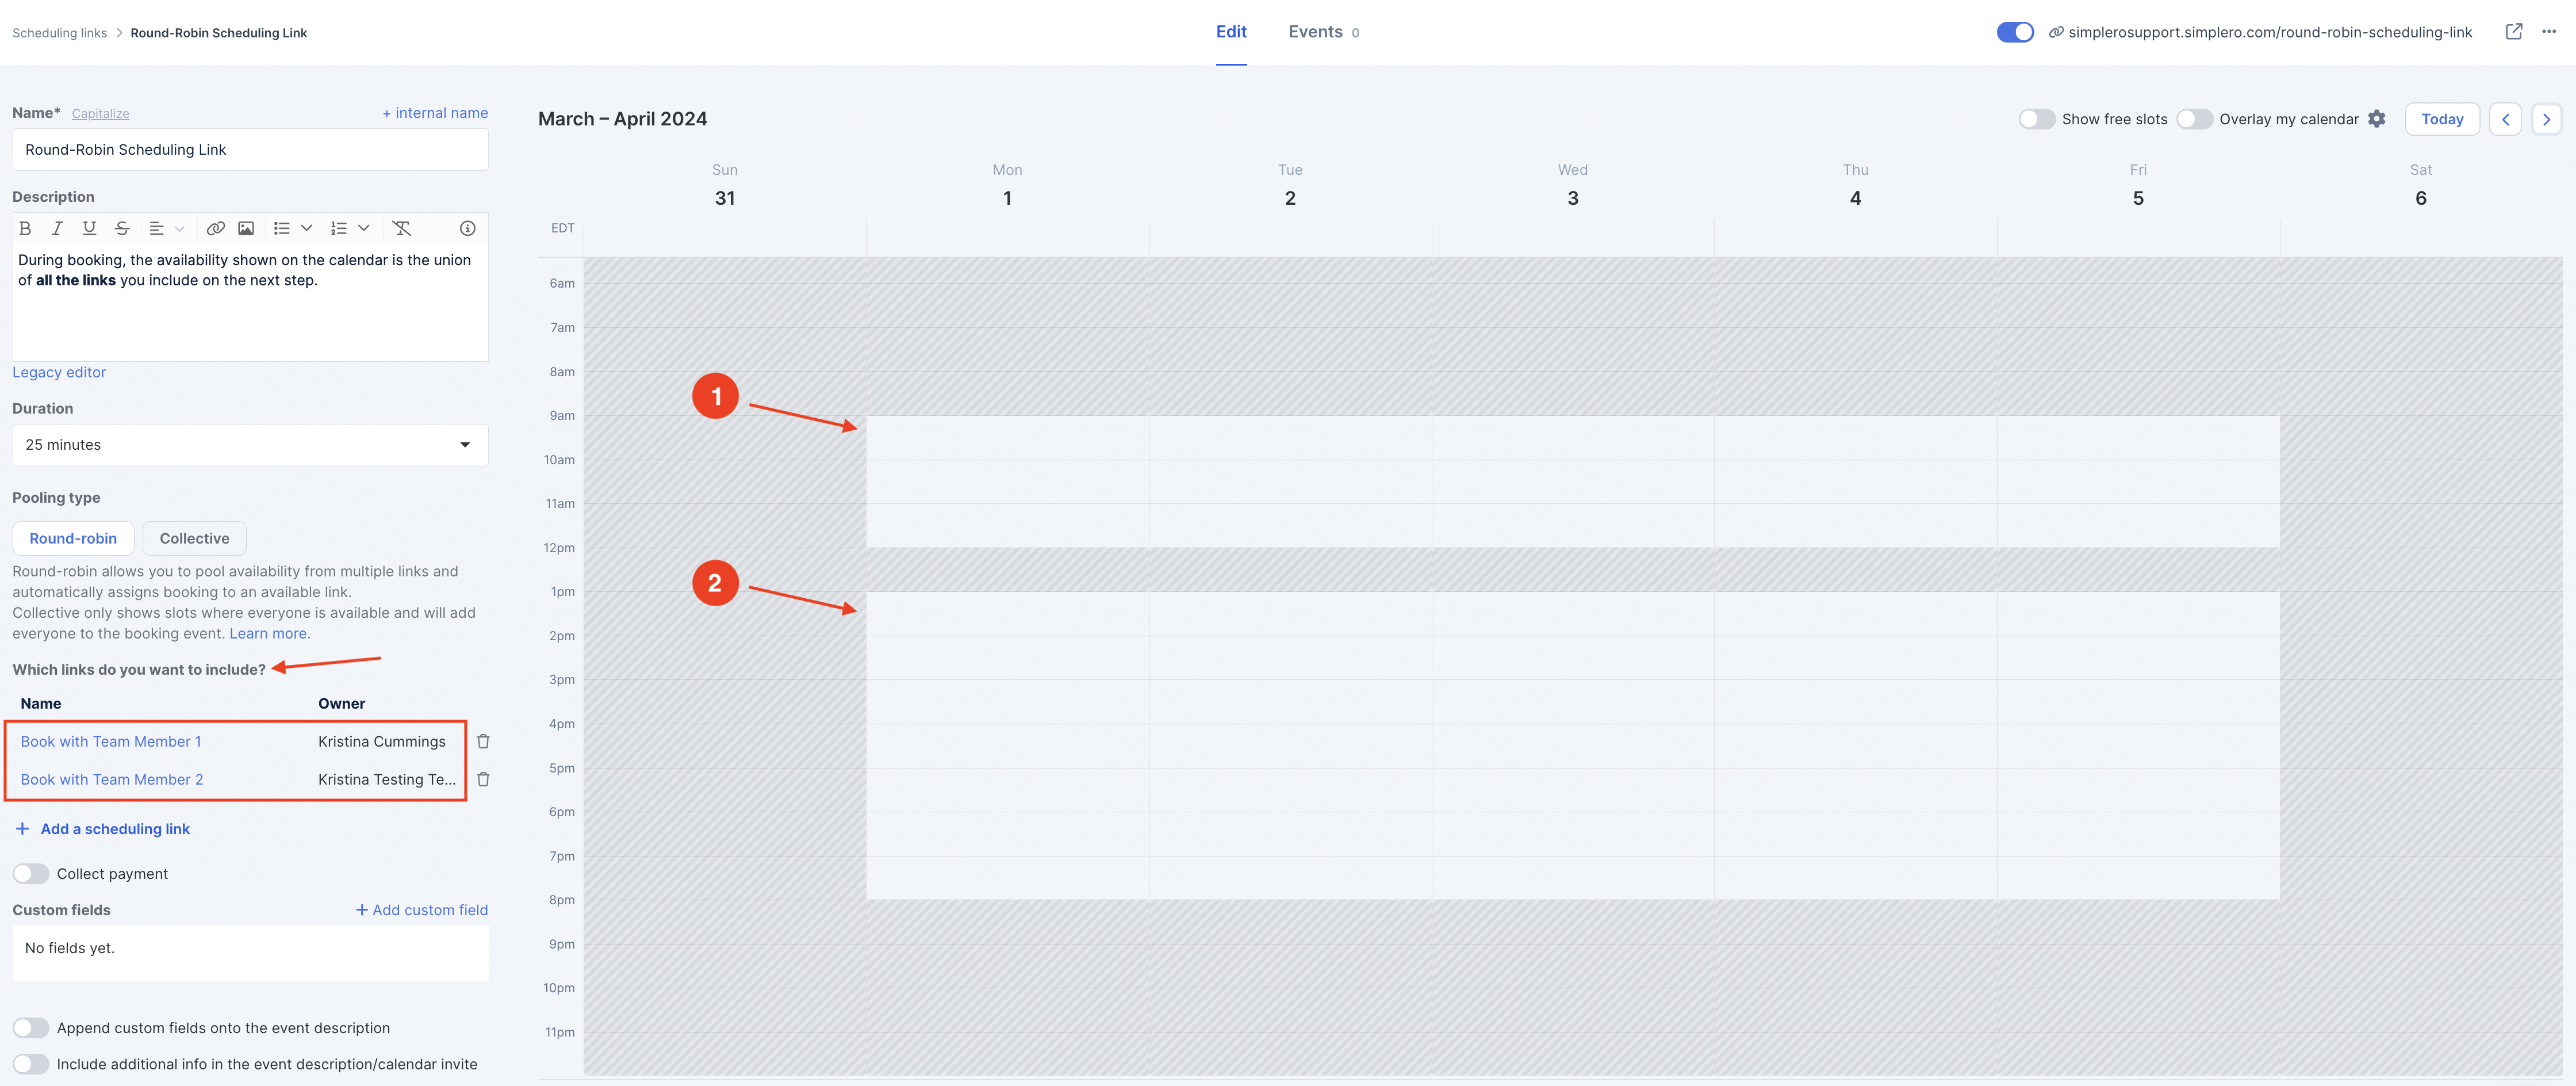
When you book it will determine who's available at that time and assign the event to that person.
When multiple people are available, it just goes down the list top to bottom trying to find an opening.
You can drag scheduling links up and down the list to determine in which priority the event should be created to each link.

Collective
In this case, we will only show the matching availability between all scheduling links added to the Collective link.
If we continue with the example above, let's say you'd like now to offer your customers the option to schedule an event with both team members simultaneously. In that case, the calendar will only show as available the time slots where both admins are available to take an appointment.
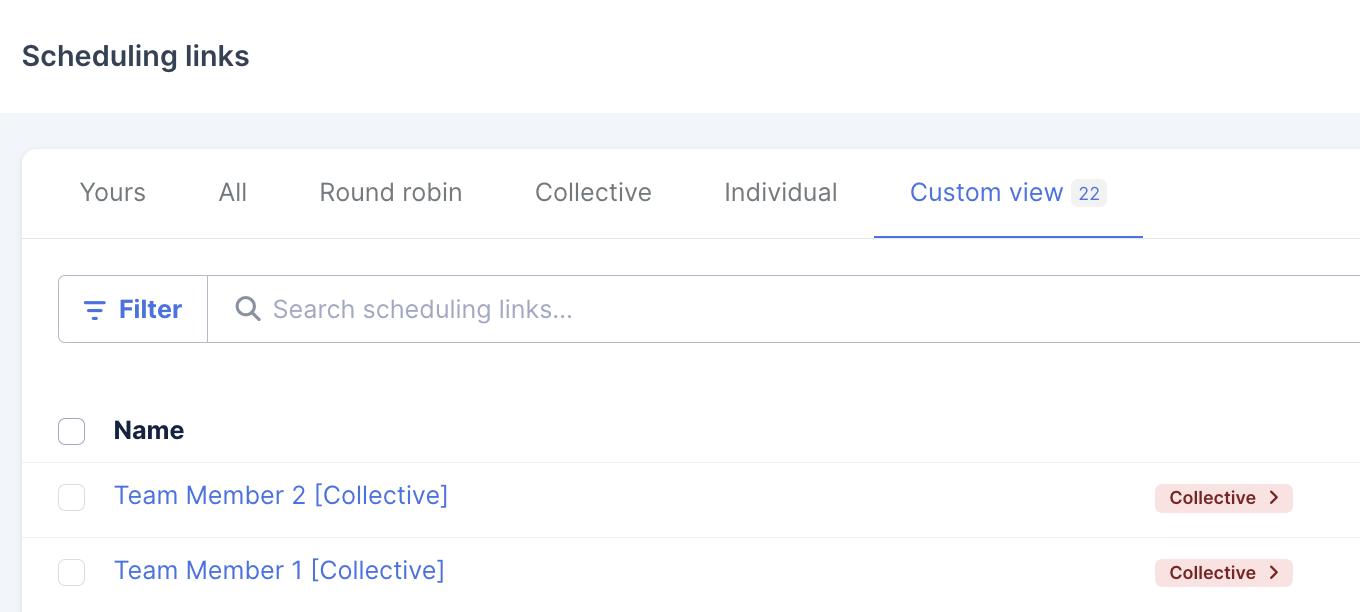
1. Create a Scheduling link for each of your team members if they don't have one yet:
2. Create a Collective scheduling link:

3. Add your team members’ scheduling links to the Collective scheduling link. You'll see that only the time slots when both members are available will show on the calendar availability presets:
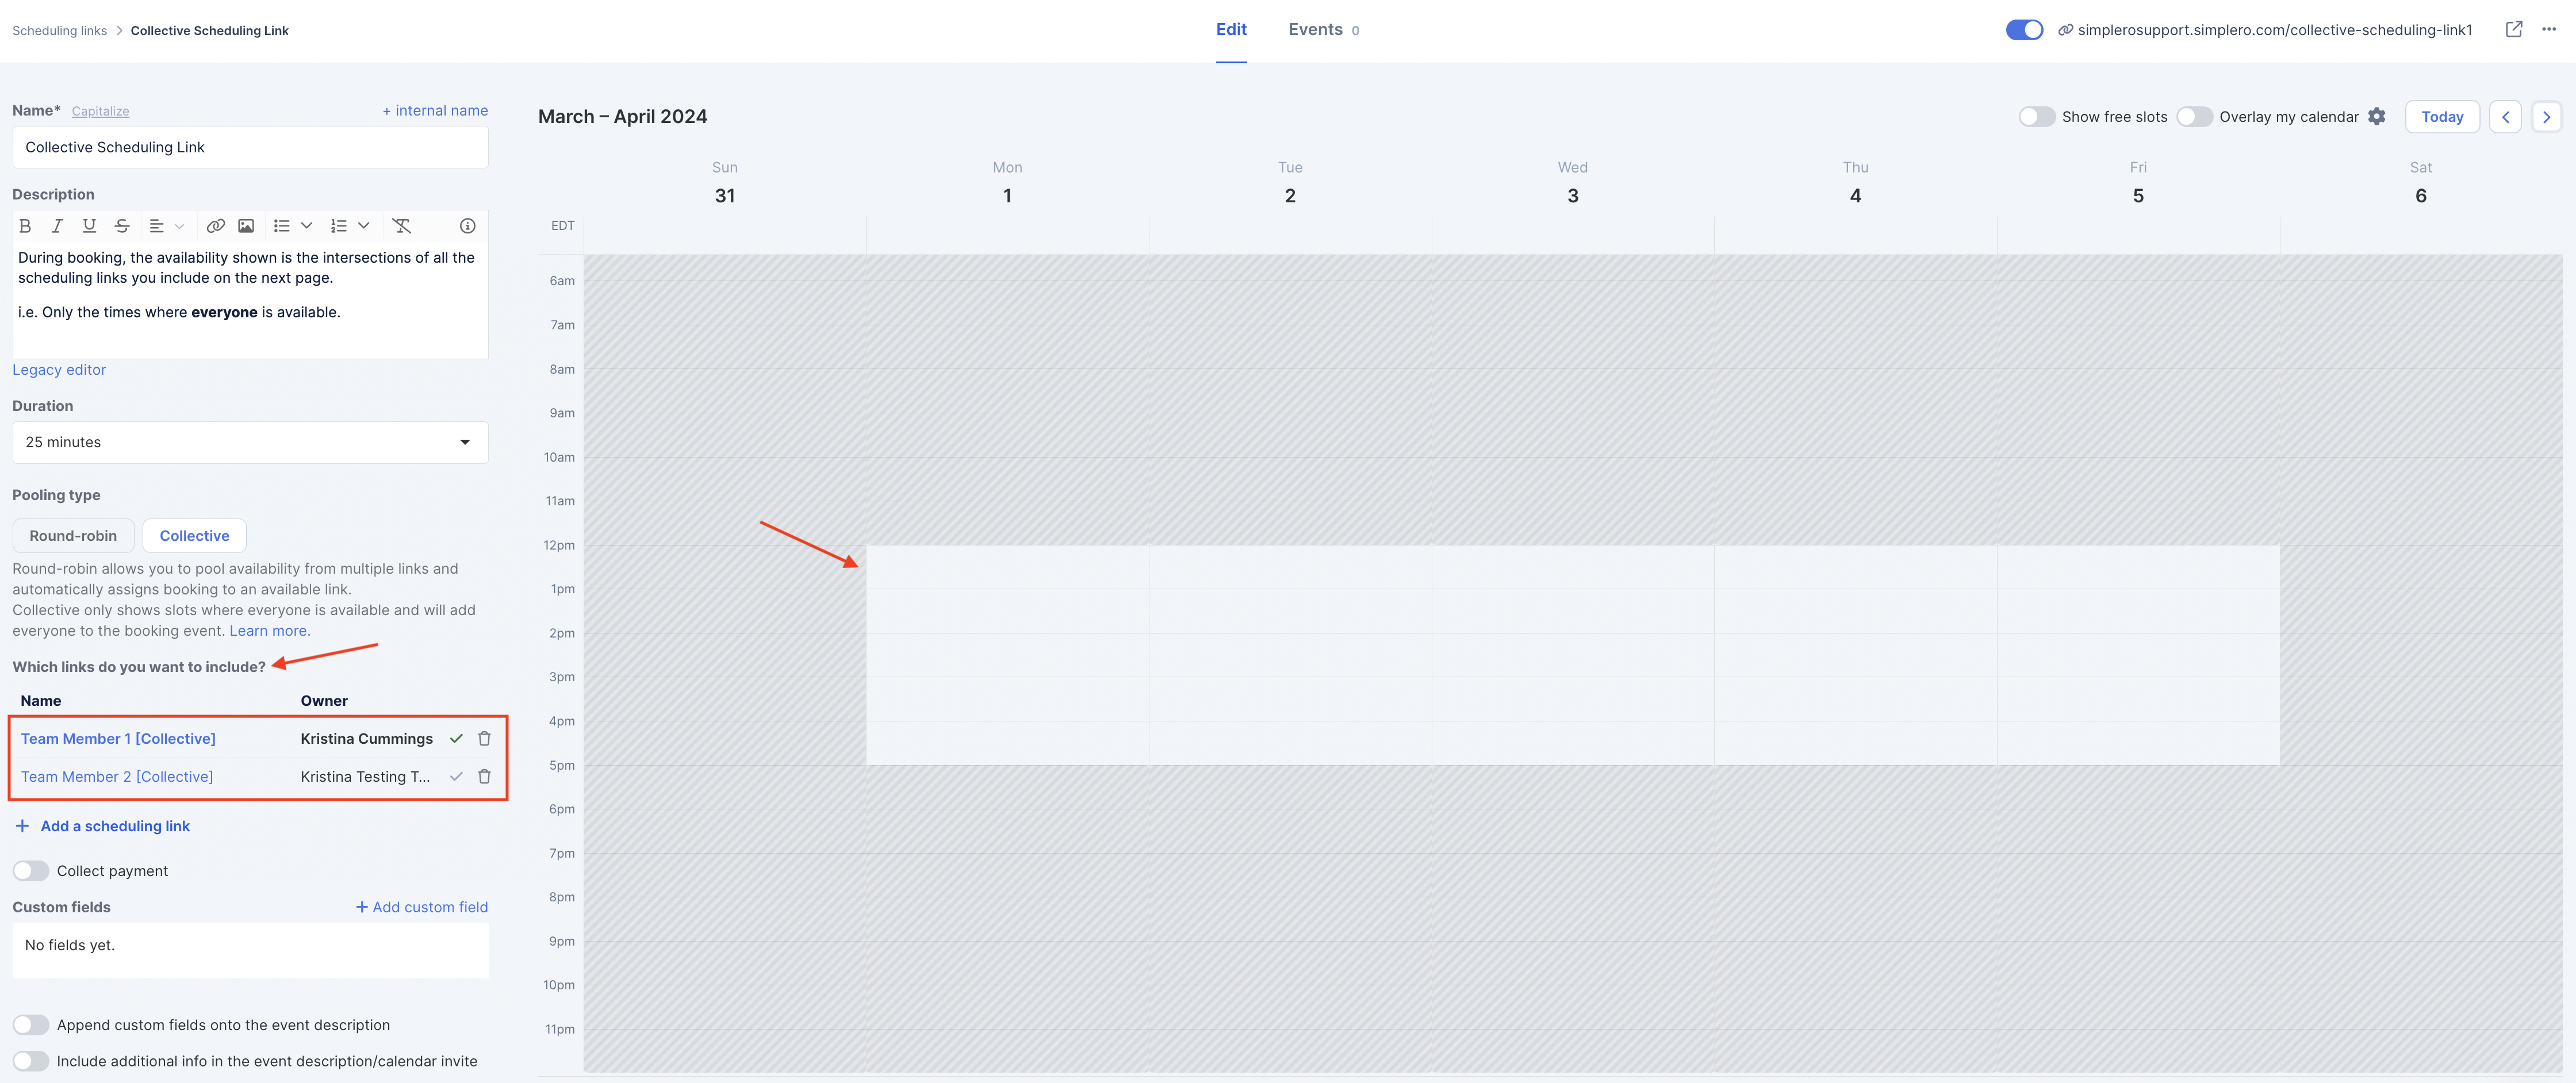
You now have the option to set the organizer of the event:
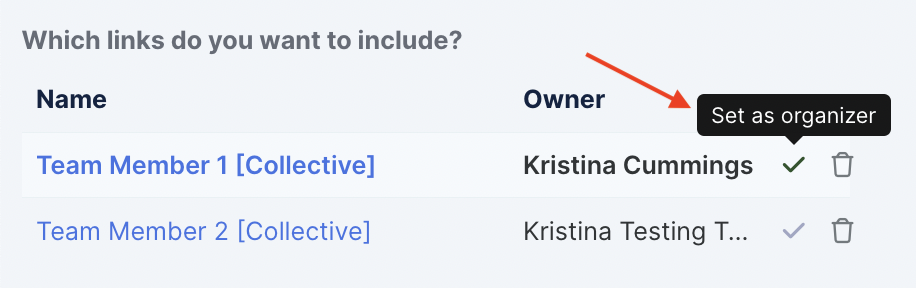
When you book it will assign the event to the organizer and use their scheduling link location.
Admins that aren’t the organizer will be treated as participants in the event.
They will receive either a notification from the organizer's Google, Microsoft or Apple calendar (assuming they have it set up through any of those Calendars), or from Simplero if they’re not using an integrated calendar to create events on.
Note! Master Scheduling links are only available on Scale and Skyrocket plans.
Editing your default preferences
Navigate to your Simplero profile >> Scheduling:
 Override your availability
You can mark days off, periods off without having to do this on your calendar. It also allows you to make spots available regardless of your calendar.
Select the time on the calendar and drag it until the end time:

Allow: Makes this time available for booking
Block: Blocks this time from being booked
Force Allow: Allows booking even if you have other calendar conflicts (but respects Simplero events)
Suite 92530
New York, NY 10003
United States