

When someone joins your list, you probably want to nurture that relationship so they’ll eventually become a product buying, money paying customer. Am I right?
Simplero offers two great ways to do this; Autoresponders and Automations.
Autoresponders are simple emails that are automatically sent based on a specific number of days after someone joins a list.
Automations give you a bit more flexibility, as they can be scheduled based on a specific date, number of weeks, months, or even based on certain behaviours.
If you're using an autoresponder, you can add triggers to it or release pages via the standard drip-function. If you're using an automation, you can use the same steps - however, they would be separate action steps in your automation.
If you're not sure which one is the best fit for you, check out this guide.
Auto-Responders
Auto-responses are available for lists and products.
You'll normally always have at least one auto-response, which is sent out immediately after someone subscribes or makes a purchase.
This is the "thank you" email, letting people know that they're awesome for joining your list or buying your product. You always want this auto-responder. (And making it a little fun and more personal helps a lot 😉)
But you can also add as many other auto-responses as you'd like with emails that are spaced out over any desired time frame. These emails can be sent out after 1 day, 2 days, a week, or on any other schedule.
This is a nice way to give people encouragement over time, to drip-deliver content, and to stretch the engagement over a longer period.
In an auto-response, you can link to media files or just deliver content within the email itself.
Creating an Auto-Responder
-
Select Contacts >> Lists or Sales >> Products from your Simplero Dashboard.
-
Select the List or Product you want to create an auto-response for.
-
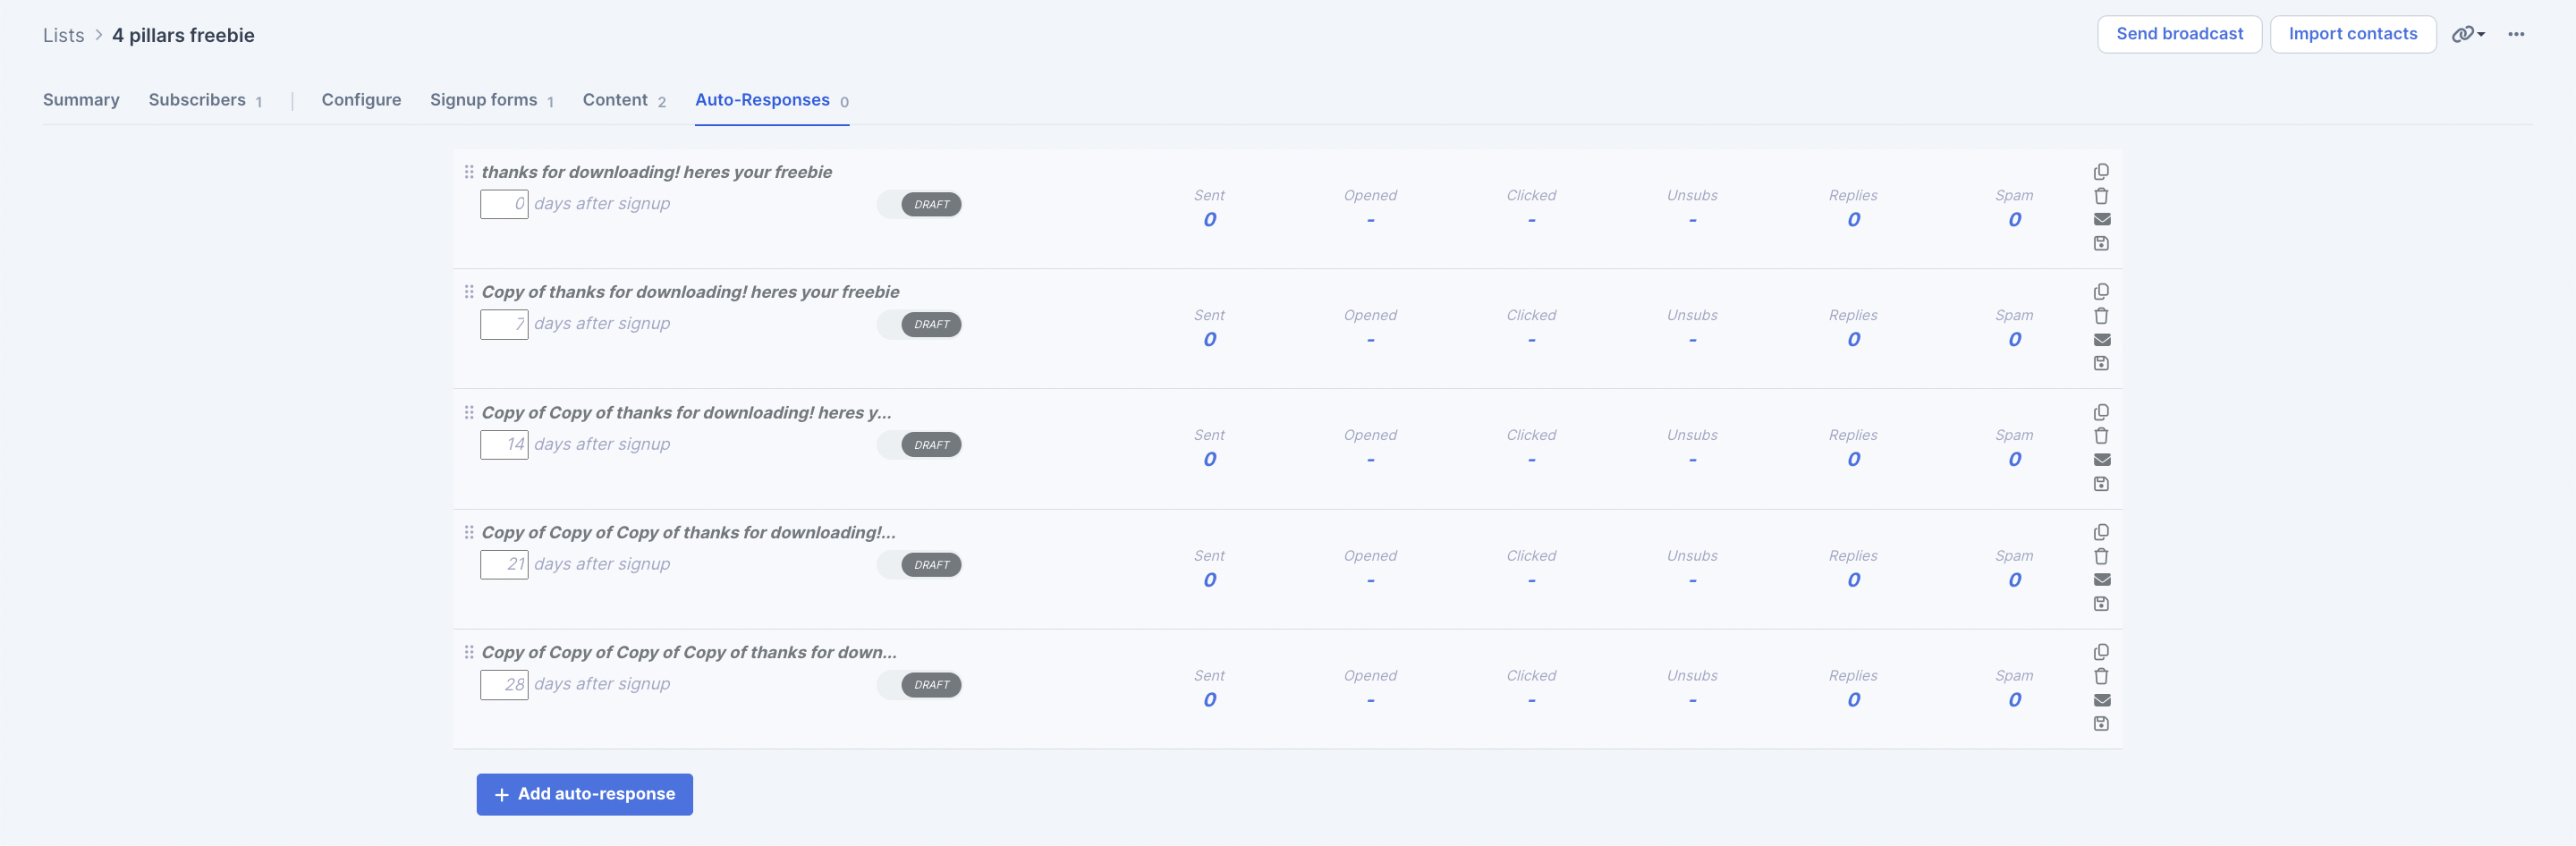
Select the Auto-Responses tab.
-
Click the red + Add auto-response button:

-
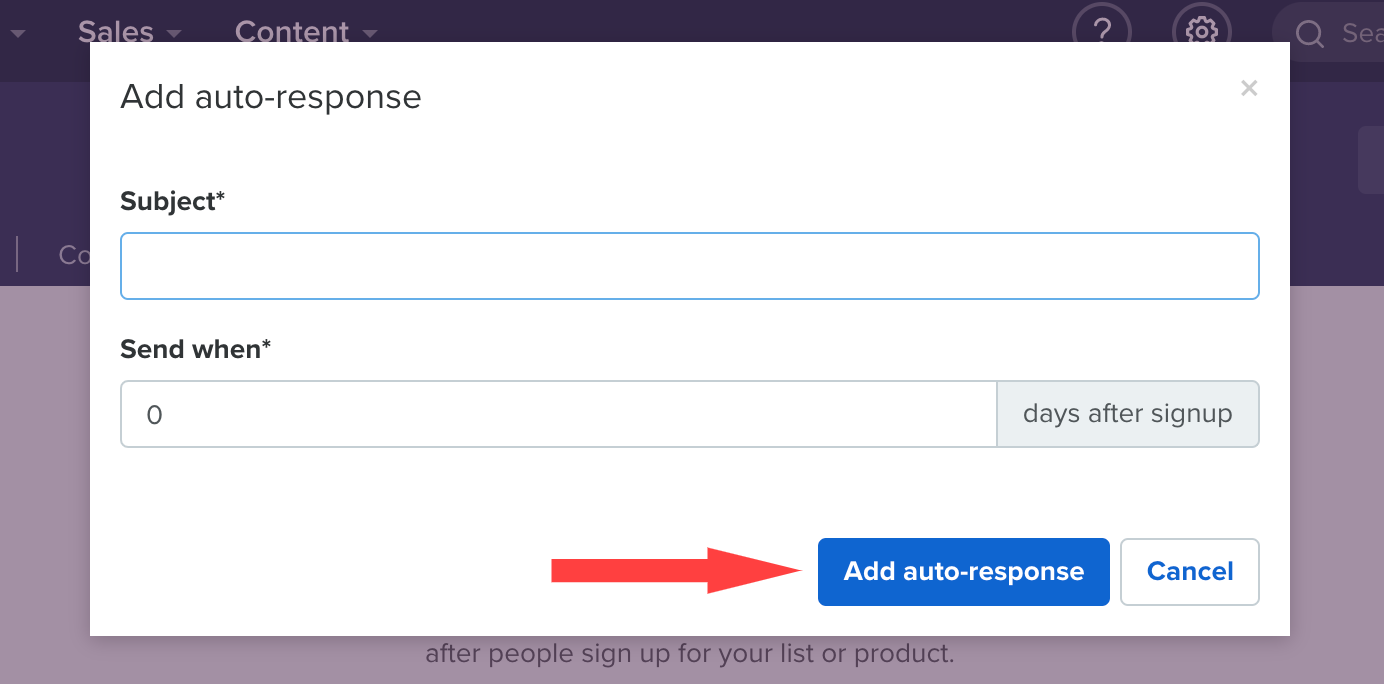
Enter the Subject and When to send your auto-response and click the Add auto-response button.
-
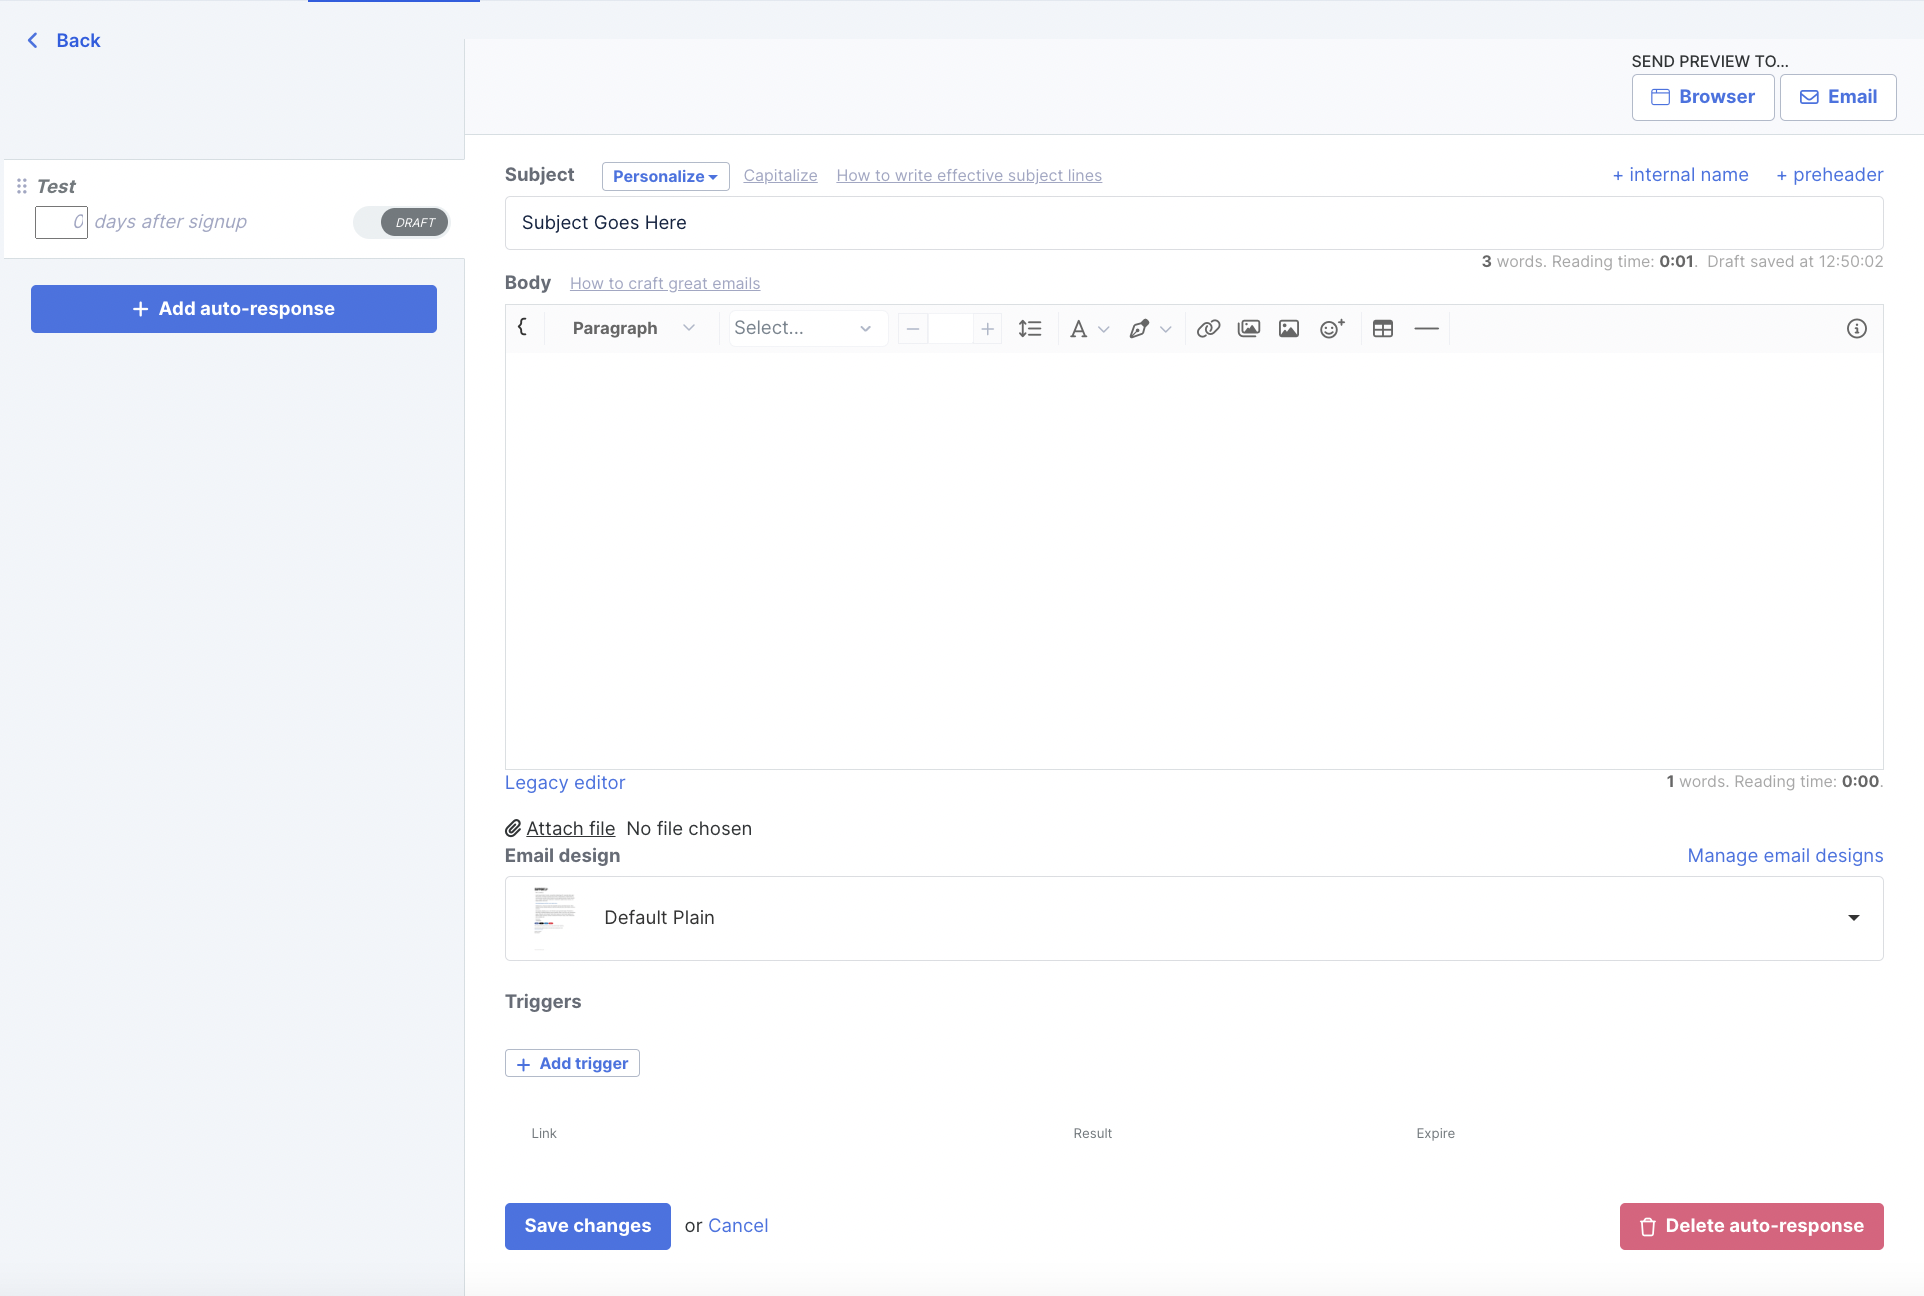
Complete your auto-response information:
-
Subject: What customers see in the subject line.
-
Internal Name: What admin screen calls the email (only you can see this).
-
Press the blue + Internal name link on the right-side to add this.
-
-
Email body: Type the email you want for this auto-response.
-
Triggers: This section is not required for an autoresponder, but it does allow you to have the system perform an automated action when the autoresponder is sent. Check out our guide on triggers for more information about how they work.
-
Click the blue Save changes button.
-
-
Then when you are ready to make your auto-response active, click the little grey button that says Draft, and it will change to Active:

-
At the bottom of the page, below the email body box, you'll have checkboxes next to each page and course content that is set to drip. If you tick those boxes, the auto-response will give access to that content as soon as it is sent.
Note: The list or product needs to be giving access to the site/course through the content in order to use that option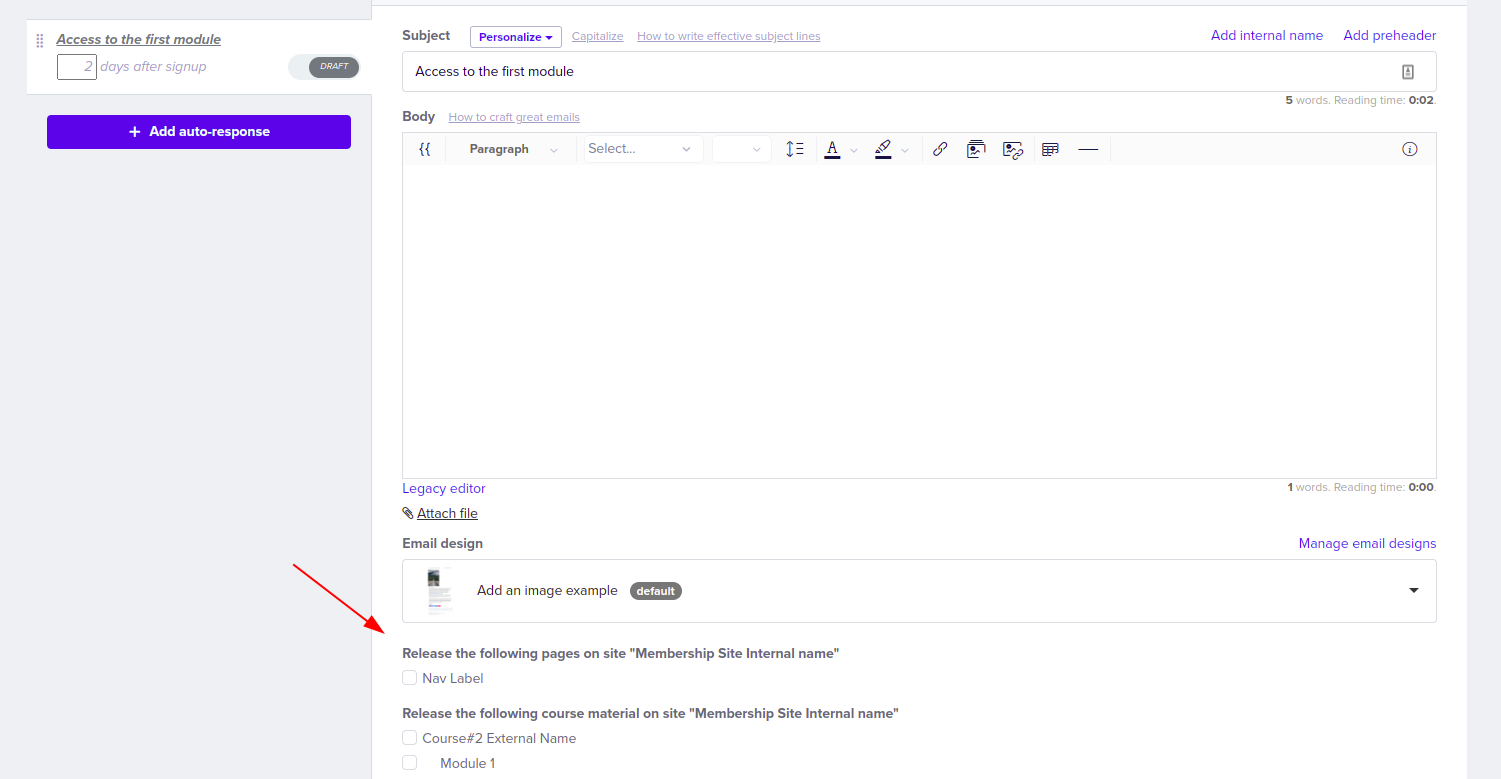
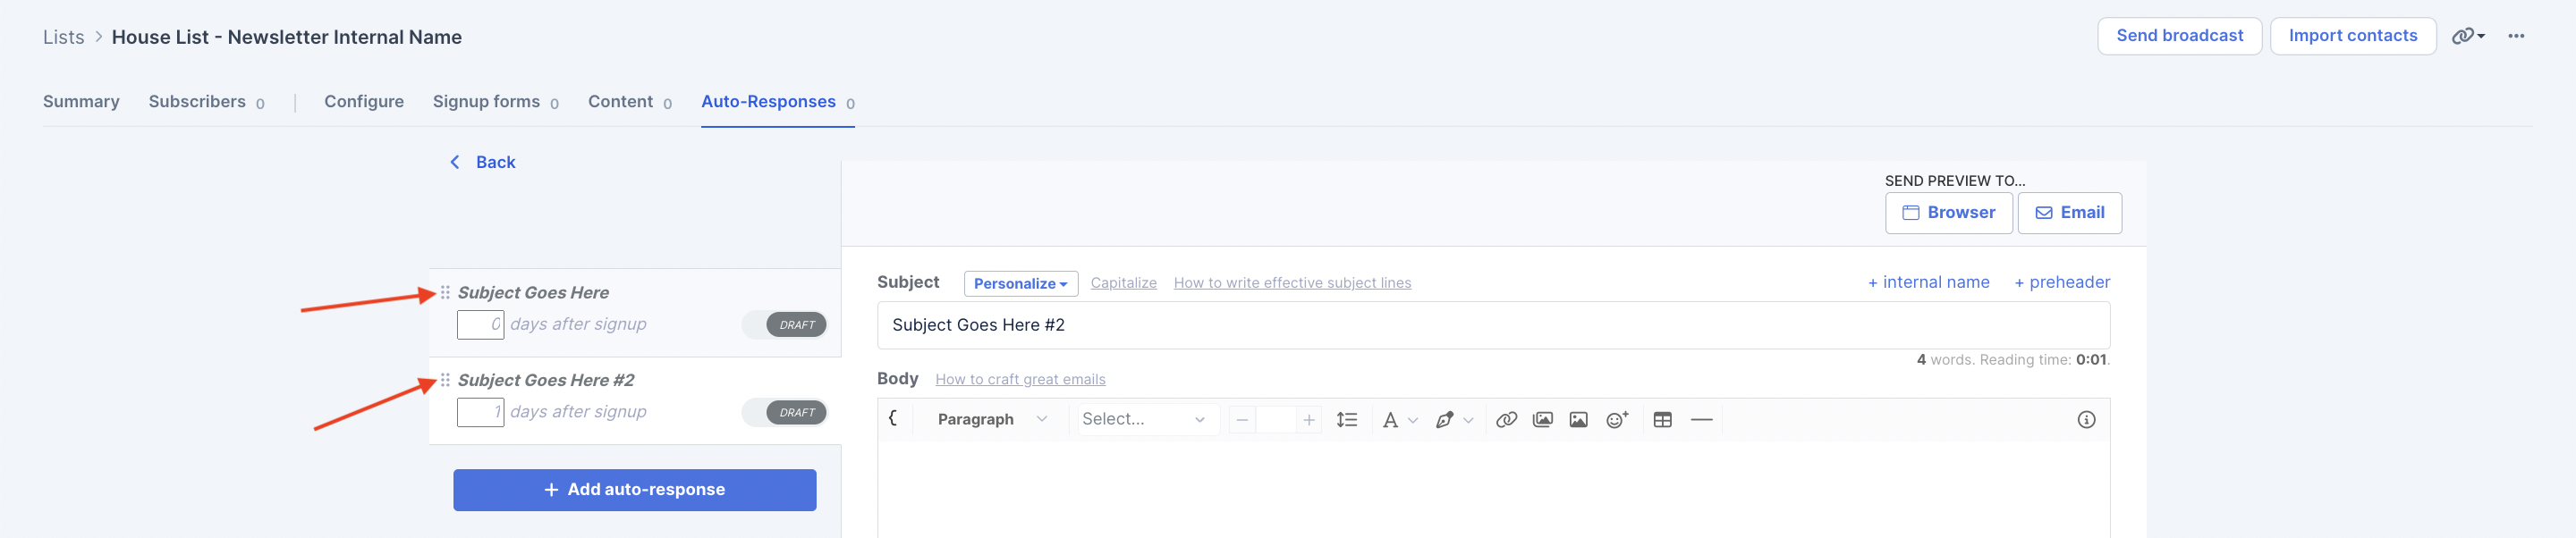
If you need to re-order your auto-responses, you can change the number of days that they will go out after, or you can grab the whole auto-response by clicking the six grey dots next to the subject line and drag and drop it where you want:
What happens when you change auto-responses while people are already on the list?
Auto-responses are sent out based on the timeframe you set.
So if someone signed up exactly 7 days ago today, and you add or have an auto-response that goes out 7 days after signup, they'll get it now.
If you add or have one that goes out 8 days after signup, they'll get it tomorrow.
If you add or have one that goes out 6 days after signup, they've missed it.
You can view auto-responses in your admin interface and see how many people missed it (those who subscribed longer than when they should've received it, but still haven't).
Next to that number is a button that will send the auto-response to those recipients right away:

Pausing Auto-responses in a purchase
It might happen that your customer changes their mind and they want to stop receiving your content for a while. If you are delivering your content via auto-response, you can pause the auto-response series from your purchase screen.
In the participant section of the screen, click on the date next to “auto-responder started at” and then click “pause”:

You can then resume at any time:

After resuming, the auto-responder will continue from the day that you pause it. For example, if you pause it on day 1, it will continue from day 2 when you resume it, regardless of how many days you keep it paused.
Creating an Automation
We have a series of guides focused on automations here.
Automations are used to build out a sales funnel, drip content for your Evergreen program, or even simply send out a series of emails (like autoresponders do). There are times when it's better to use an automation instead of autoresponders.
One case is if you want to exclude people from getting the autoresponders. For example, if you want to get people from your list to buy a specific product(s), and you want to exclude the people who have purchased the product already, then you'd want to use an automation.
With this process, as people purchase the product, the series of emails won't continue going out to the purchasers.
Another example is if you want multiple sublists in your account to receive the set of autoresponders.
In this case, you may want to consider entering them into an automation and then adding a trigger to each list that starts that automation.
Converting an Existing Autoresponder Series Into an Automation
We know that many of you have autoresponders currently set up for your products and lists, and copying them over to an automation sounds time-consuming.
But don't worry, it's not! And it’ll be well worth the time to have all the flexibility that automations provide.
Here's how to do it:
-
Head to Contacts >> Lists or Sales >> Products from your Simplero Dashboard.
-
Select the List or Product with the Auto-Responder Series that you want to convert to an automation.
-
Select the Auto-Responses tab.
-
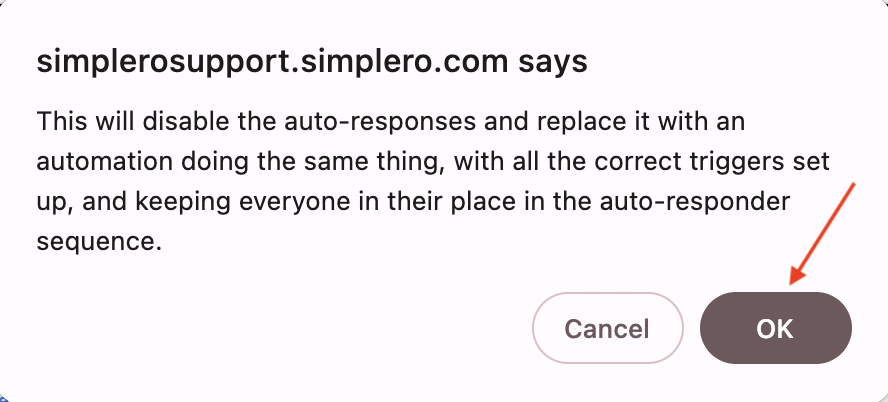
Click the "..." button at the header's far right to Convert to automation... and click OK to confirm that you really want to convert to an automation:

-
Voilà! The conversion will happen in the background, and you’ll be notified when it’s complete.
If you head to Marketing >> Automations, you’ll see your converted automation at the top of the list:
You can now also direct other lists to this same automation. If your autoresponders are the same in several places, go to those other lists/products, shut off the autoresponders, and add two triggers to start and stop this automation upon subscribing and unsubscribing.
But what happens to your list/product?
Everything is done for you!
-
The autoresponders you just converted have now been turned off:
-
The start and stop triggers to control people being in the automation based on their subscribing and unsubscribing activity have automatically been created for you:

-
All the emails are now in your email library with the same internal name as they had when they were an autoresponder so that you can easily use them again and again in other automations or as broadcasts.
There's really nothing else for you to do unless you want to go back and rename the emails in your email library (to remind yourself where they came from if they're list or program-specific, for example).
Maximum size of Emails
The maximum size of email attachments is 20 MB. If you attach anything over that, we will show a warning. If you ignore it, the auto-response will not go out.
In this case, we will send a notification to the admin of your account with the title: Your email has not been sent. You will have to correct your email size and any pending emails will be sent automatically once you fix this issue.
Suite 92530
New York, NY 10003
United States