

Have you ever wanted to create a personalized landing page or thank you page? Something more than just including a visitor's name? A landing page or thank you page that really stands out and makes users feel special?
Well, you can! You can create a personalized message based on how a site visitor or customer completes an opt-in or order form.
Or maybe you've wanted an opt-in quiz on your site. Quizzes are fun and insightful for customers and are a great way to bring in new leads for your list.
Now, you can create these personalized options on your Simplero landing pages and site using our radio button form fields and Global snippets.
Here's how:
Create Your Custom Radio Button Form Field
To make a personalized landing page, the first step is to set up your custom form field. You want to add the custom form field and make sure to add an Interpolation key that makes sense with the field.
How to add fields:
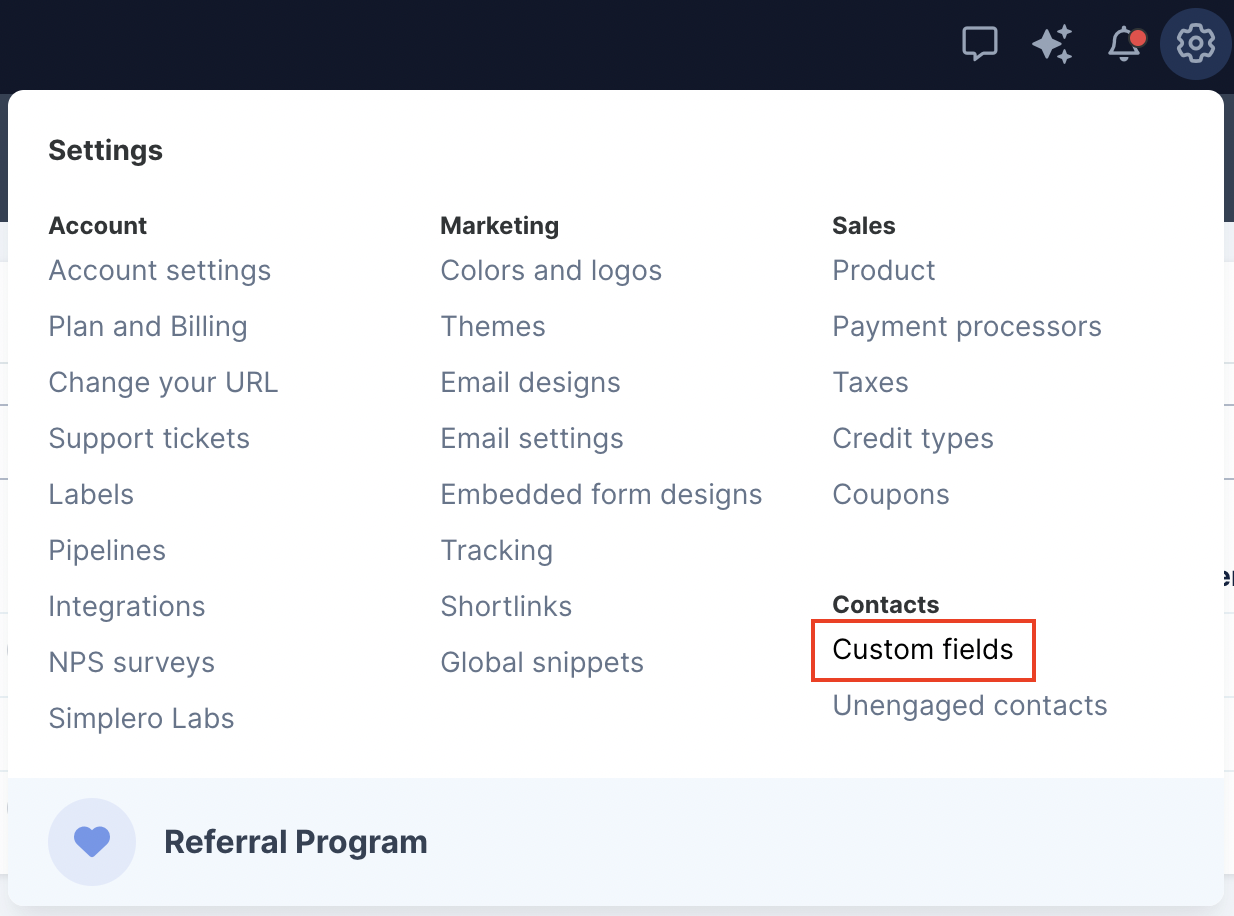
- Select Settings from your Simplero Dashboard.
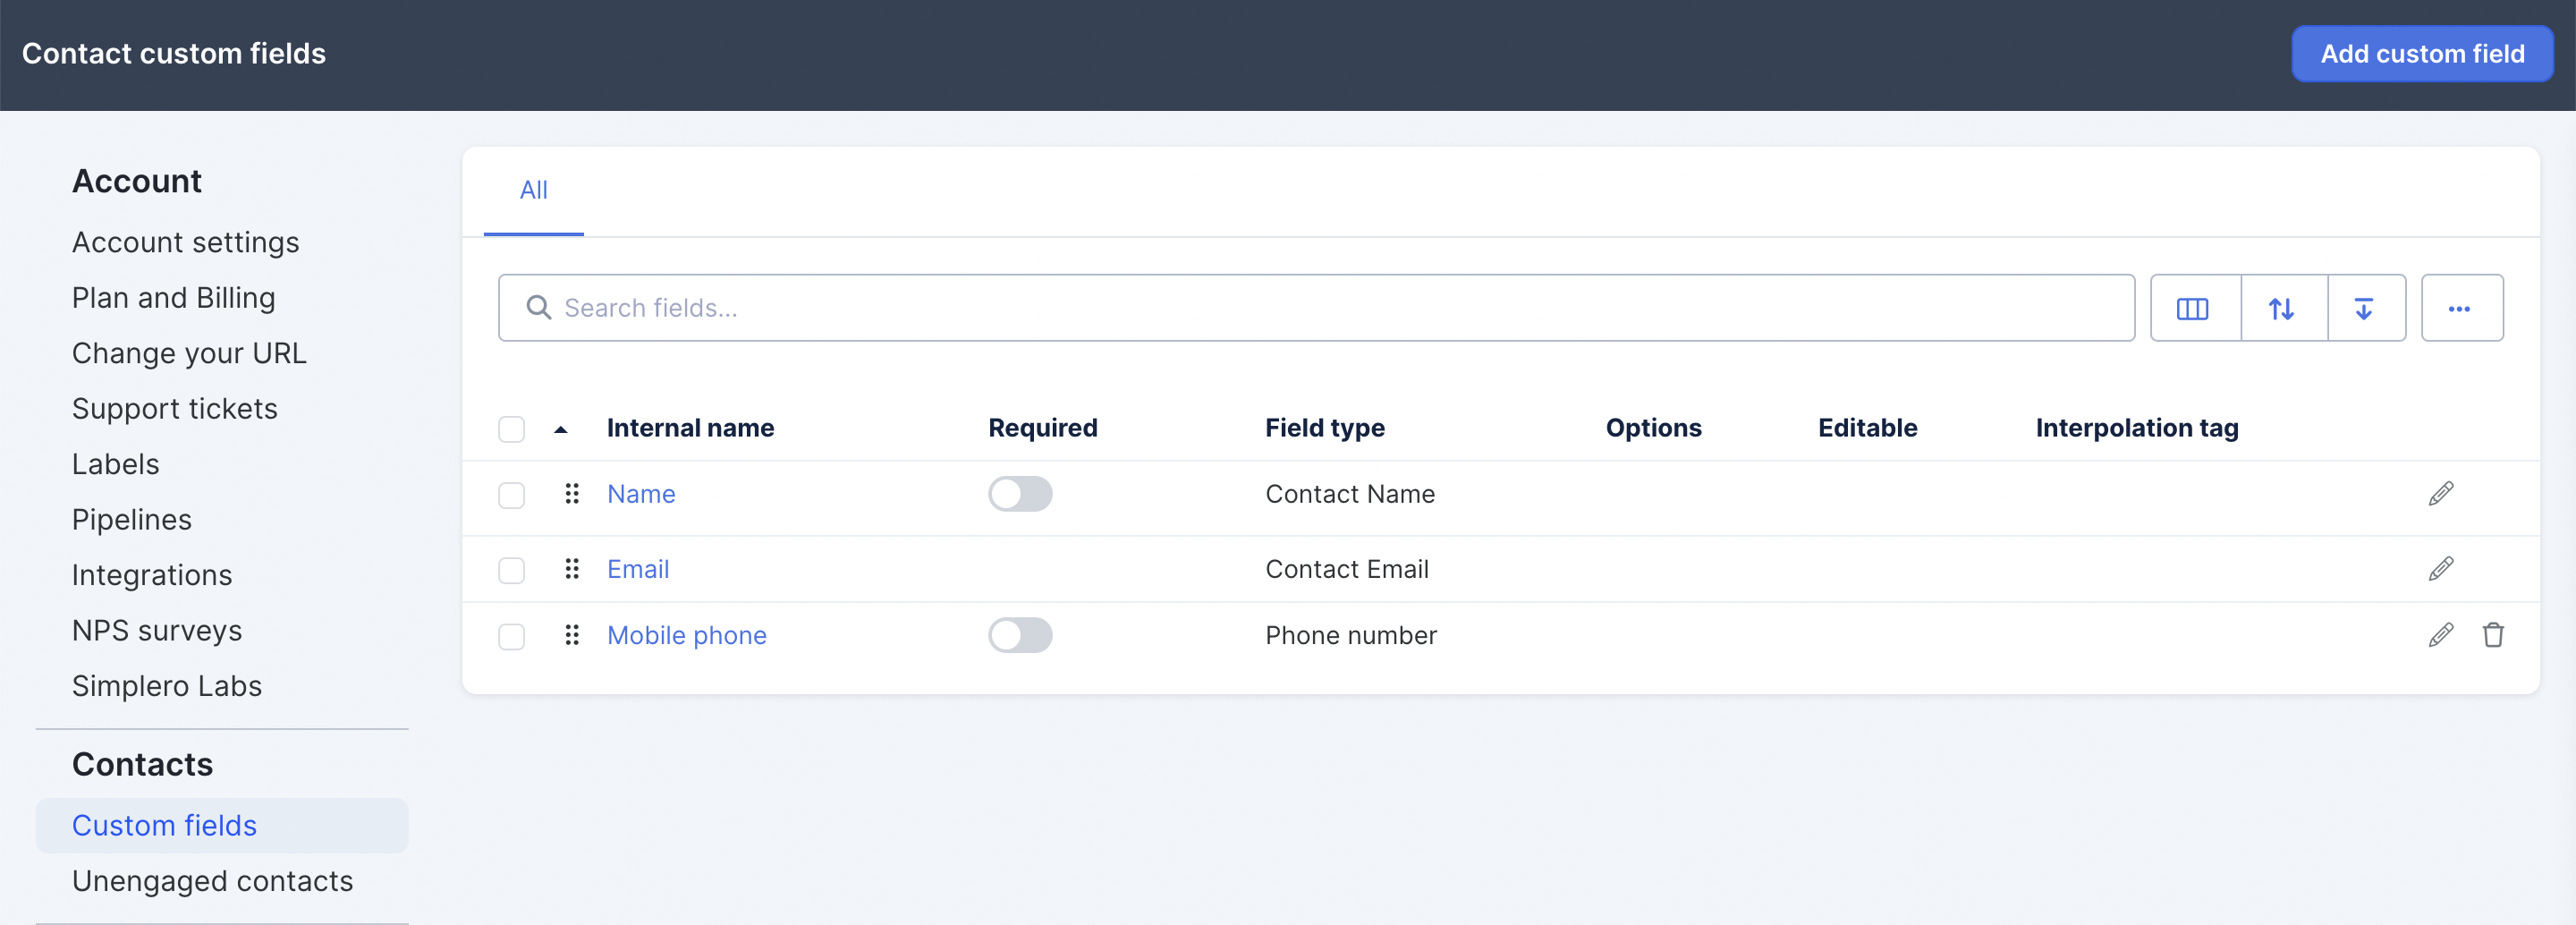
- Select the Custom fields tab.
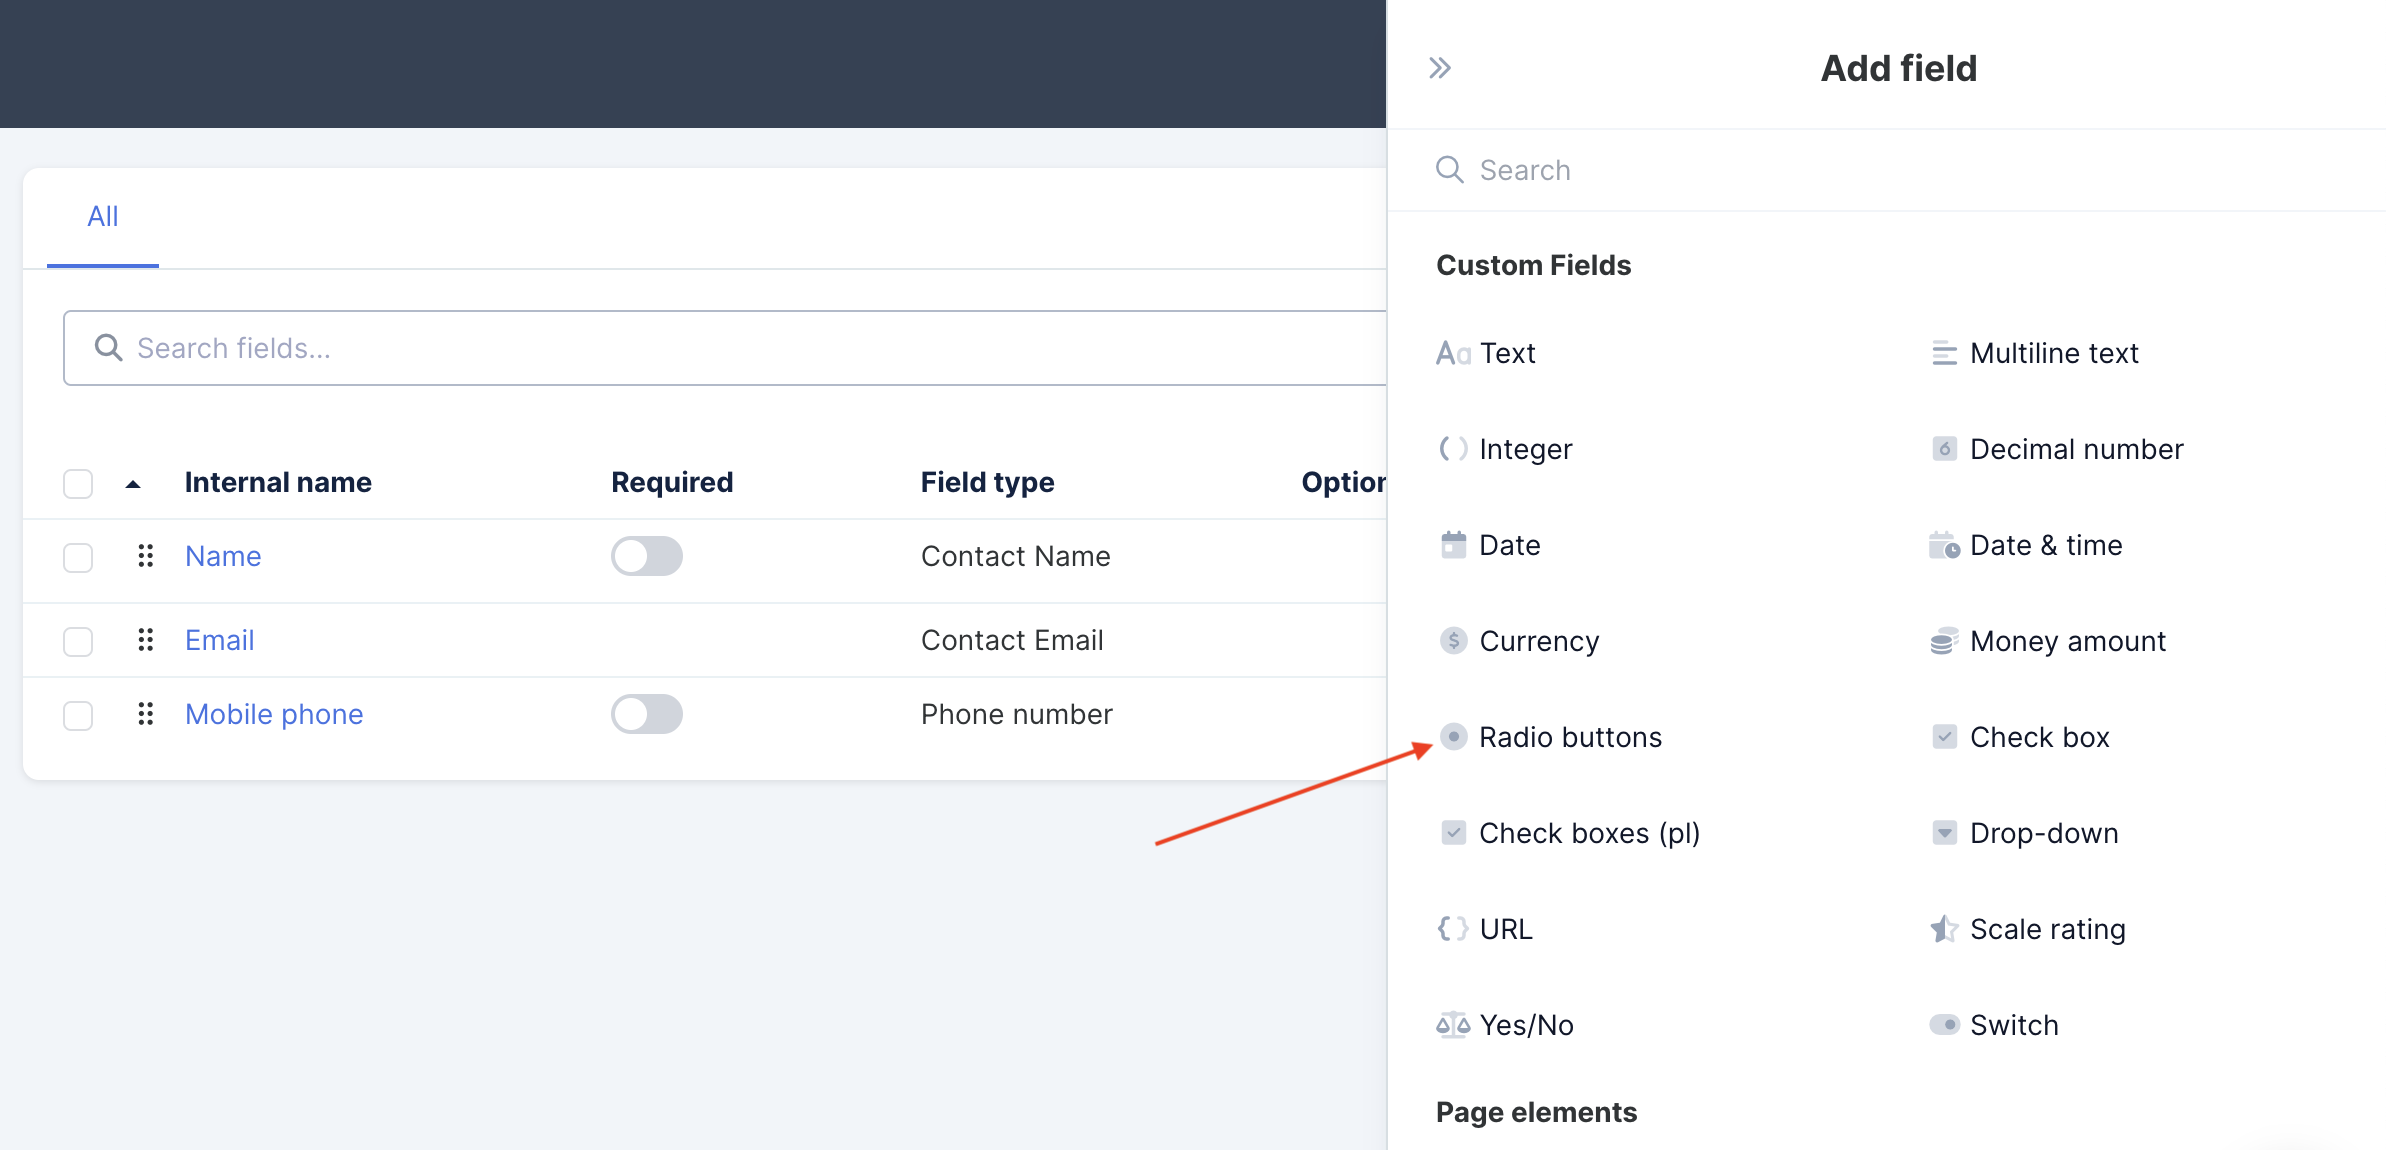
- Press Add custom field to see the Field types on the right:
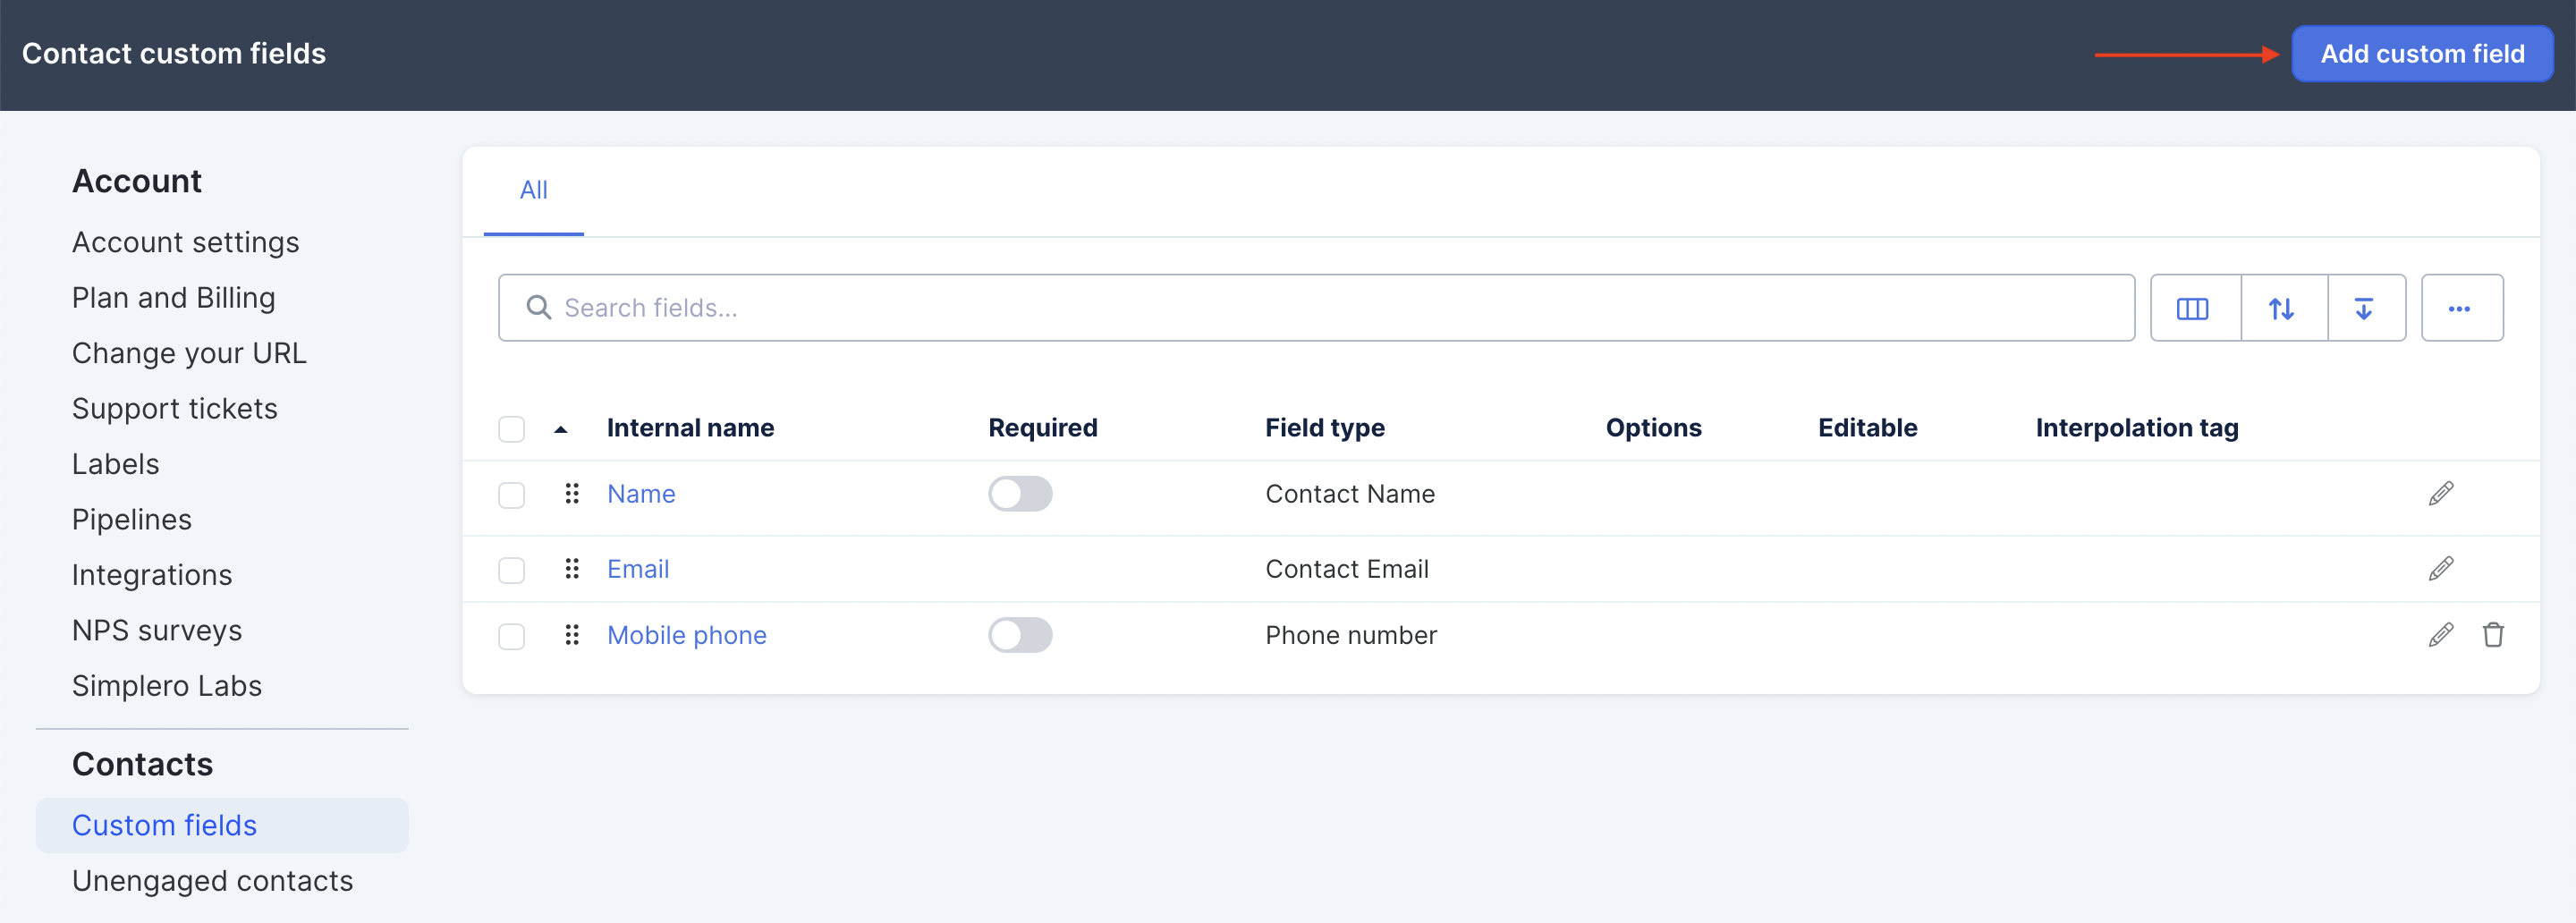
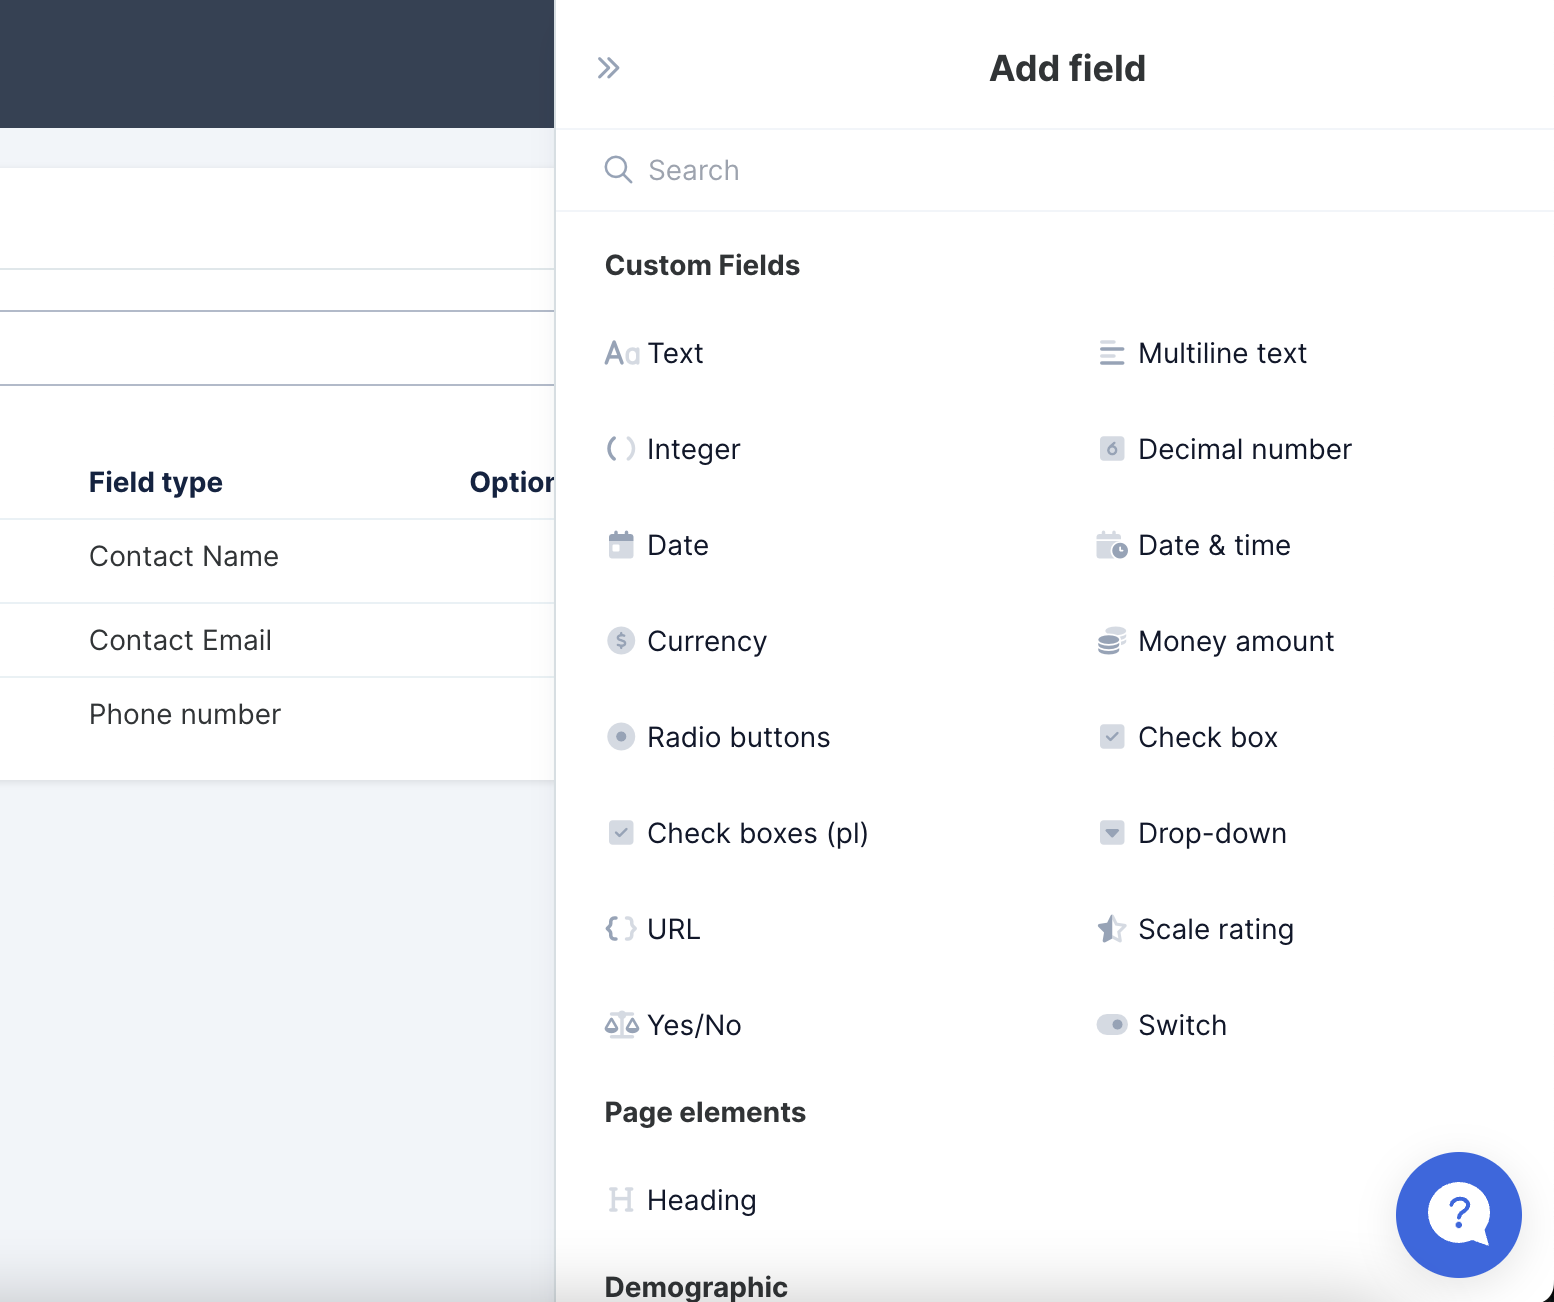
- Click on the field you want to show in your form.
- For example, select the Radio buttons from the Custom fields section from the right side of the screen:
-
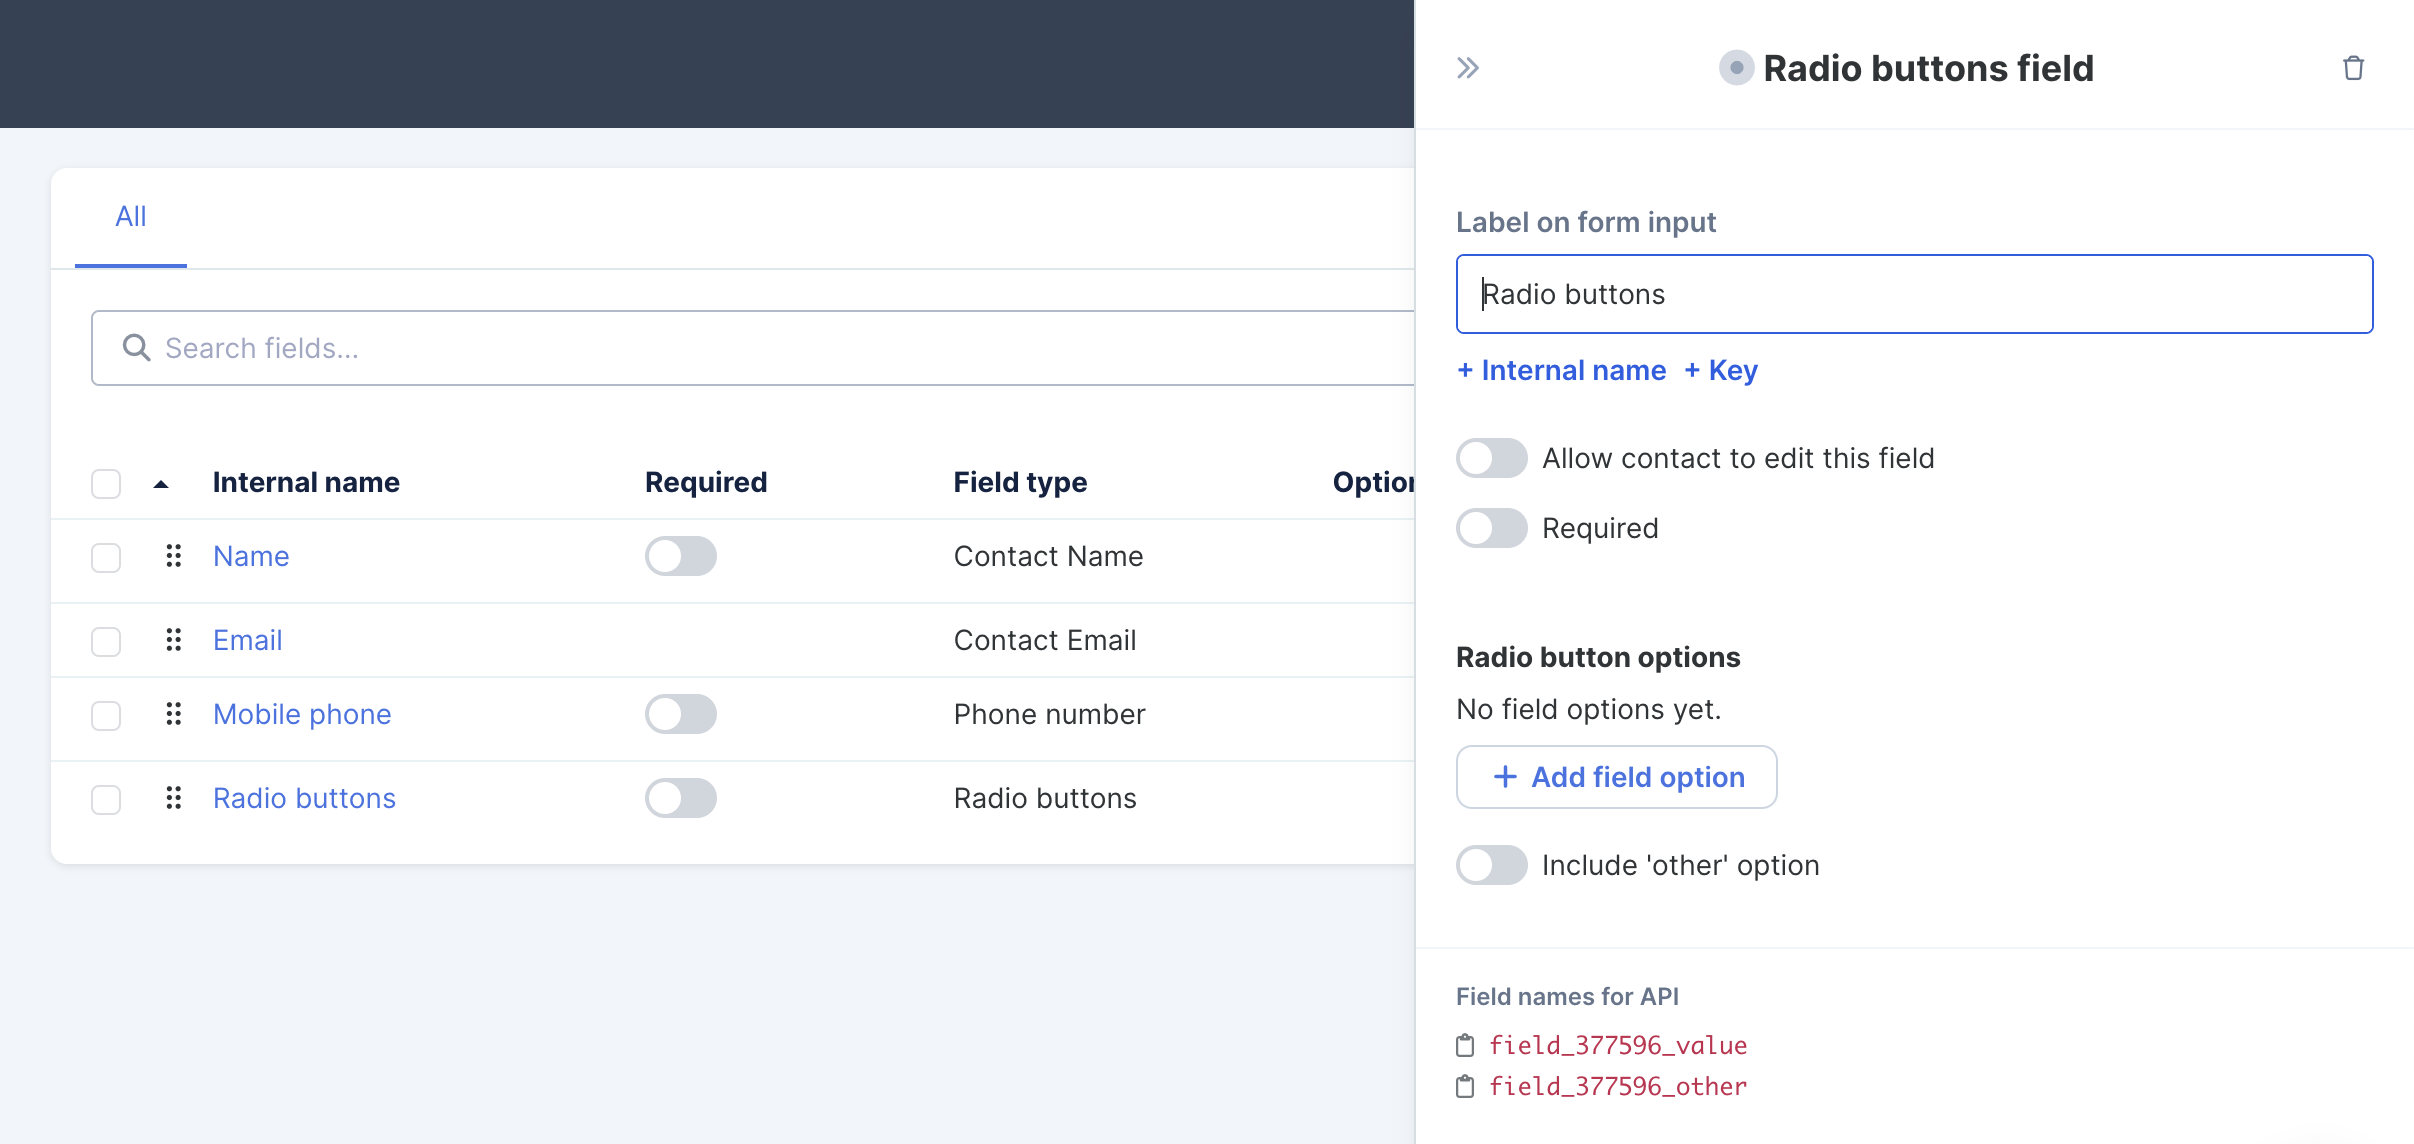
Edit the field on the right side of the page. The changes will auto-save:
Interpolation Keys on Custom Form Fields
For each field you add to your forms, you can also now add a customer Interpolation key. The Interpolation key allows you to transfer the information that's filled in a field to an email broadcast.
Here's how you do it:
- Select the Settings gear icon from the top right-hand corner of your Simplero Dashboard.
- Select the Custom fields tab.
- Press the Add custom field button in the top right-hand corner.
- Choose the Field from the right side of the page.
- You'll now be able to edit the field. Press + Key and a box will appear that says "Interpolation key":
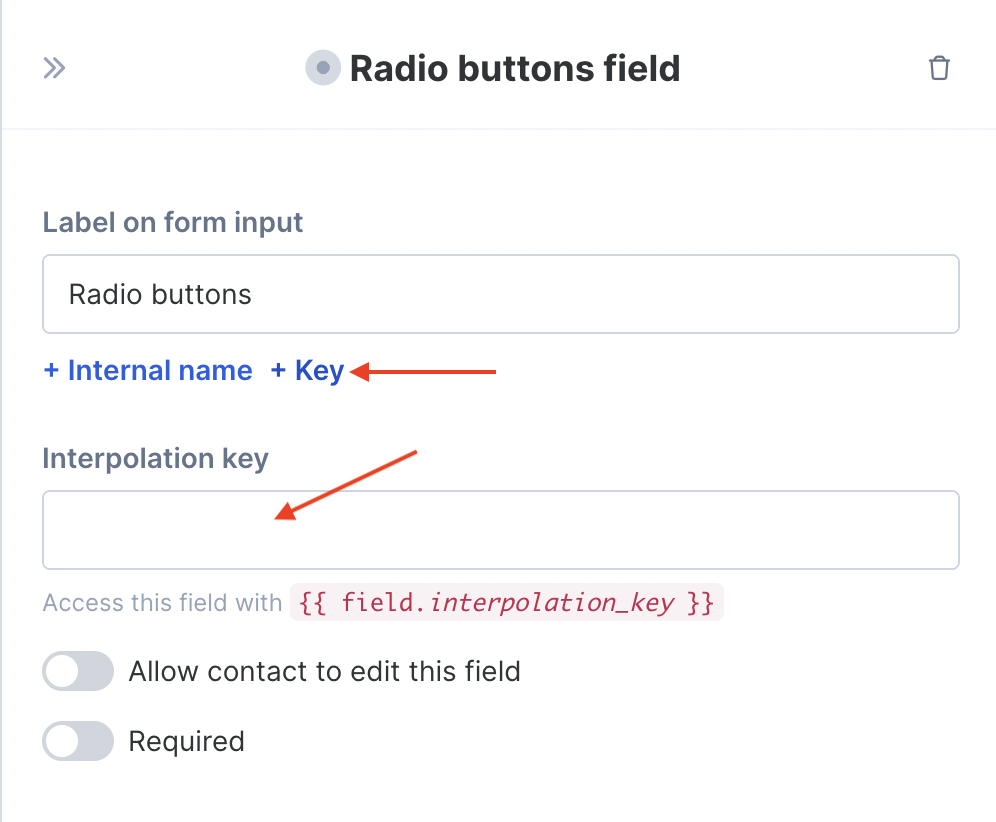
- Fill in that box with a label (all one word) that represents the field information you're bringing over. For example, if it was a phone number field, the Interpolation Key would be phonenumber.
- Click the blue Save changes button and close out of the Editing area for that field.
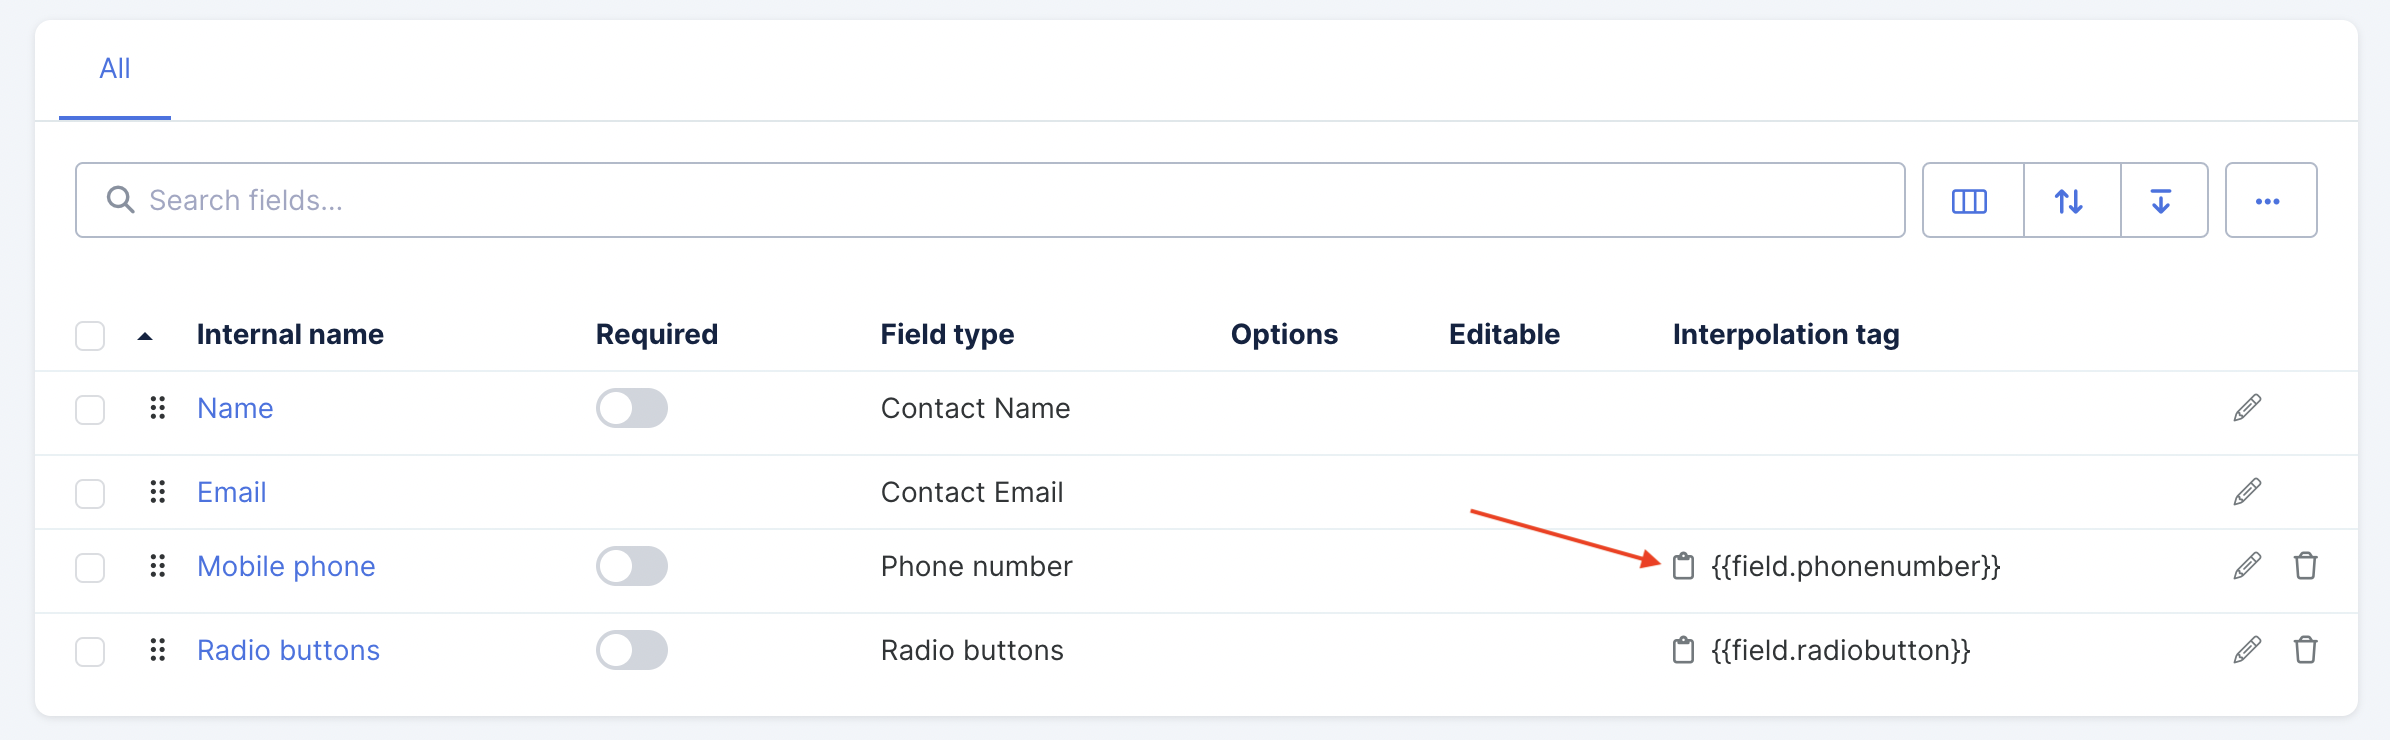
- Copy the link to the Interpolation Key using the clipboard icon next to the field:
Now when you create your broadcast or landing page, you can paste in your Interpolation key in the body of text, and the unique information the customer put into that field will appear for them when they read the email.
- Sticking with the example of the phone number, you would paste
 wherever you want this field to appear.
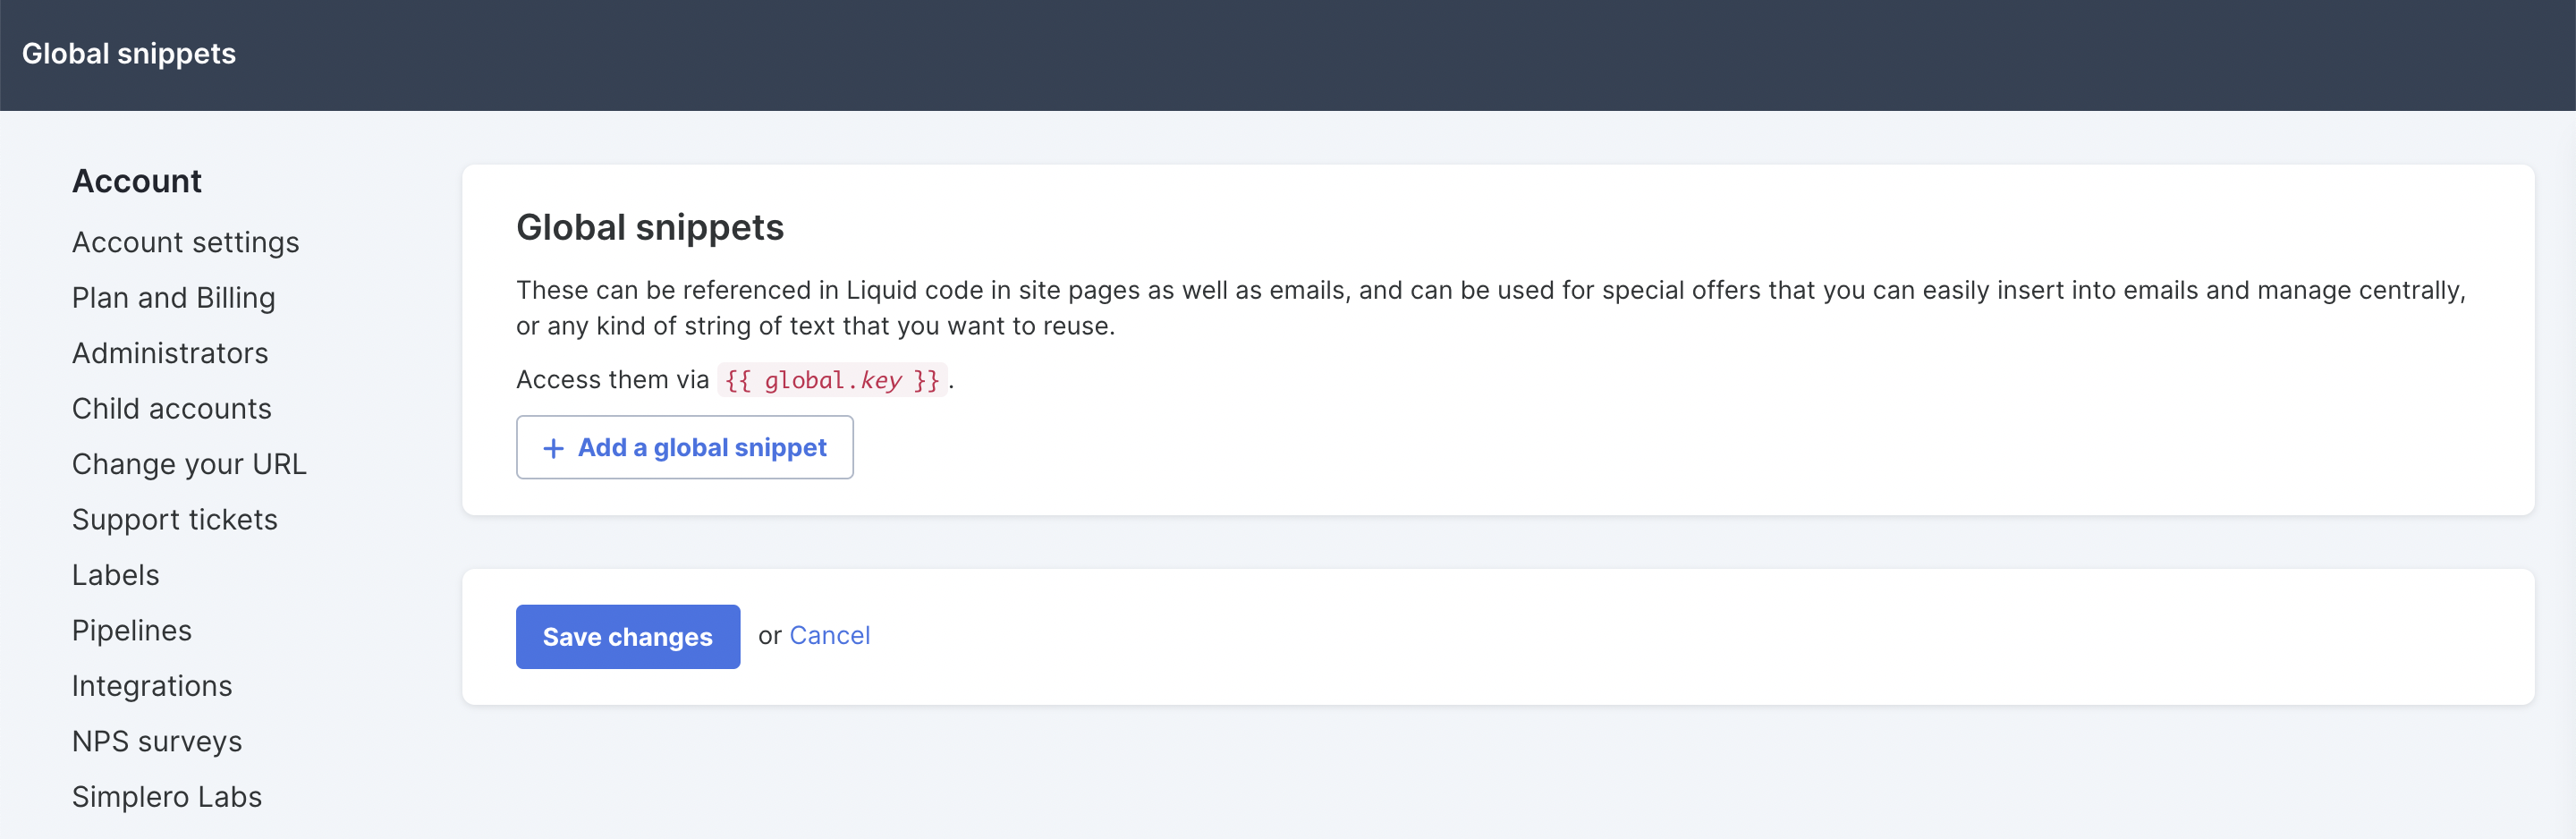
Create Your Global Snippets
The Global snippets are going to be the response that appears based on what's chosen in the form field.
- Select Settings from your Simplero Dashboard.
- Select the Global snippets tab
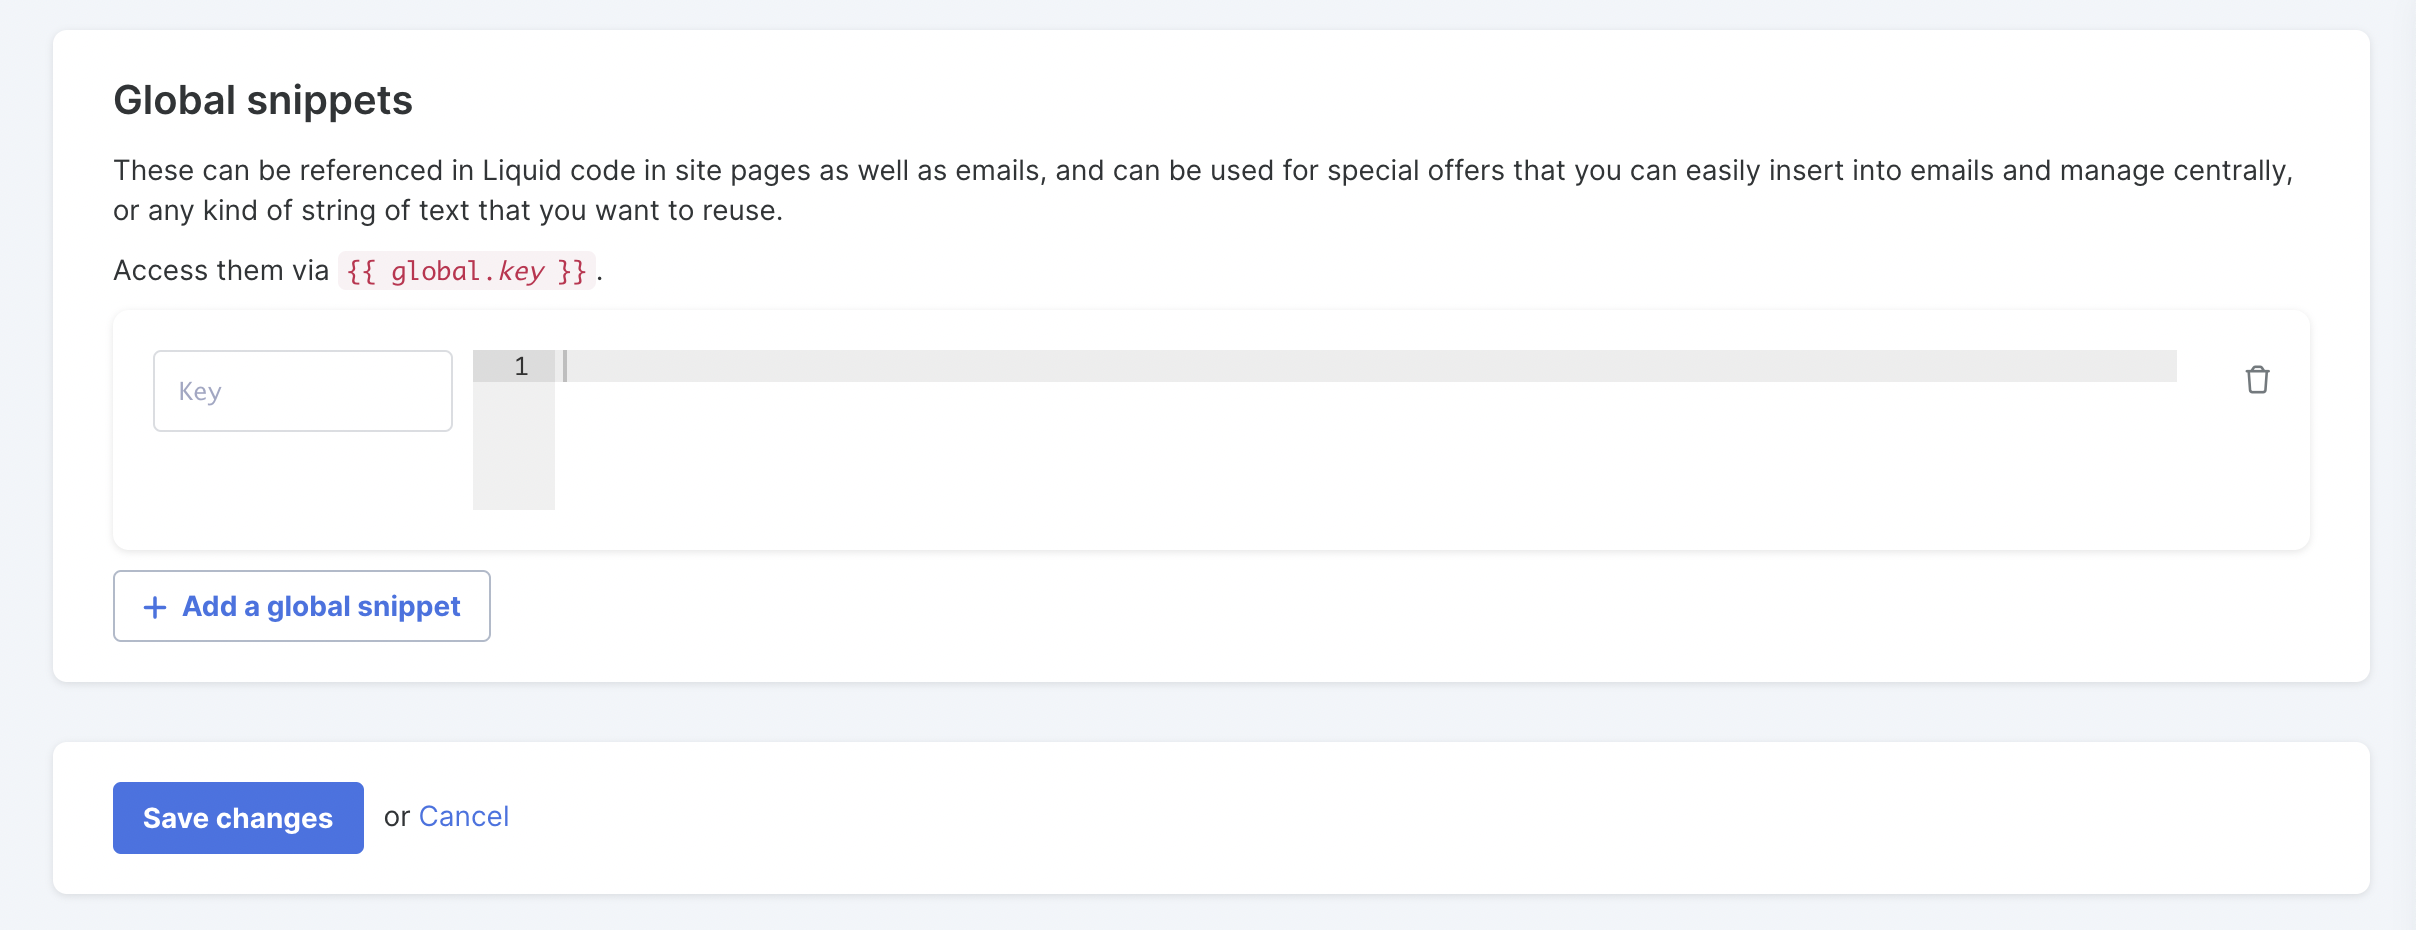
- Scroll down to the Global snippets section and click the white + Add a global snippet button:
- Enter an Interpolation key in the Key box area. This is a bit of text you're going to add to the snippet code, so it knows what text to populate. For example, if the text describes the colour blue, you might use colourblue as your key:
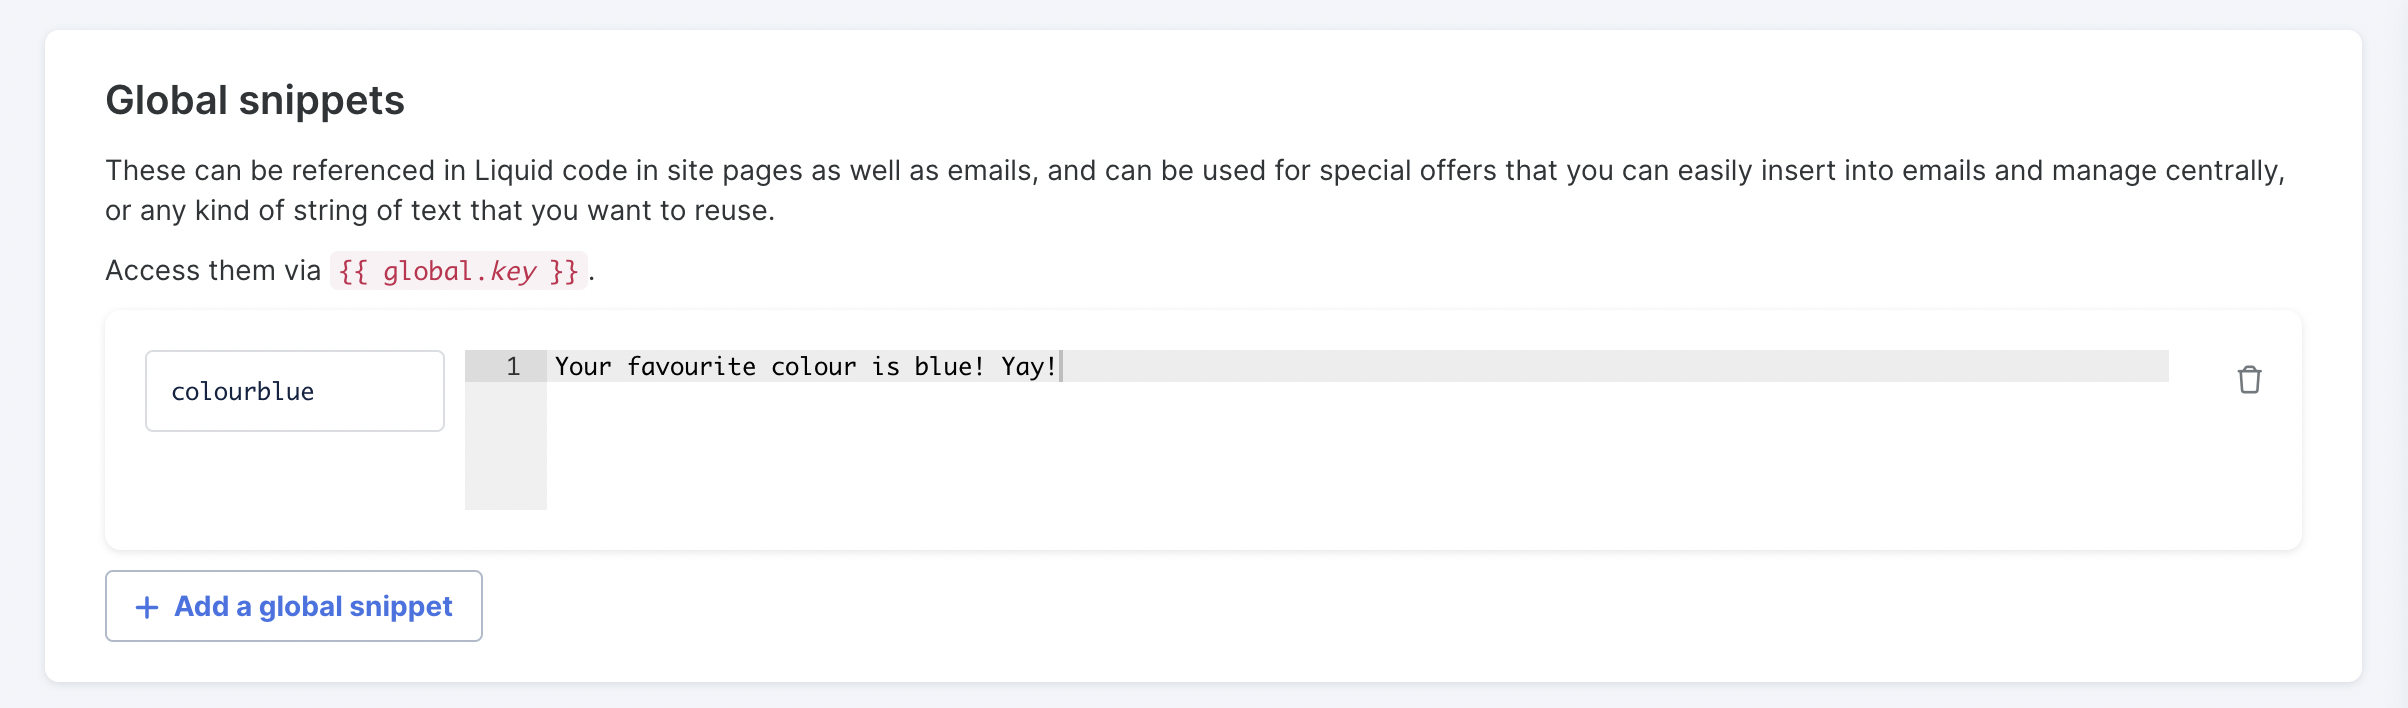
- The box to the right is where you'll write the text that you want to populate wherever you paste in the key:
- You can then select the white + Add a global snippet button to add as many snippets as you'd like.
- Click the blue Save changes button at the bottom of the page.
- To access your global snippet, use the field {{ global.key }} and replace "key" with the key you chose.
So for this example, I would use {{ global.colourblue }}. Wherever I paste this key, the text "Your favourite colur is blue! Yay!" will populate.
Now You're Ready to Set Up Your Landing Page...
- Create your landing page as usual, either as a stand-alone landing page or as a page on your site or membership site.
Here are our guides on how to set up a landing page or add a page to your site.
- You can also choose to edit the Simplero default thank you page on your list or product via List >> Content >> Thank You Page or Product >> Content >> Thank You Page and use this there.
- Wherever your landing page is, click into the text field and write the copy the way you want it to appear.
- Use the Interpolation keys wherever you want the custom response to show.
- For example, you would use Interpolation keys like this to show a certain portion of text depending on which radio button option they choose:
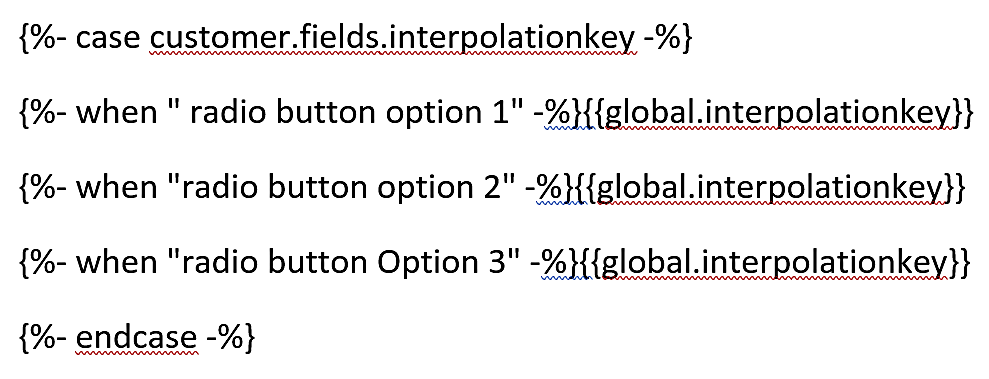
Note: You may have more than three options for the radio button, which is fine. You'll just continue adding the different radio button options and the corresponding interpolation keys.
Suite 92530
New York, NY 10003
United States