

You have 2 options for a Stand Alone Landing page in Simplero:
-
Make it a List Sign-up page
-
Used to advertise freebies and lead magnets
-
-
Make it a Product Sales page
-
Used to advertise paid products
-
Creating a landing page
-
Select Marketing from your Simplero Dashboard
-
Choose Landing pages from the dropdown menu
-
Click the Create new landing page button in the upper right corner

-
Pick your template. You can choose between the Legacy editor or the Builder 2.0 editor, which will each show the templates that use that particular editor:

Once you've chosen your template, you will be redirected to the Editor.
The following instructions are for the Legacy editor. Click here for instructions on how to use the Builder 2.0 editor.
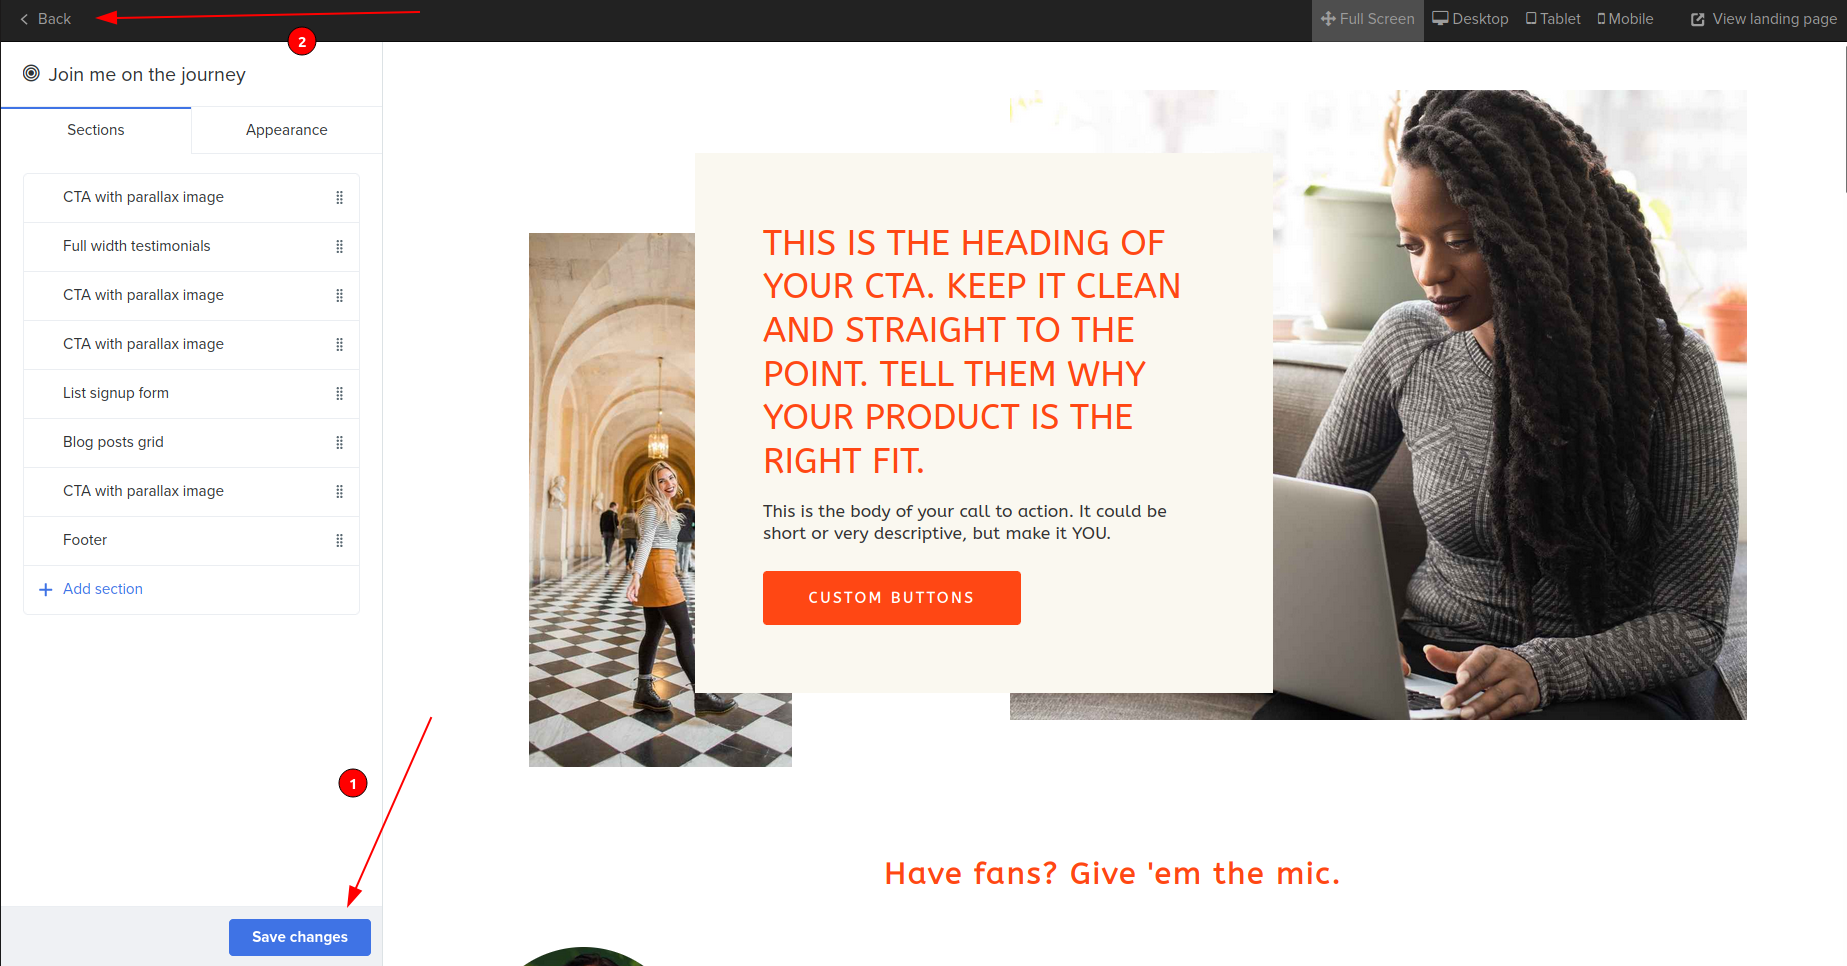
Landing Page Editor
While on the Editor page, and when you are done working on the Full Landing Page design, Save changes and click on Back at the top left corner to access the Landing Page >> Settings tab.
In the Settings tab, complete all the necessary fields and make sure to click the Save changes button when done

...

Link a List and Products to a Full Landing Page
-
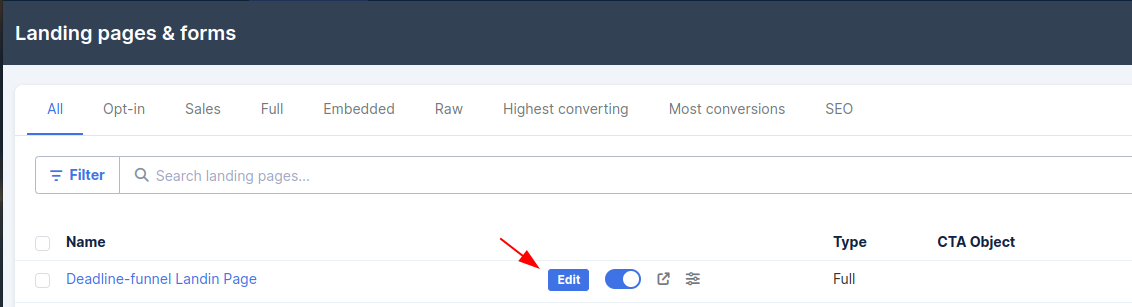
Click the blue Editor button from the Overview tab to make additional changes to your landing page.
-
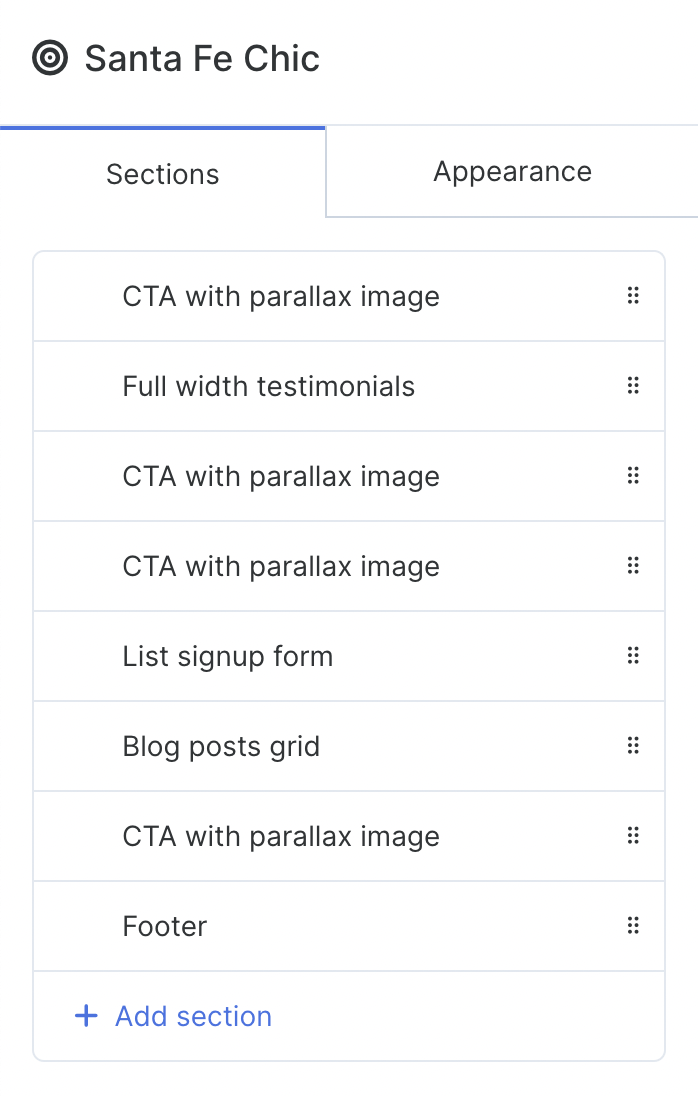
When you click the Launch Editor button, you will be redirected to a page where you can edit the Sections and Appearance of your landing page. (Note that Santa Fe Chic features are exclusive to this Landing page template and cannot be found on any other Landing Page templates editors).
-
From the editor screen, if you chose to create a List Sign-Up landing page, make sure to select your list.
-
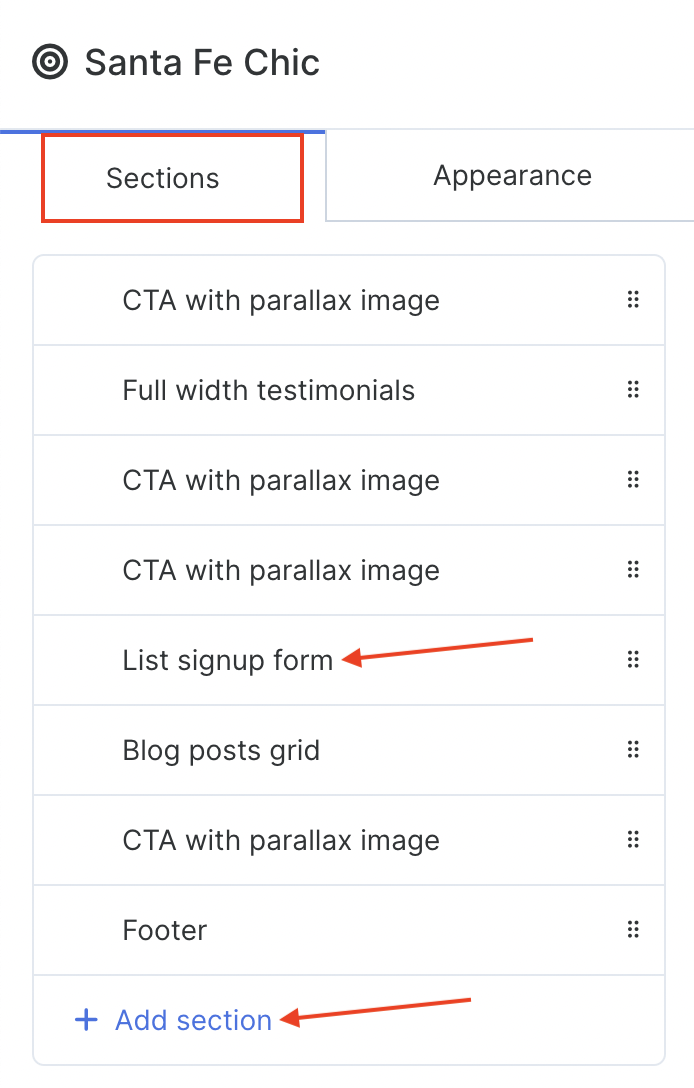
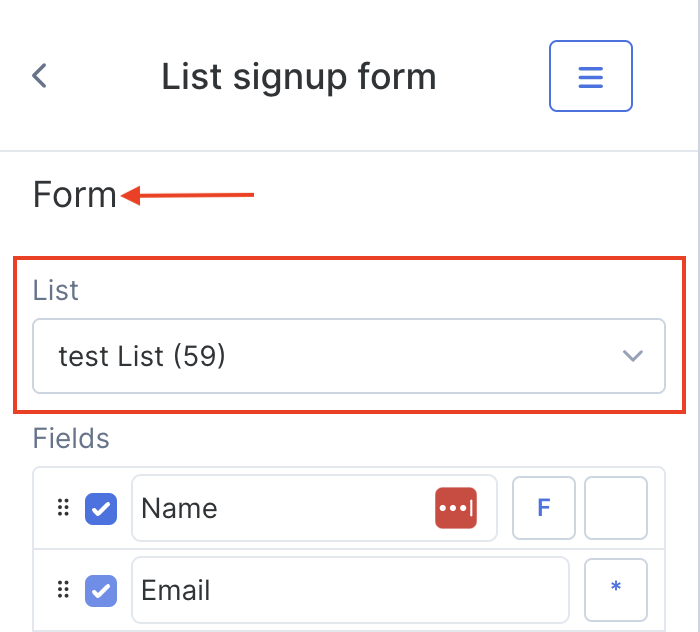
In the Sections tab, select the List signup form section or press +Add section and then select the section:
-
Scroll down to the Form section.
-
In the List area, click the drop-down menu and select your list:
-
Make sure to click the blue Save Changes button when you finish your edit.
-
-
From the editor screen, if you chose to create a Product Sales page for your landing page, here's how to add your Products to the page.
-
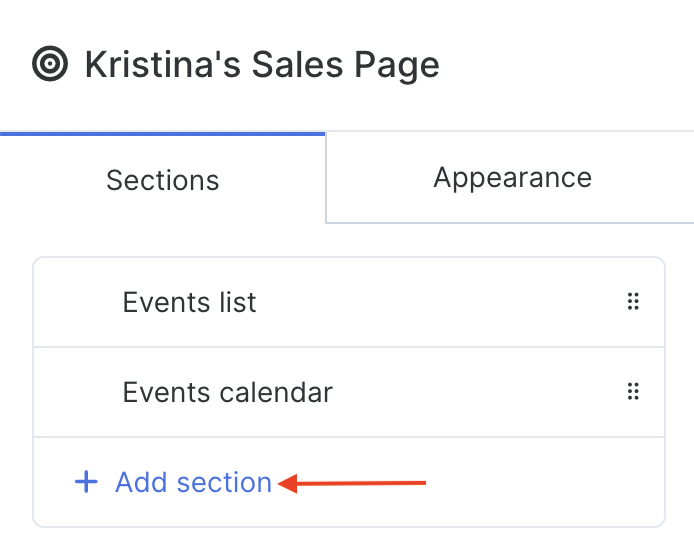
In the Sections tab, click the blue + Add section link:
-
In the Add section screen, scroll down to the Products section.
-
Select Featured products section and press the blue Add button:

-
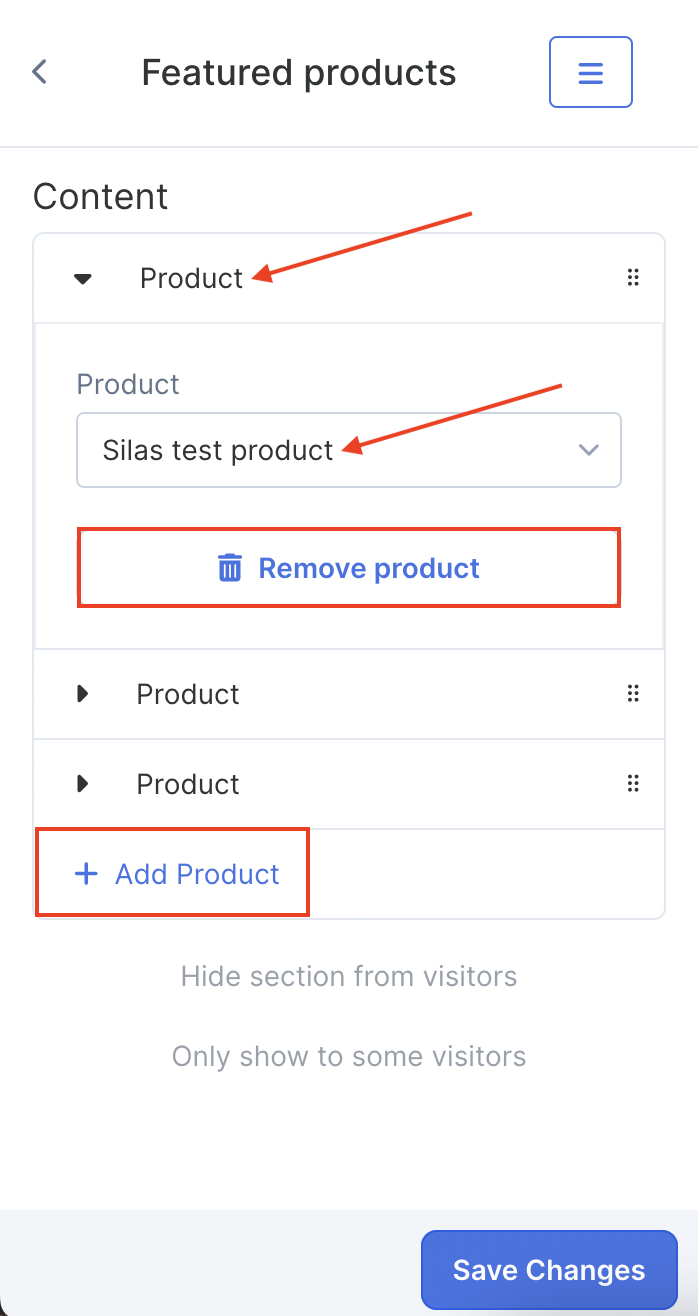
In the Featured products, go to the Content section and click on one of the Product tabs.
-
In the Product area, click the drop-down menu and select your product.
-
You can also add or remove a product (click the blue + Add product or the blue Remove product link)
-
Click the blue Save changes button
-
Set up a Funnel
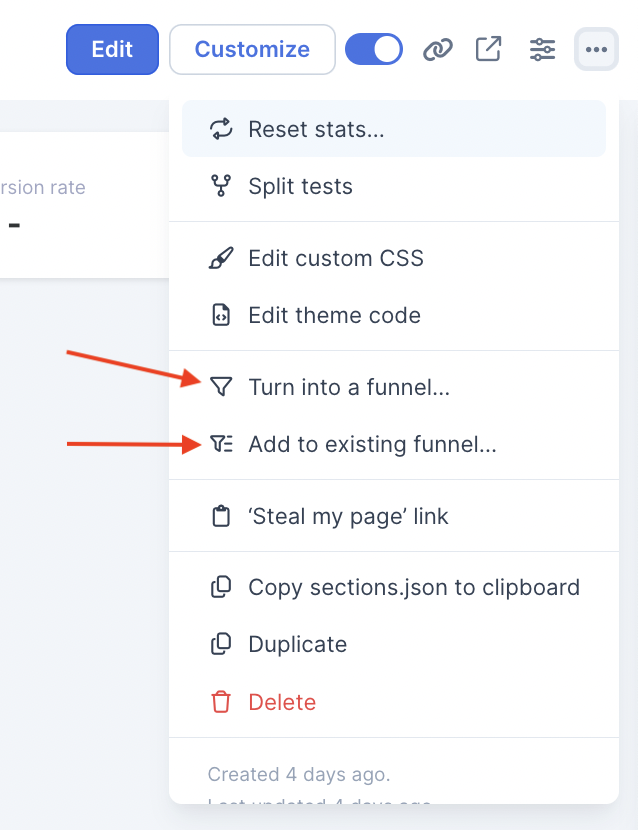
Using the 3 dots menu at the top right, choose between:
-
Turn into a funnel…
-
We will create a new funnel including this landing page in it!
-
Keep building the funnel around it. For example, add a Thank You Page on the next step of the funnel.
-
-
Add to existing funnel…
-
If you already have a funnel on the way and would like to have your landing page be part of it.
-
We will create a new step in the funnel that includes this landing page.
-
You can then drag it around the funnel to the step you want it to be in.
-
Learn more about how funnels work here.
Full Landing Pages Themes
With every new landing page, an individual theme will be generated along with it. You can customize this theme as well as choose an existing Theme on the Editor>>Appearance tab:
*NOTE: If the Landing page has been created as New, then the theme will be generated as a copy of the current System theme (website/membership site theme). If the landing page is a result of duplicating an existing Landing page, then the new theme will be generated based on the original Landing page.
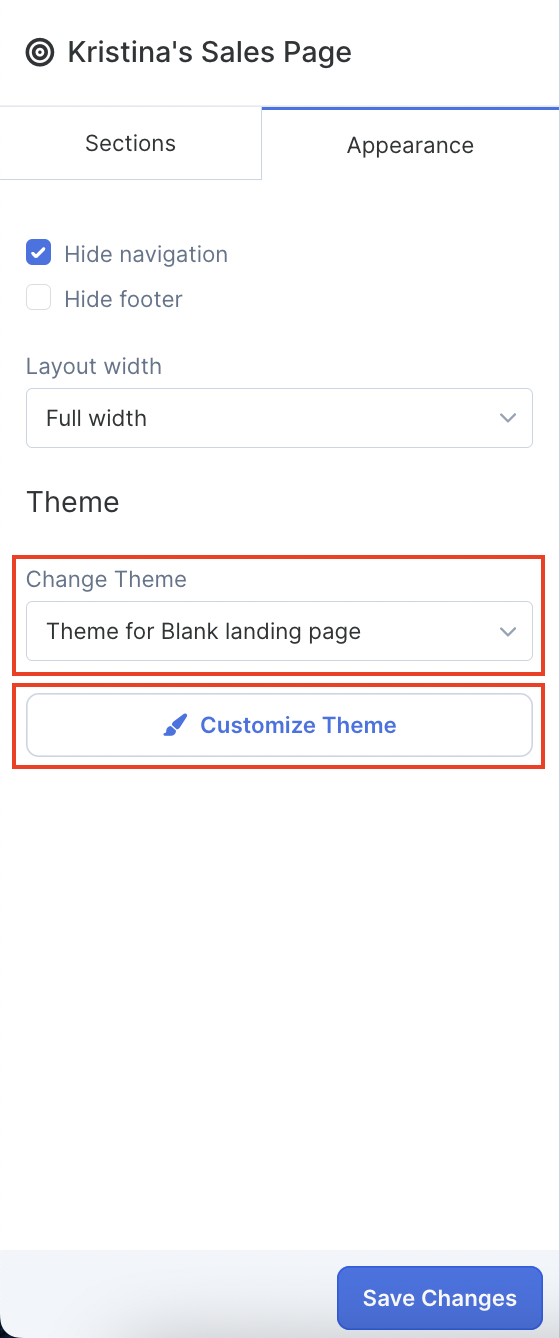
You will also find the landing page theme and link to customize it on the landing page tab >> Theme:

Expiring a landing page/adding a countdown timer
If your landing page is time sensitive such as in the case of creating a sign-up form for a Tele Summit:
-
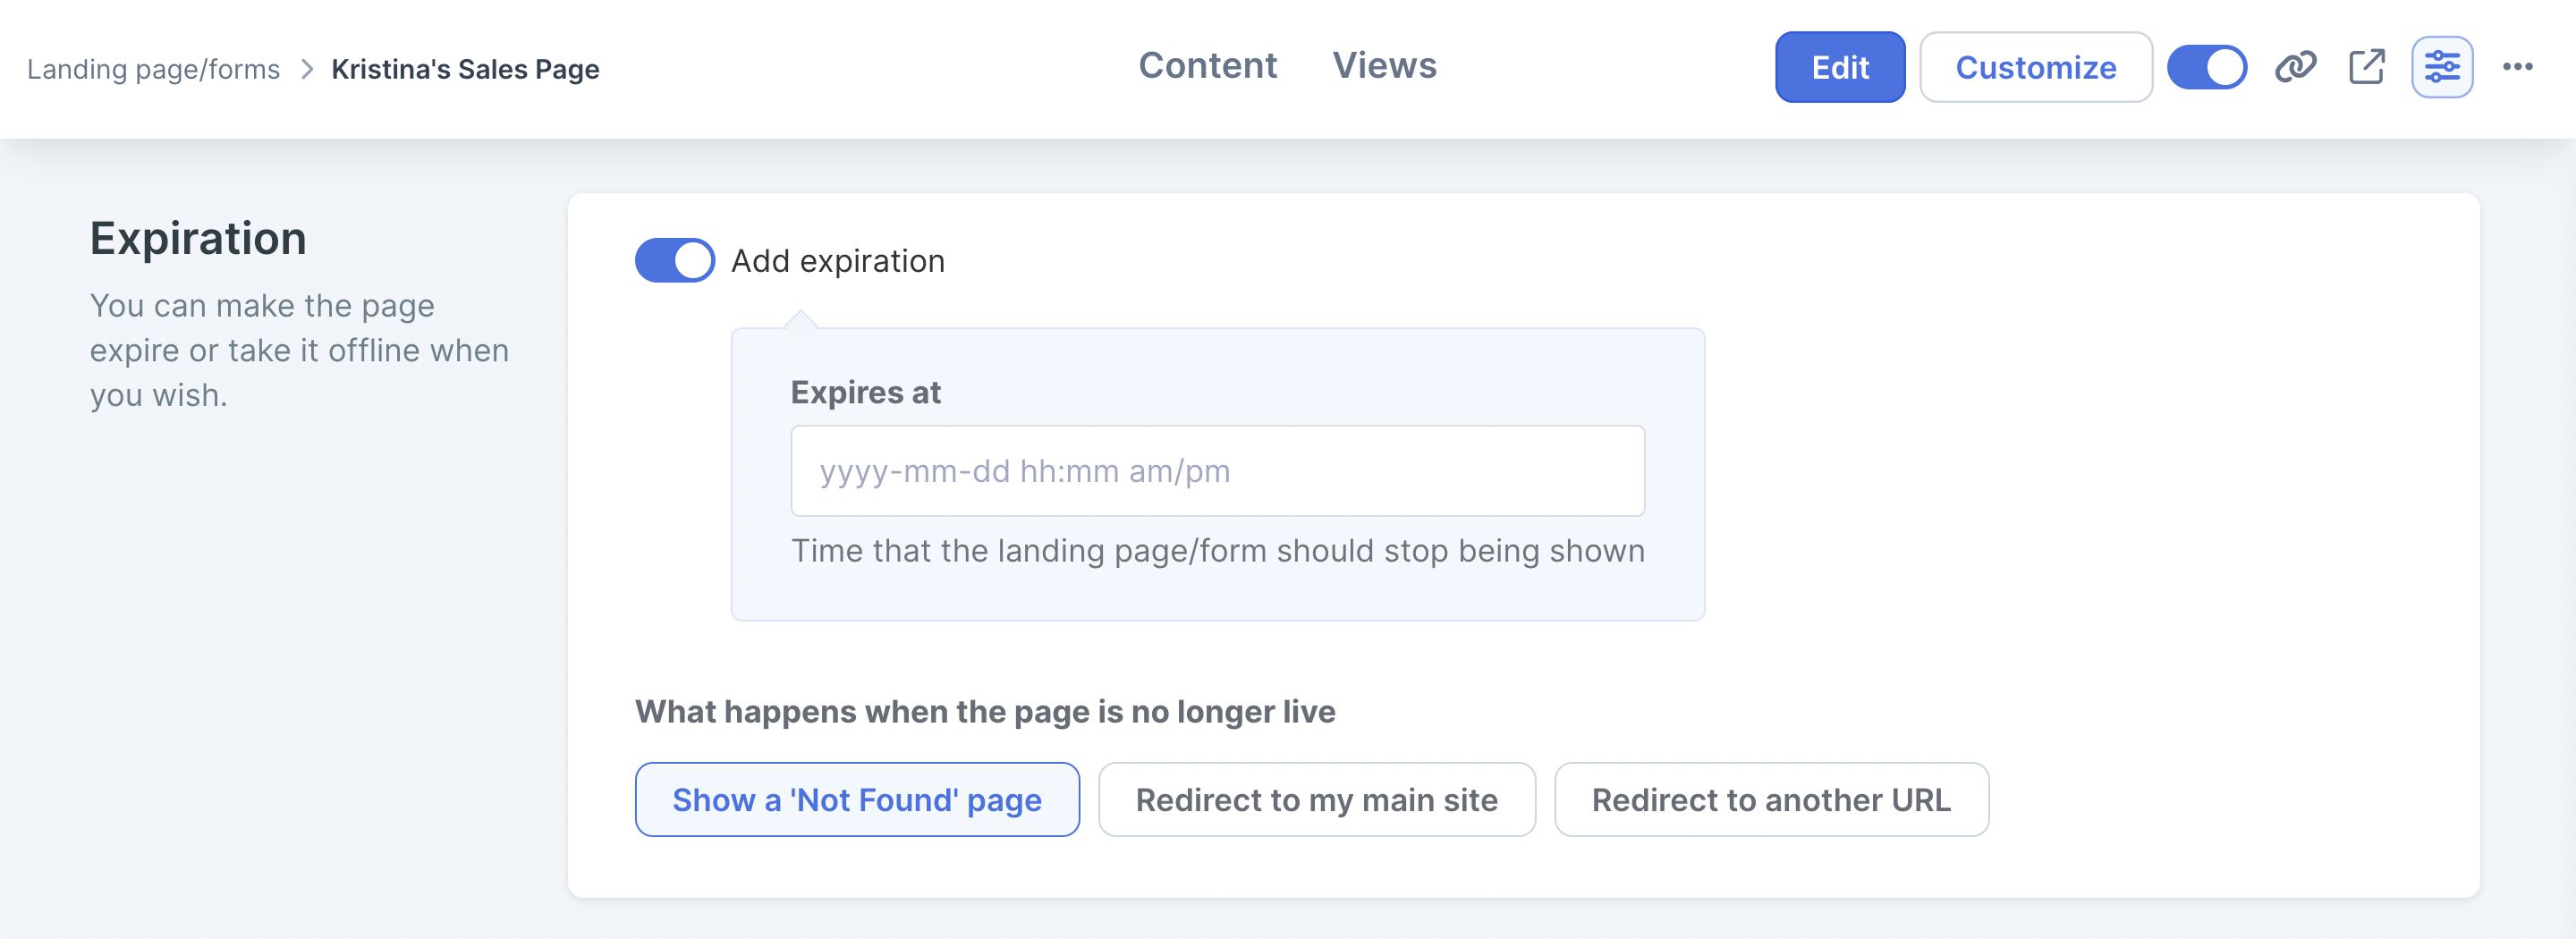
In the Settings page, you will have the ability to add an expiration date and to tell the system where to direct users to once that time and date have passed:
-
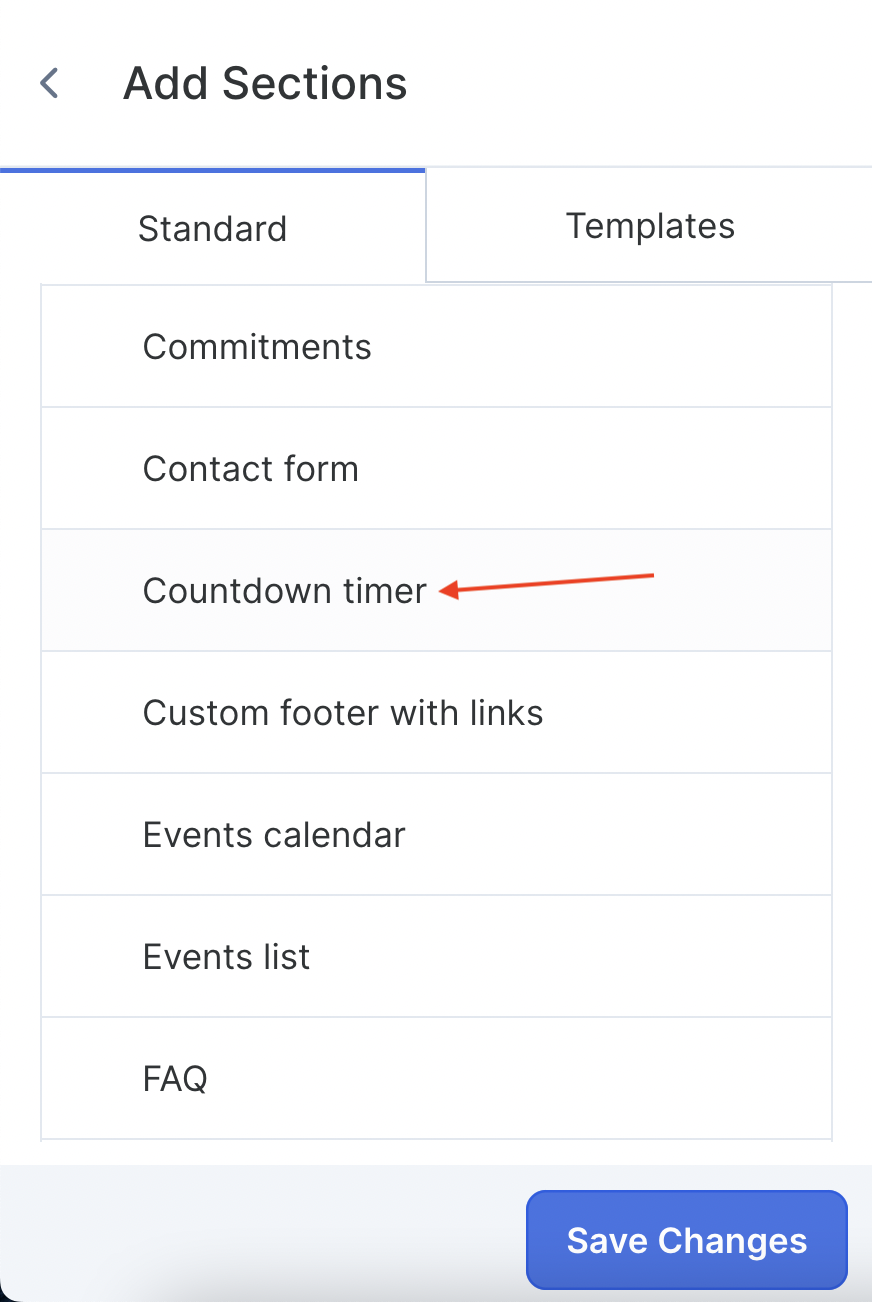
In the Landing Page Editor, you also have the option to add a Countdown Timer section to your page that will count down to the time and date that you add under the Countdown section when you select “Count down to a specific date”:
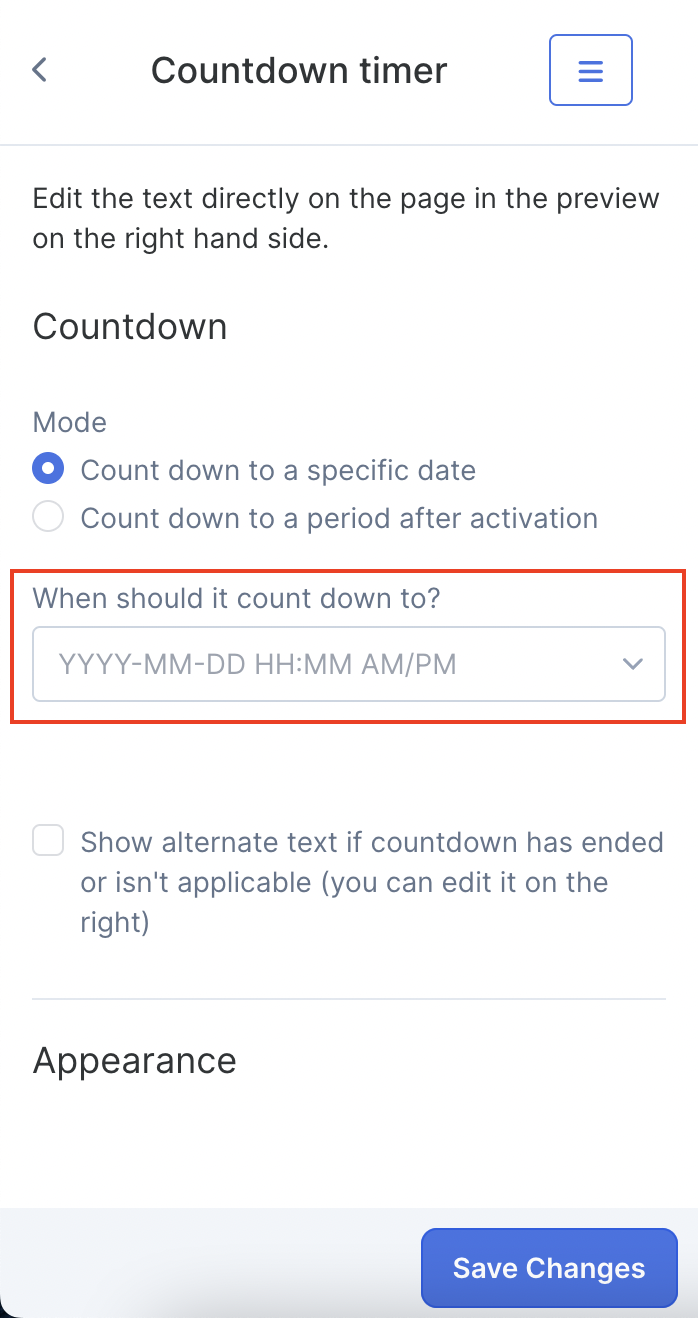
To know more about how to use this section when selecting “Count down to a period after activation”, have a look at our Deadline-Funnels guide.
Do you still have questions about Full Landing Pages or is there a specific topic you are missing in this guide? Let our Support team know :)
Suite 92530
New York, NY 10003
United States