Contacts

Lists
Segments
Support Tickets
Main Website
Triggers
Broadcasts
Newsletters
Landing Pages & Forms
Affiliate Programs
Automations
Emails for automations
Done For You Campaigns
Funnels
Products
Catalog
Purchases
Pipelines and Deals
Sites

Style Guides and Page Builder
Courses
Media Library

Worksheets
Scheduling Links
Account Settings
Integrations
Contacts Settings
Marketing Settings
Sales Settings
Content Settings
Deprecated Features

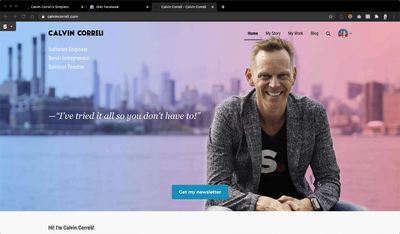
A Social Sharing Image will display on social networks such as Facebook, Twitter, Instagram, Google+, etc. when you or your customers share the URL to your Simplero Sites and Pages on social media.
It’ll also appear as a Meta Image that displays when someone finds your Page on a Search Engine such as Google, etc.
For tips on how to add Social Sharing Buttons to your Sites and Pages so customers can share your content, please see this guide.
Simplero provides you with several places to use a Social Sharing Image:
Here’s what you need to do first:
-
Select an image you want to use as your Social Sharing image
-
Configure the image so it has the recommended size
-
We recommend the size for the image is 1200 x 628 pixels and Facebook requires that your image is at least 200 x 200 pixels
-
-
Upload your image to your Media Library (or save it and upload it later)
NOTE! If you don't select an image, the first image on the page will be used if there is one available
Now Let's Plug In Your Social Sharing Image!
Landing Pages:
-
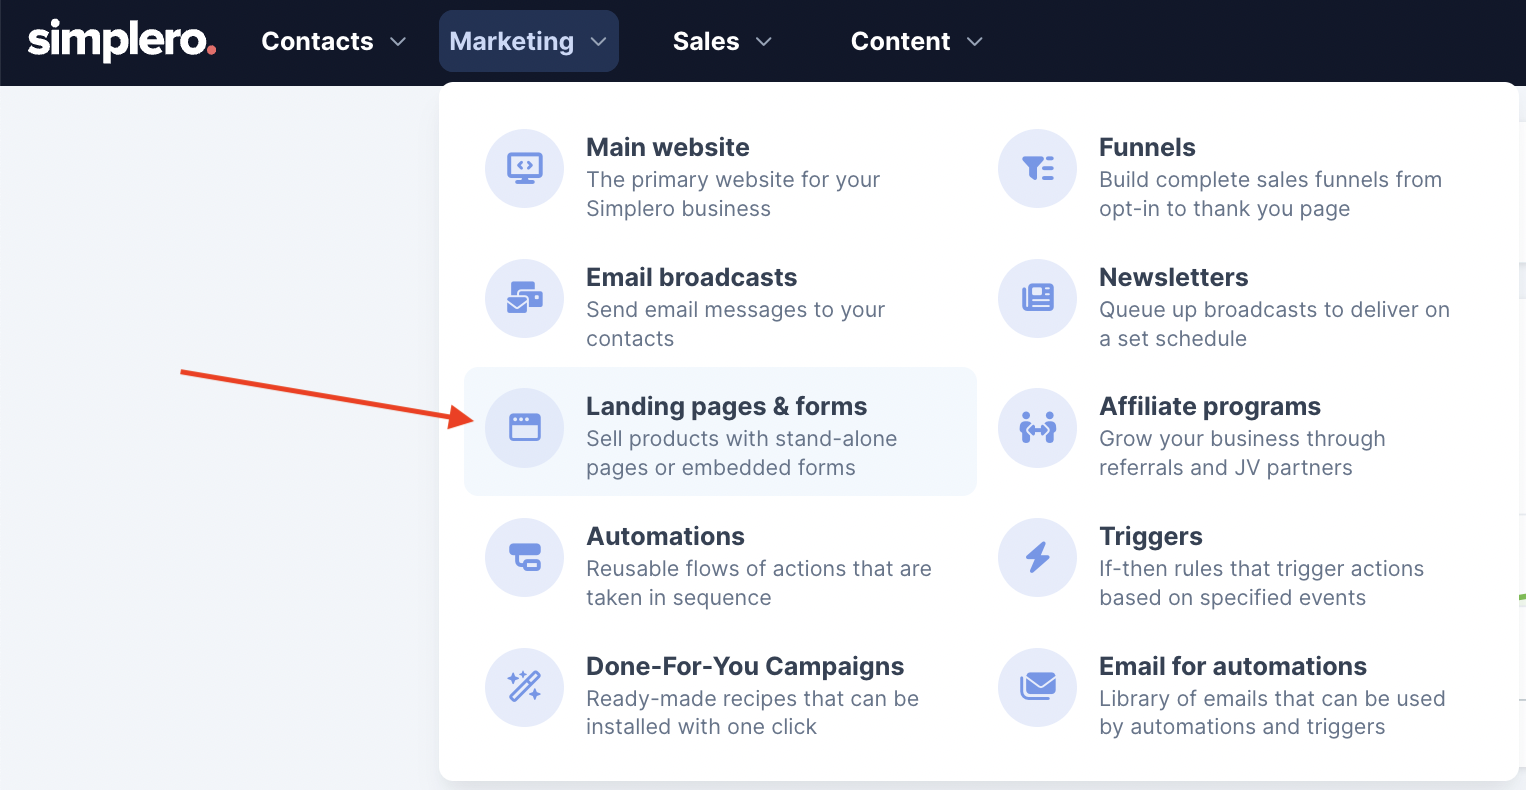
Select Marketing >> Landing pages and forms from your Simplero Dashboard.
-
Search for the Landing page you want to use":
-
Click the Settings icon to the right of the Landing Page Title:

-
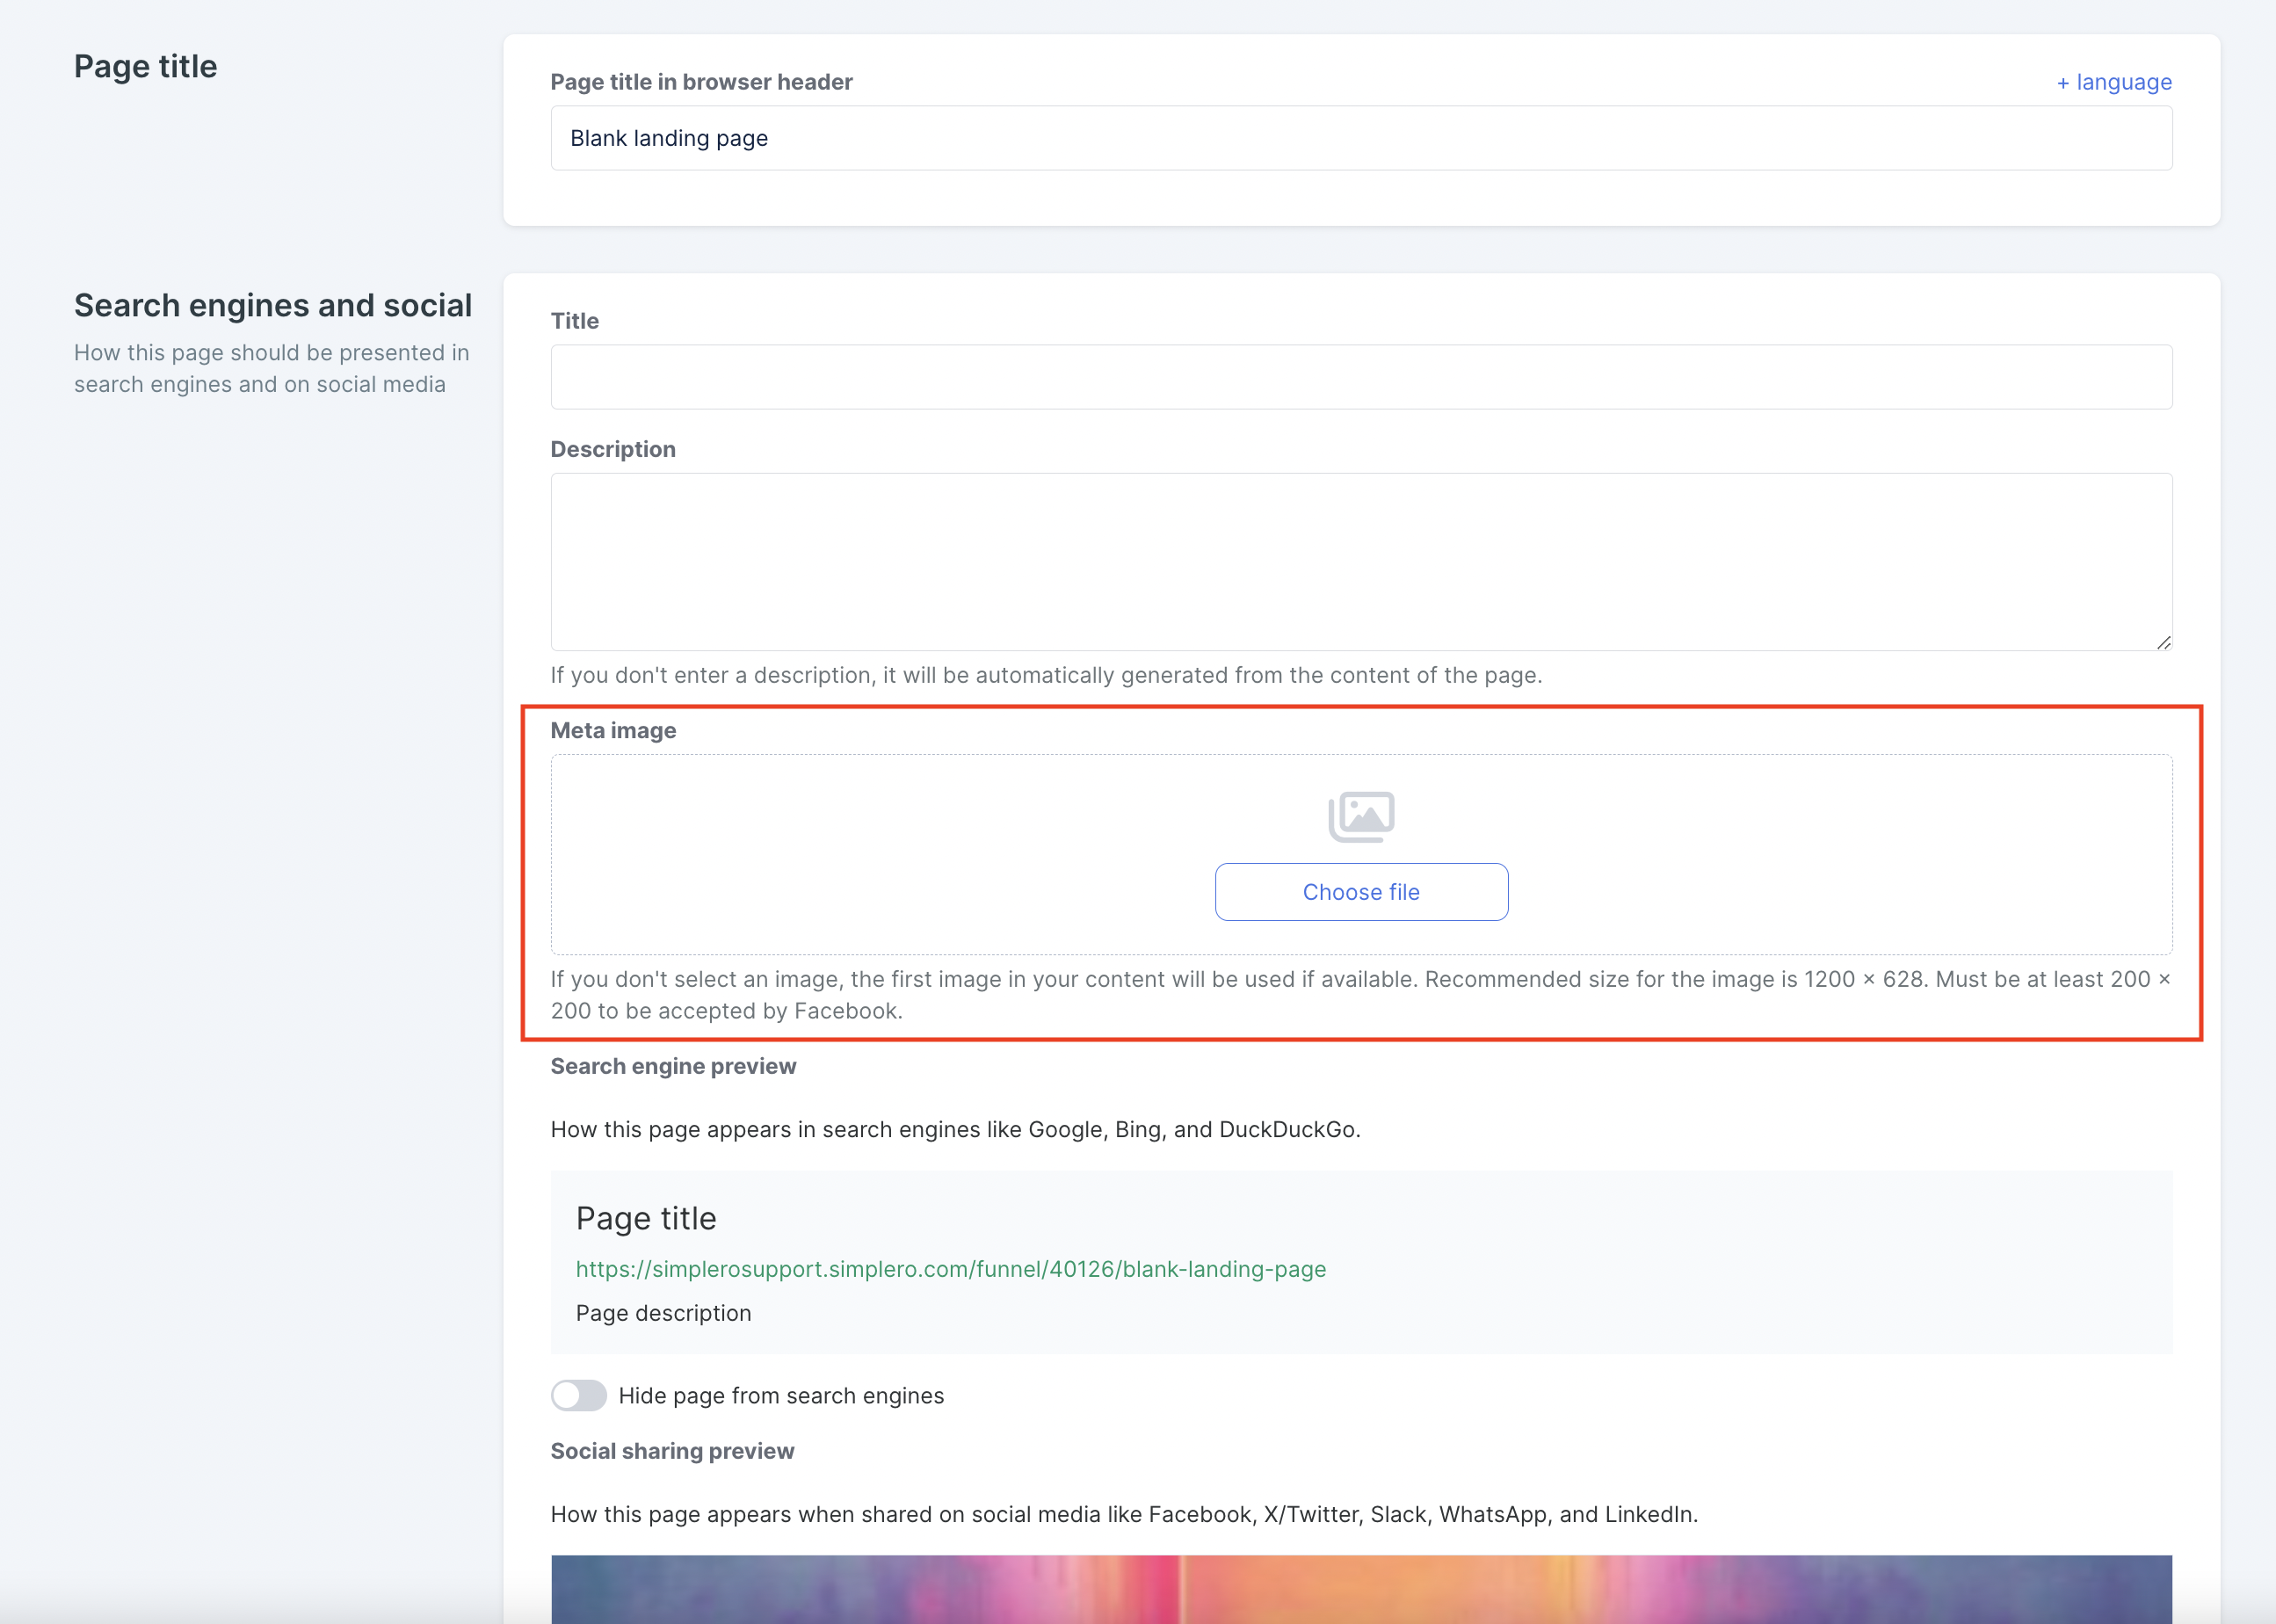
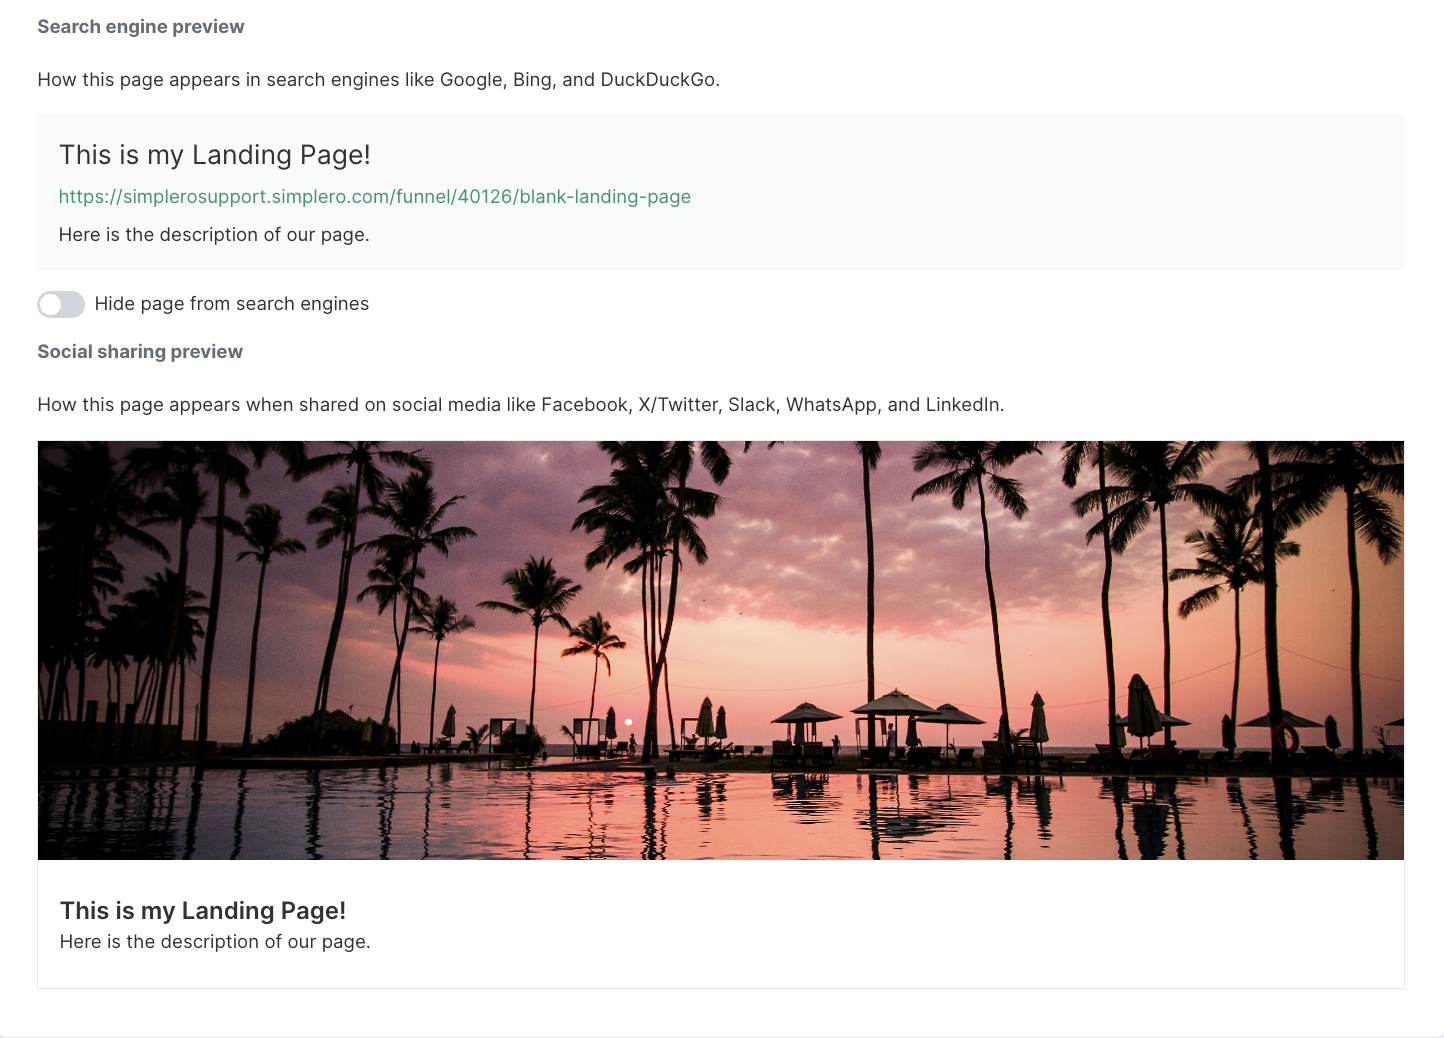
Scroll down to the Search engines and social section. In the Meta image area, click on Choose file to add your image
-
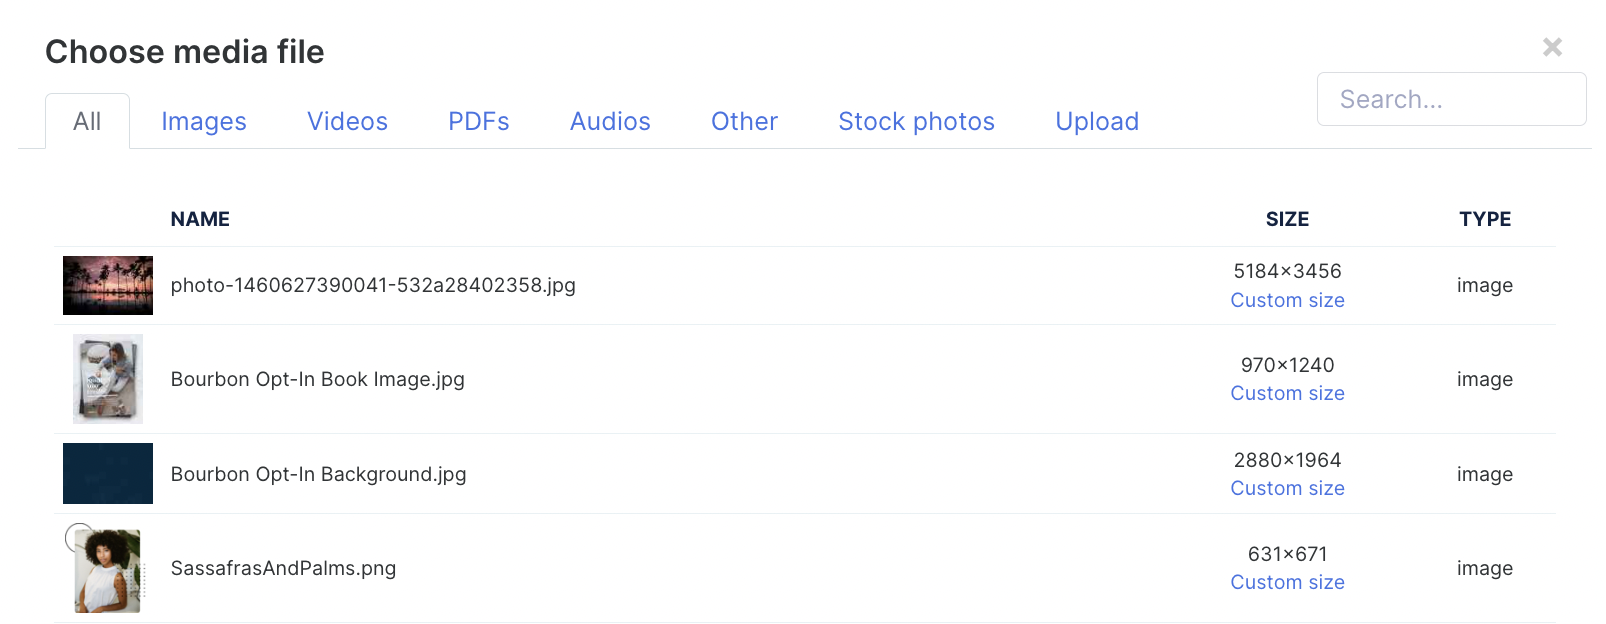
The Choose media file screen will open. Click on the image title from your Media Library that you'd like to display when you share the Page on Social Media and Search Engines (or press Upload to upload the image to your Media Library directly from here):
-
The screen will close automatically and take you back to the Landing Page Settings.
-
You can also customise the Title and Description that will appear when the page is shared on social media or comes up in a search engine.
NOTE! If you don’t enter a description, it’ll be automatically generated from the content of the page.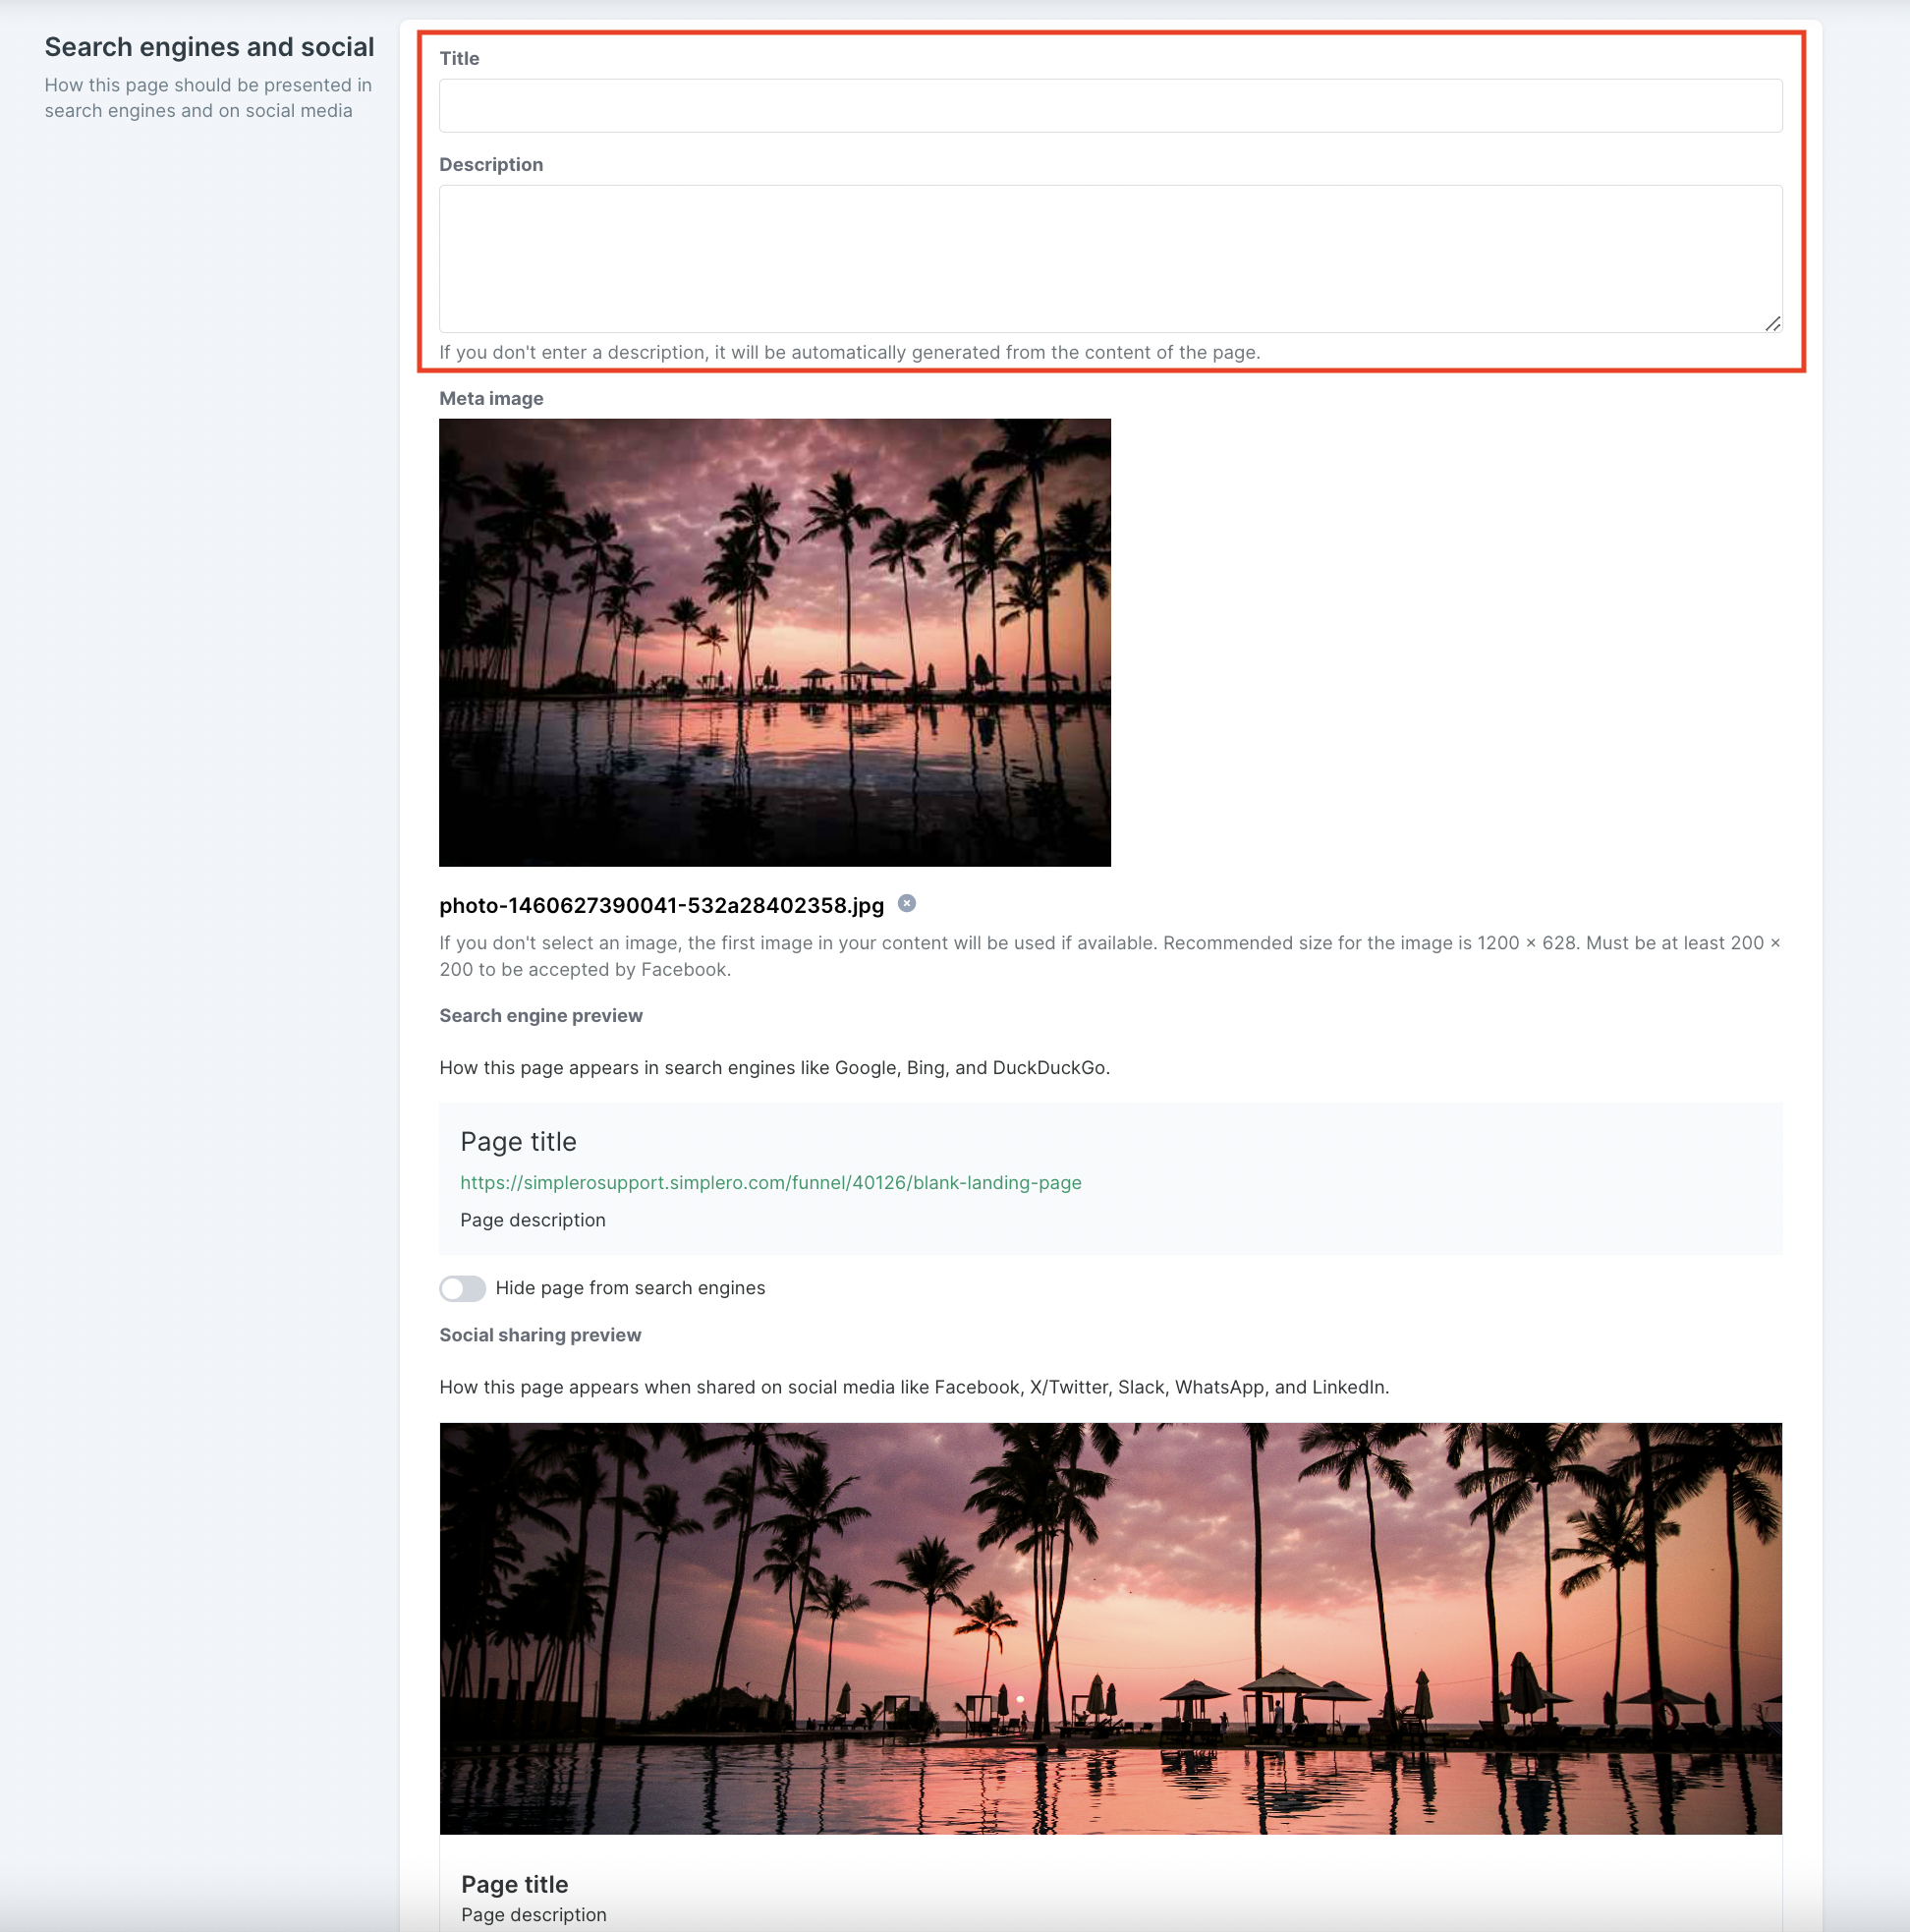
-
And lastly, you can preview how the page will appear on search engines or social media under the Social Sharing Preview section:
Site Pages
You can customise how your overall site shows up on search engines and social media, as well as each individual page on that site. Here’s how:
For the Overall Site:
-
Go to the Site (via Content >> Sites and Choose the Site)
-
Click the Configure tab:

-
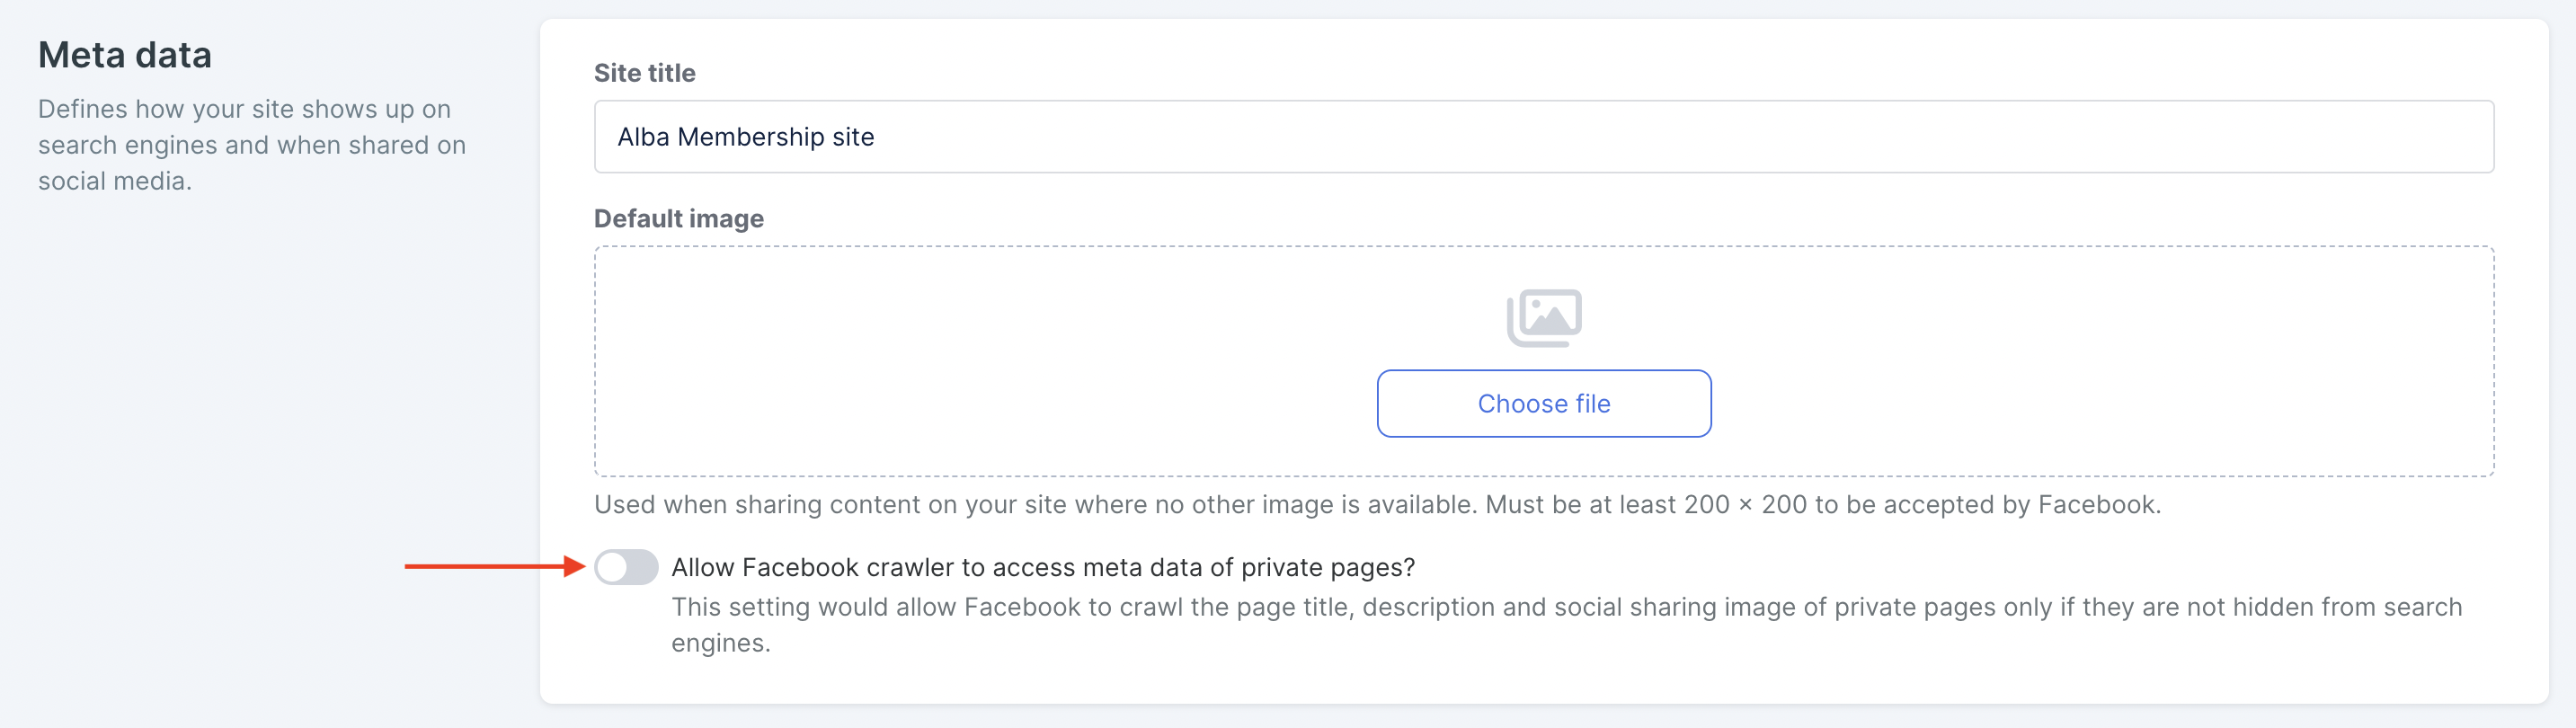
Scroll down to the Meta data section. Under Default image, click on Choose file to add your image:

-
The Choose media file screen will open. Click on the image title from your Media Library that you'd like to display when you share the Page on Social Media and Search Engines (or press Upload to upload it to your Media Library directly):
-
The screen will close automatically and take you back to the Site Configure page.
-
You can also allow the Facebook crawler to access meta data of private pages (if your Site is closed):
-
For Individual Pages on the Site:
-
Go to the Site (via Content >> Sites and select the Site).
-
Click the Pages tab and click on SEO:

-
Now you can add a Meta title, Meta description and Social image for each page, all in one spot:

Want to Test Your Social Share Images?
Try testing your link using one of these sites:
Is your social sharing image not displaying correctly on Facebook or LinkedIn?
Follow the steps in this guide to use the debugger tools for Facebook and LinkedIn.


Suite 92530
New York, NY 10003
United States