Contacts

Lists
Segments
Support Tickets
Main Website
Triggers
Broadcasts
Newsletters
Landing Pages & Forms
Affiliate Programs
Automations
Emails for automations
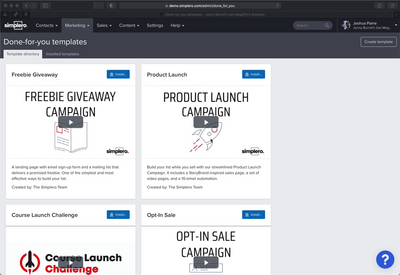
Done For You Campaigns
Funnels
Products
Catalog
Purchases
Pipelines and Deals
Sites

Style Guides and Page Builder
Courses
Media Library

Worksheets
Scheduling Links
Account Settings
Integrations
Contacts Settings
Marketing Settings
Sales Settings
Content Settings
Deprecated Features

Creating Calendar page or an Events List section on Your Page
By creating a calendar or list, you can easily show all your upcoming events at a glance. For example, if you are a coach and you want to have a coaching call calendar. Or you want to show all the live events you are doing in the next couple of months. Or if you want your members to have a calendar with all the upcoming webinars that they can join. Any of this can be shown in a very visual and simple way!
In this guide, we show you how to create:
This is what the Calendar page looks like:
It is added as a new page to your site. 
Your members will be able to choose between calendar or list view:
This is what the Events List looks like:

Pro Tip: Be sure to check out our Mastering Events in Simplero Workshop where our experts do a deep-dive into setting up events in Simplero.
Creating a Calendar page on my site
Do you want your site to have a calendar with all your events? Follow the steps below:
- Go to the settings on each one of the events that you want to show. Choose your site under Sites to List on (tip: you can choose more than one site!)

- Go to the site you want to add the calendar page to and click on Edit Layout & Navigation on the top right corner of your site settings

- On the left side, click the + sign to add a new page
- Choose Calendar

- This will add a new page to your site that shows all the events linked to that site. On the top right corner, your members will have the option to choose between list format and calendar format.
Creating an Events List on my page
This is an element that you can add to any page. Just follow the steps below:
- Create your Events (Check our Basic Events Guide if you want to know how!)
- Go to the page where you want to add your calendar or create a new one
- Click on + Add Element

- Choose Events on the right-hand side

- Once added, you will see some options to personalize it on the left-hand side:
Format options
- Which events - Choose upcoming or specific
-
Limit number of events - Turn on the toggle to choose how many events to show
-
Limit by label - This will only show events that have a certain label. This is very handy if you only want to show some events. For example, if you are a coach and you want to only show your public events. You will need to first label the events that you want to show (check how labels work in this manual) and choose that label on this setting. This allows you to have two different calendars that show different events depending on the label they have been given. It could be handy for academies that have more than one cohort or if you want to create a calendar on your public site different than the calendar on your membership site.
-
Styling - Margin, padding, border and corners
Advanced Settings
Choose the Advanced tab to access these settings:
- Shadow
- Z-Index
-
Show conditionally - Show events based on a condition:
- By tag
- By list
- By product
- Visibility period - Choose when to start and stop showing this element
- Background - Image, video and/or color overlay


Suite 92530
New York, NY 10003
United States