Contacts

Lists
Segments
Notes and Tags
Support Tickets
Surveys
Main Website

Triggers
Broadcasts
Newsletters
Landing Pages & Forms
Affiliate Programs
Automations
Emails for automations
Done For You Campaigns

Funnels
Products
Catalog
Purchases
Receipts and Tasks
Pipelines and Deals
Membership Sites
Courses
Events
Media Library

Worksheets
Scheduling Links
Account Settings
Marketing Settings
Sales Settings
Contacts Settings
Integrations
Deprecated Features
Website pages are extremely versatile; they can basically be anything you want them to be. In Simplero, when you choose to add a new page, you have a bunch of options. Some site pages are pre-formatted for you, like the blog and forum, while others like the content page, you design yourself. This guide will show you a few ways to design a page that is unique and right for your business.
Types of Pages You Can Design
There are endless options for types of pages you can design for your website, but here are a few of the popular ones we've seen:
An About page
A Sales page for a product in Simplero (instead of using the templated ones available in the product)
An Opt-in page connected to a list (instead of using the templated ones available in the list)
A featured Products page
Webbooks pages
Favorites page
There are so many more options!
Below are a few key things you might want to know when designing a content page. Click on a section to jump to it directly:
Adding a Page
Select Marketing from your Simplero Dashboard.
Choose Website from the dropdown menu.
Select the Pages tab.
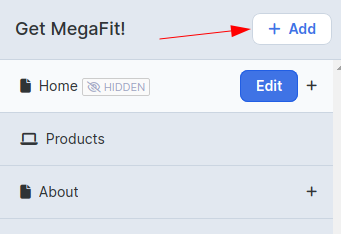
Click the Edit Menu & Pages button located in the top right corner to open the interface to add a page:

From the editor interface, click the white + Add button to add a page:
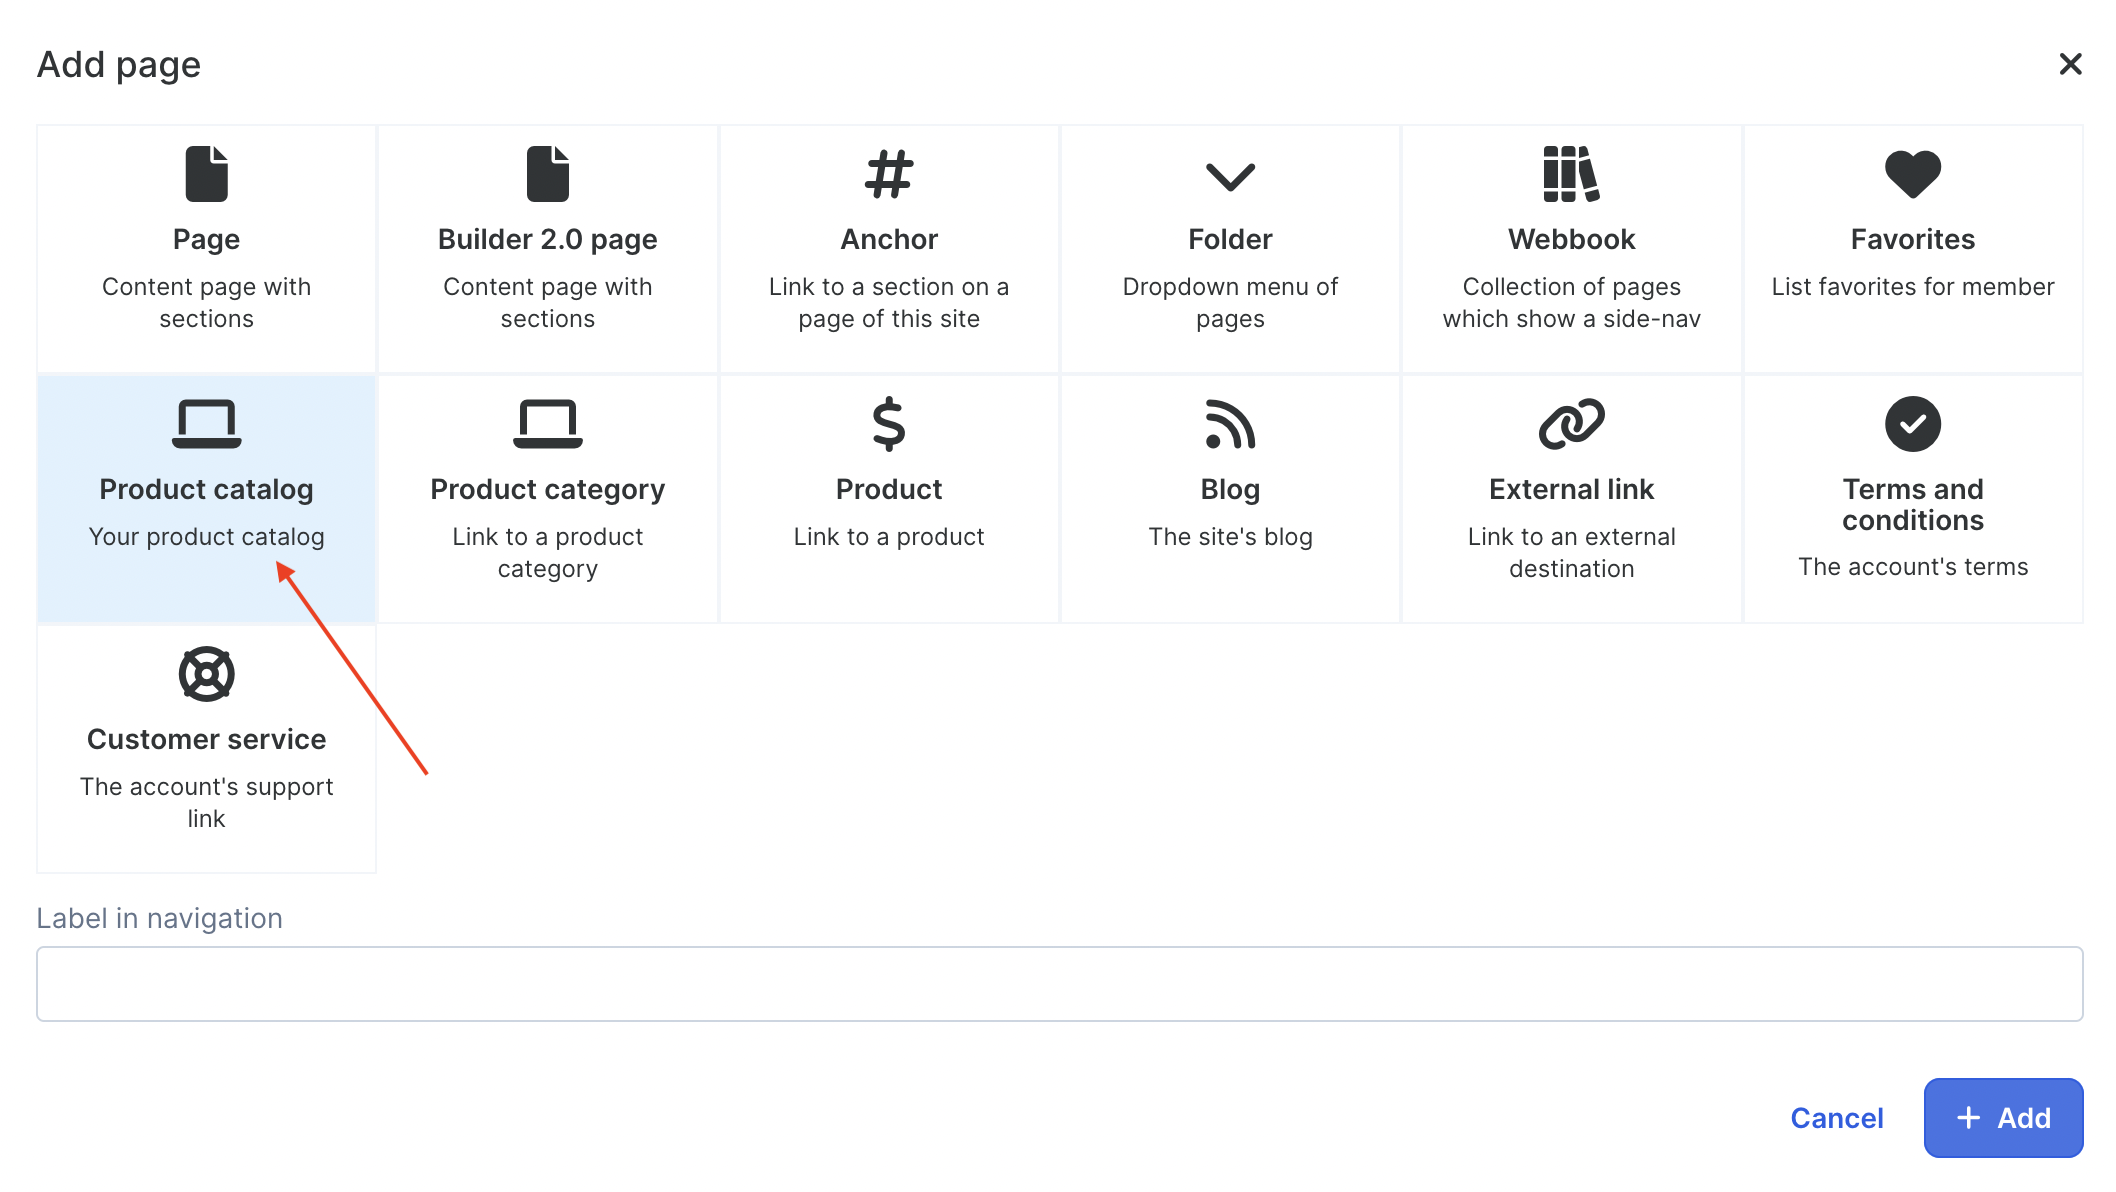
Choose your page option (Page, Folder, Product catalog, etc.) from the pop-up menu box.
NOTE! If you choose Builder 2.0 page, this will take you to the 2.0 Builder so you can build this type of page on your website. Any Builder 2.0 pages on your site will each follow their own style guides and not the website theme.
Here are some guides on editing a 2.0 page (the builder is the same for both landing pages and website pages):
- Page Builder 2.0 - Style Guides
- Page Builder 2.0 - Sections and Elements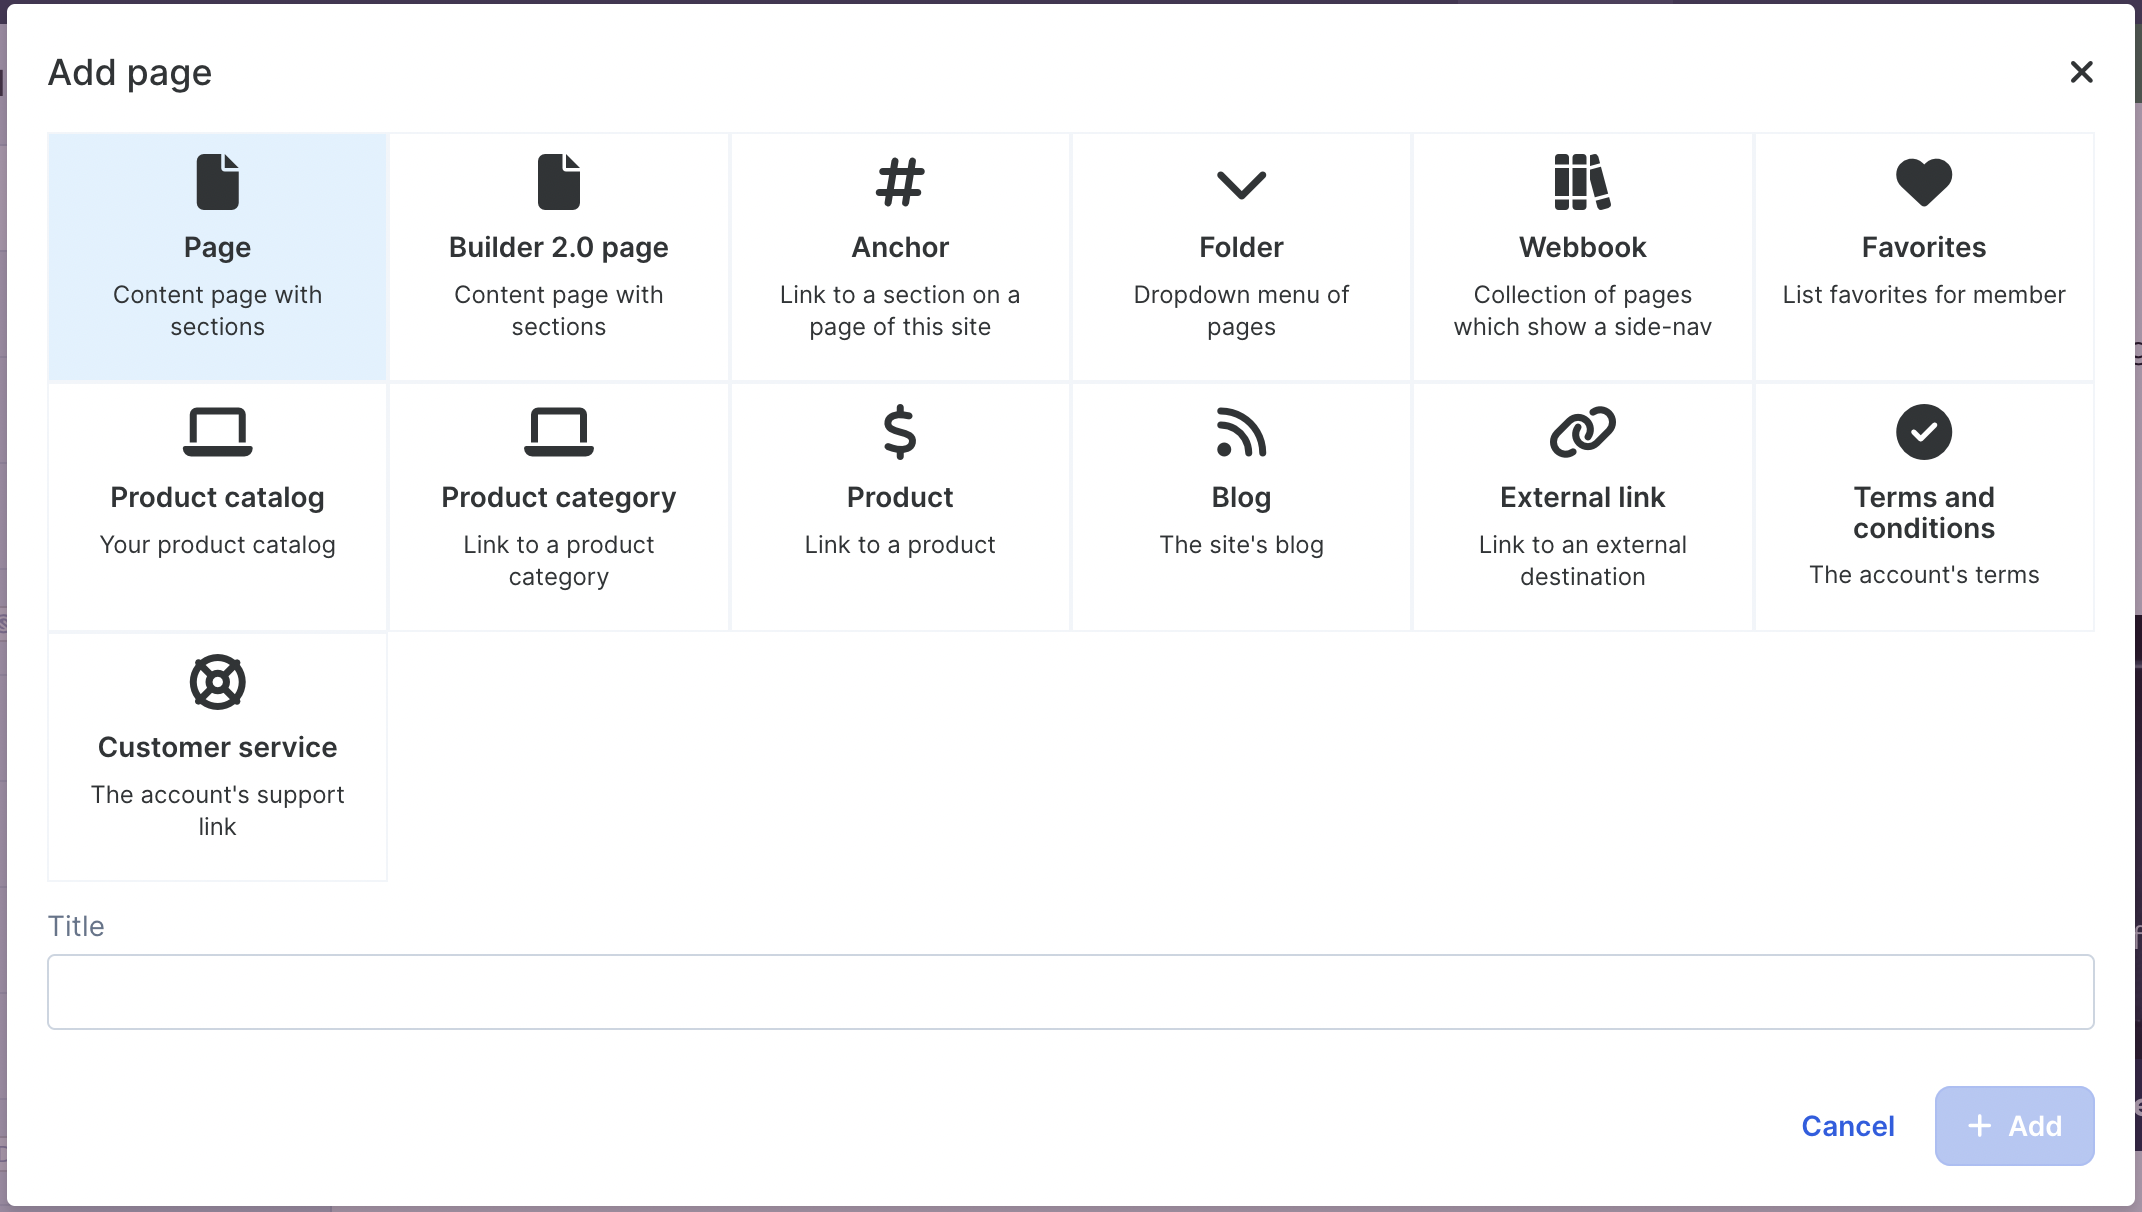
Enter your information in the field and click the + Add button.
Editing an Existing Page
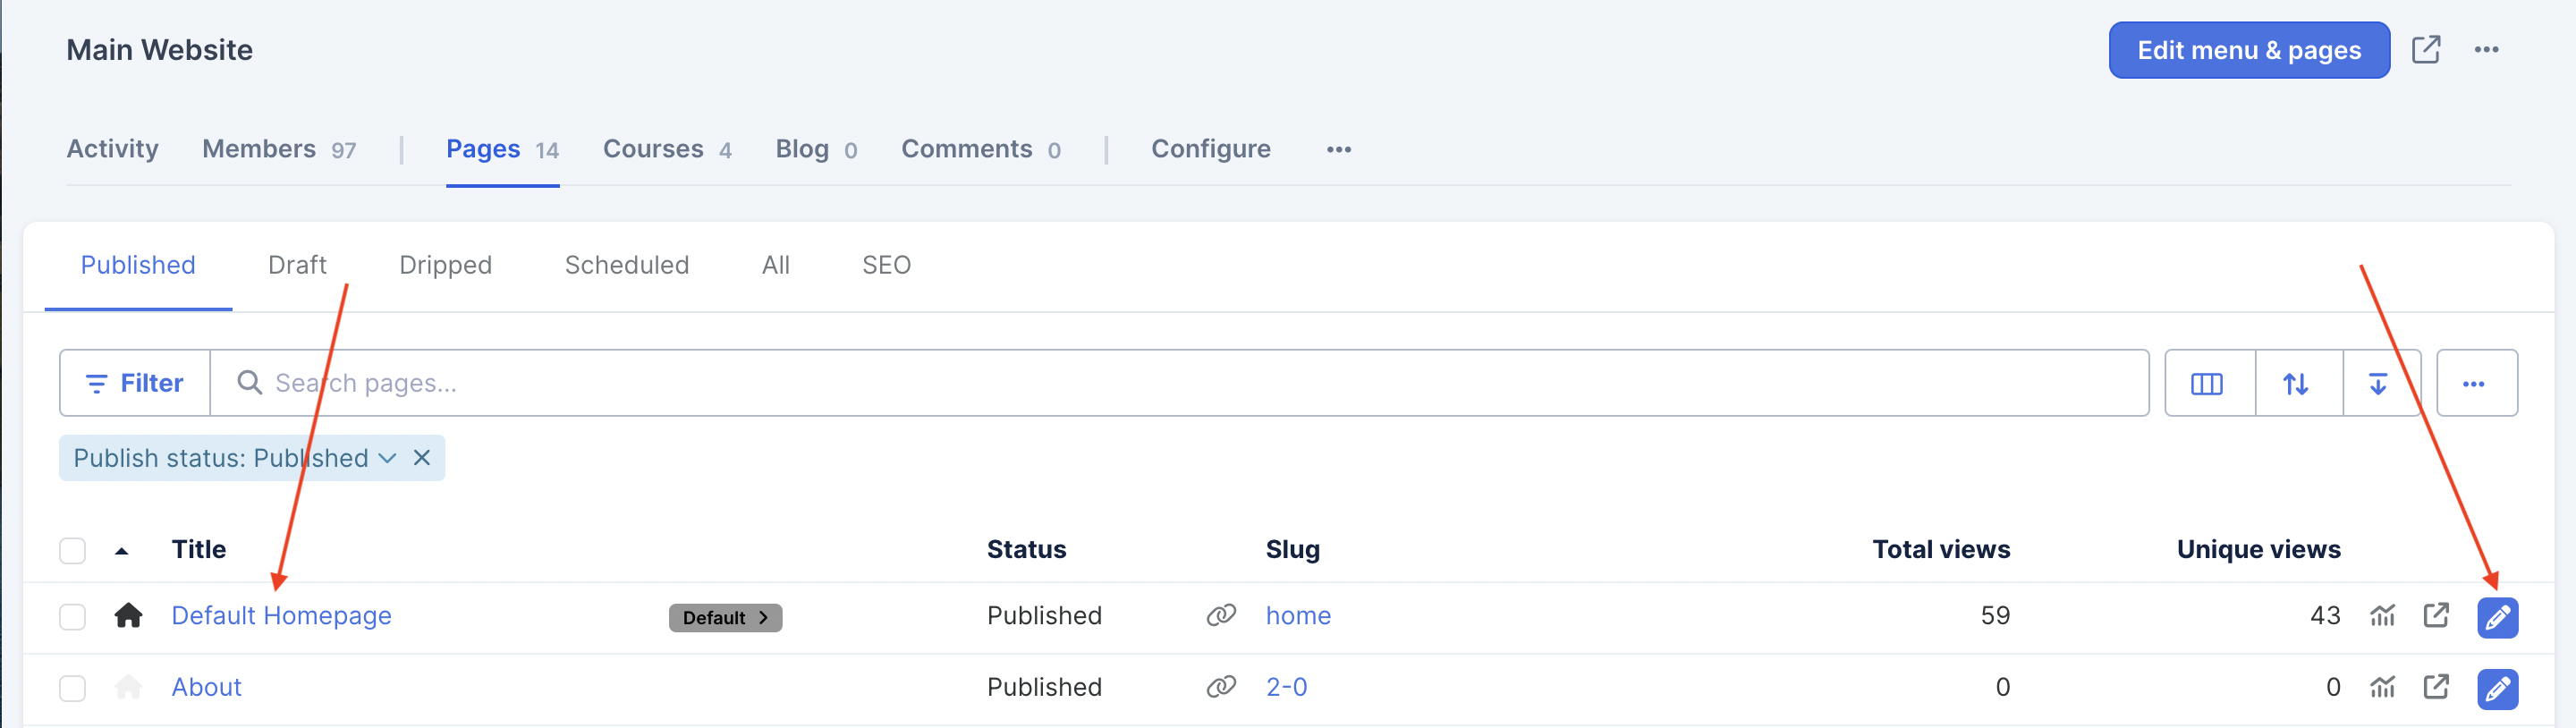
Select Marketing from your Simplero Dashboard.
Choose Main website from the dropdown menu.
Select the Pages tab.
Click the blue Editor Pencil button next to the page you want to edit, or click on the title of the page itself:
If you edit a Builder 2.0 Page, this will take you to the Builder 2.0 editor for that page.
Reminder on how to edit a 2.0 page:
- Page Builder 2.0 - Style Guides
- Page Builder 2.0 - Sections and Elements
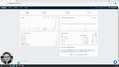
If you edit a Page with the Classic Editor, you'll be redirected to the following edit interface screen: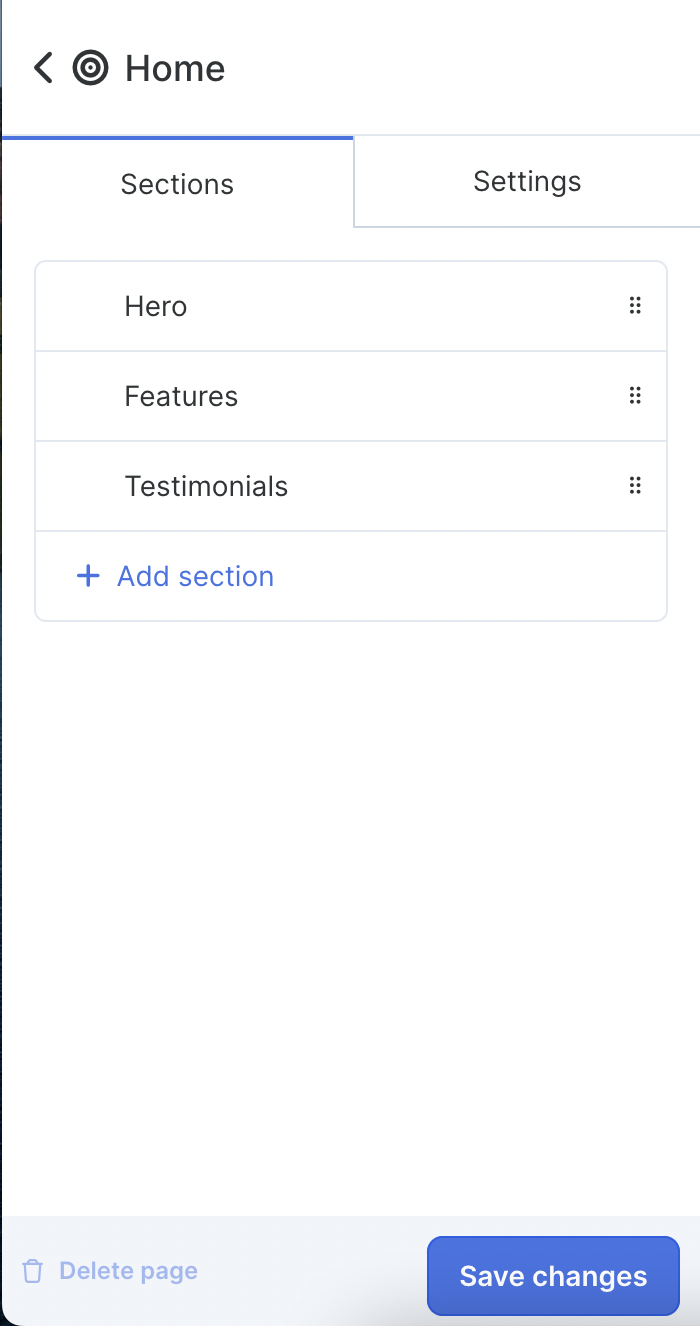
-
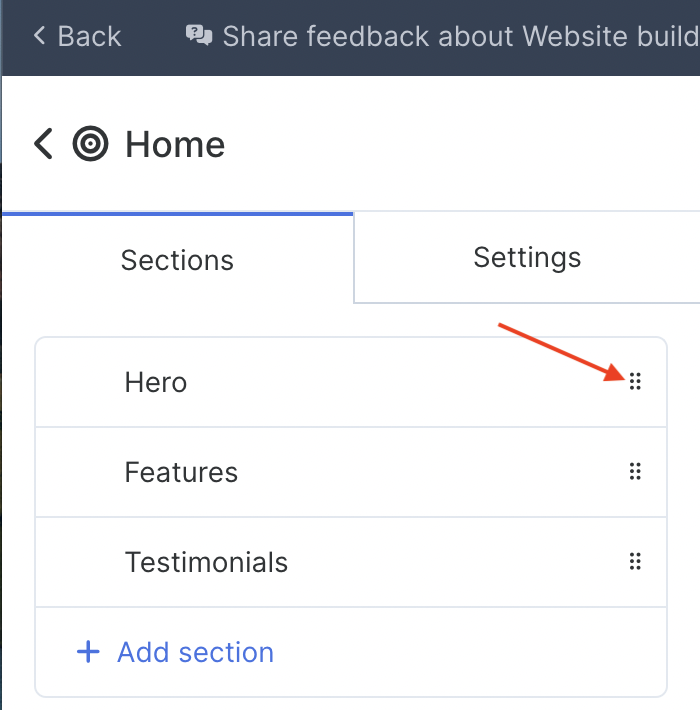
In the Sections tab, you can move the sections around, add or delete sections, or edit the content:
To add a section, select the + Add section tab:
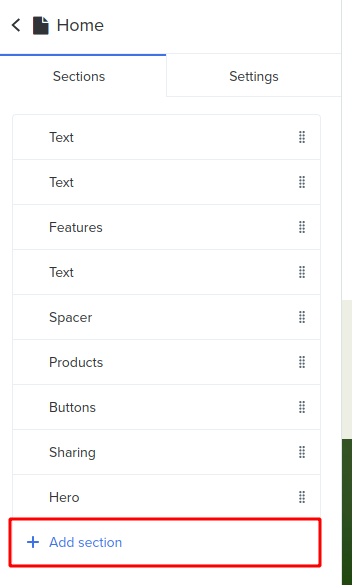
Select the section from the options menu you want to add and click the Add button.
To rearrange the section of the page, select the dots to the right of the page name and drag it to where you want it to go:
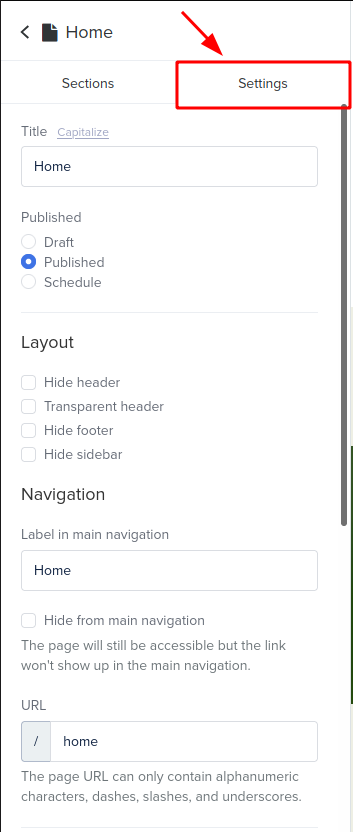
In the Settings tab, you can change the page Title, Publish status, Layout, Label in Navigation, etc:
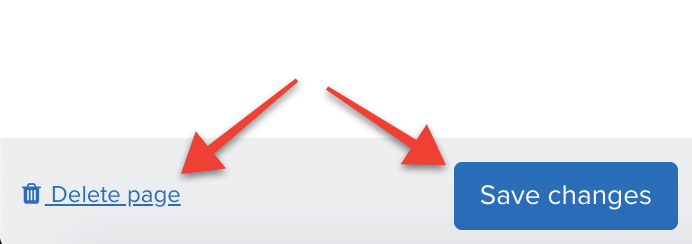
When you're done making your edits, select the blue Save changes button:

NOTE:
Looking to add Call to Action buttons to your Website page so you can turn it into a Sales or Opt-in page? Check out this guide.
Want to convert your existing Landing Page to a Website Page? Check out this guide.
Designing Your Products Page
We all want our customers to be fully aware of the products we're selling. There are a few ways you can do this on your Simplero website.
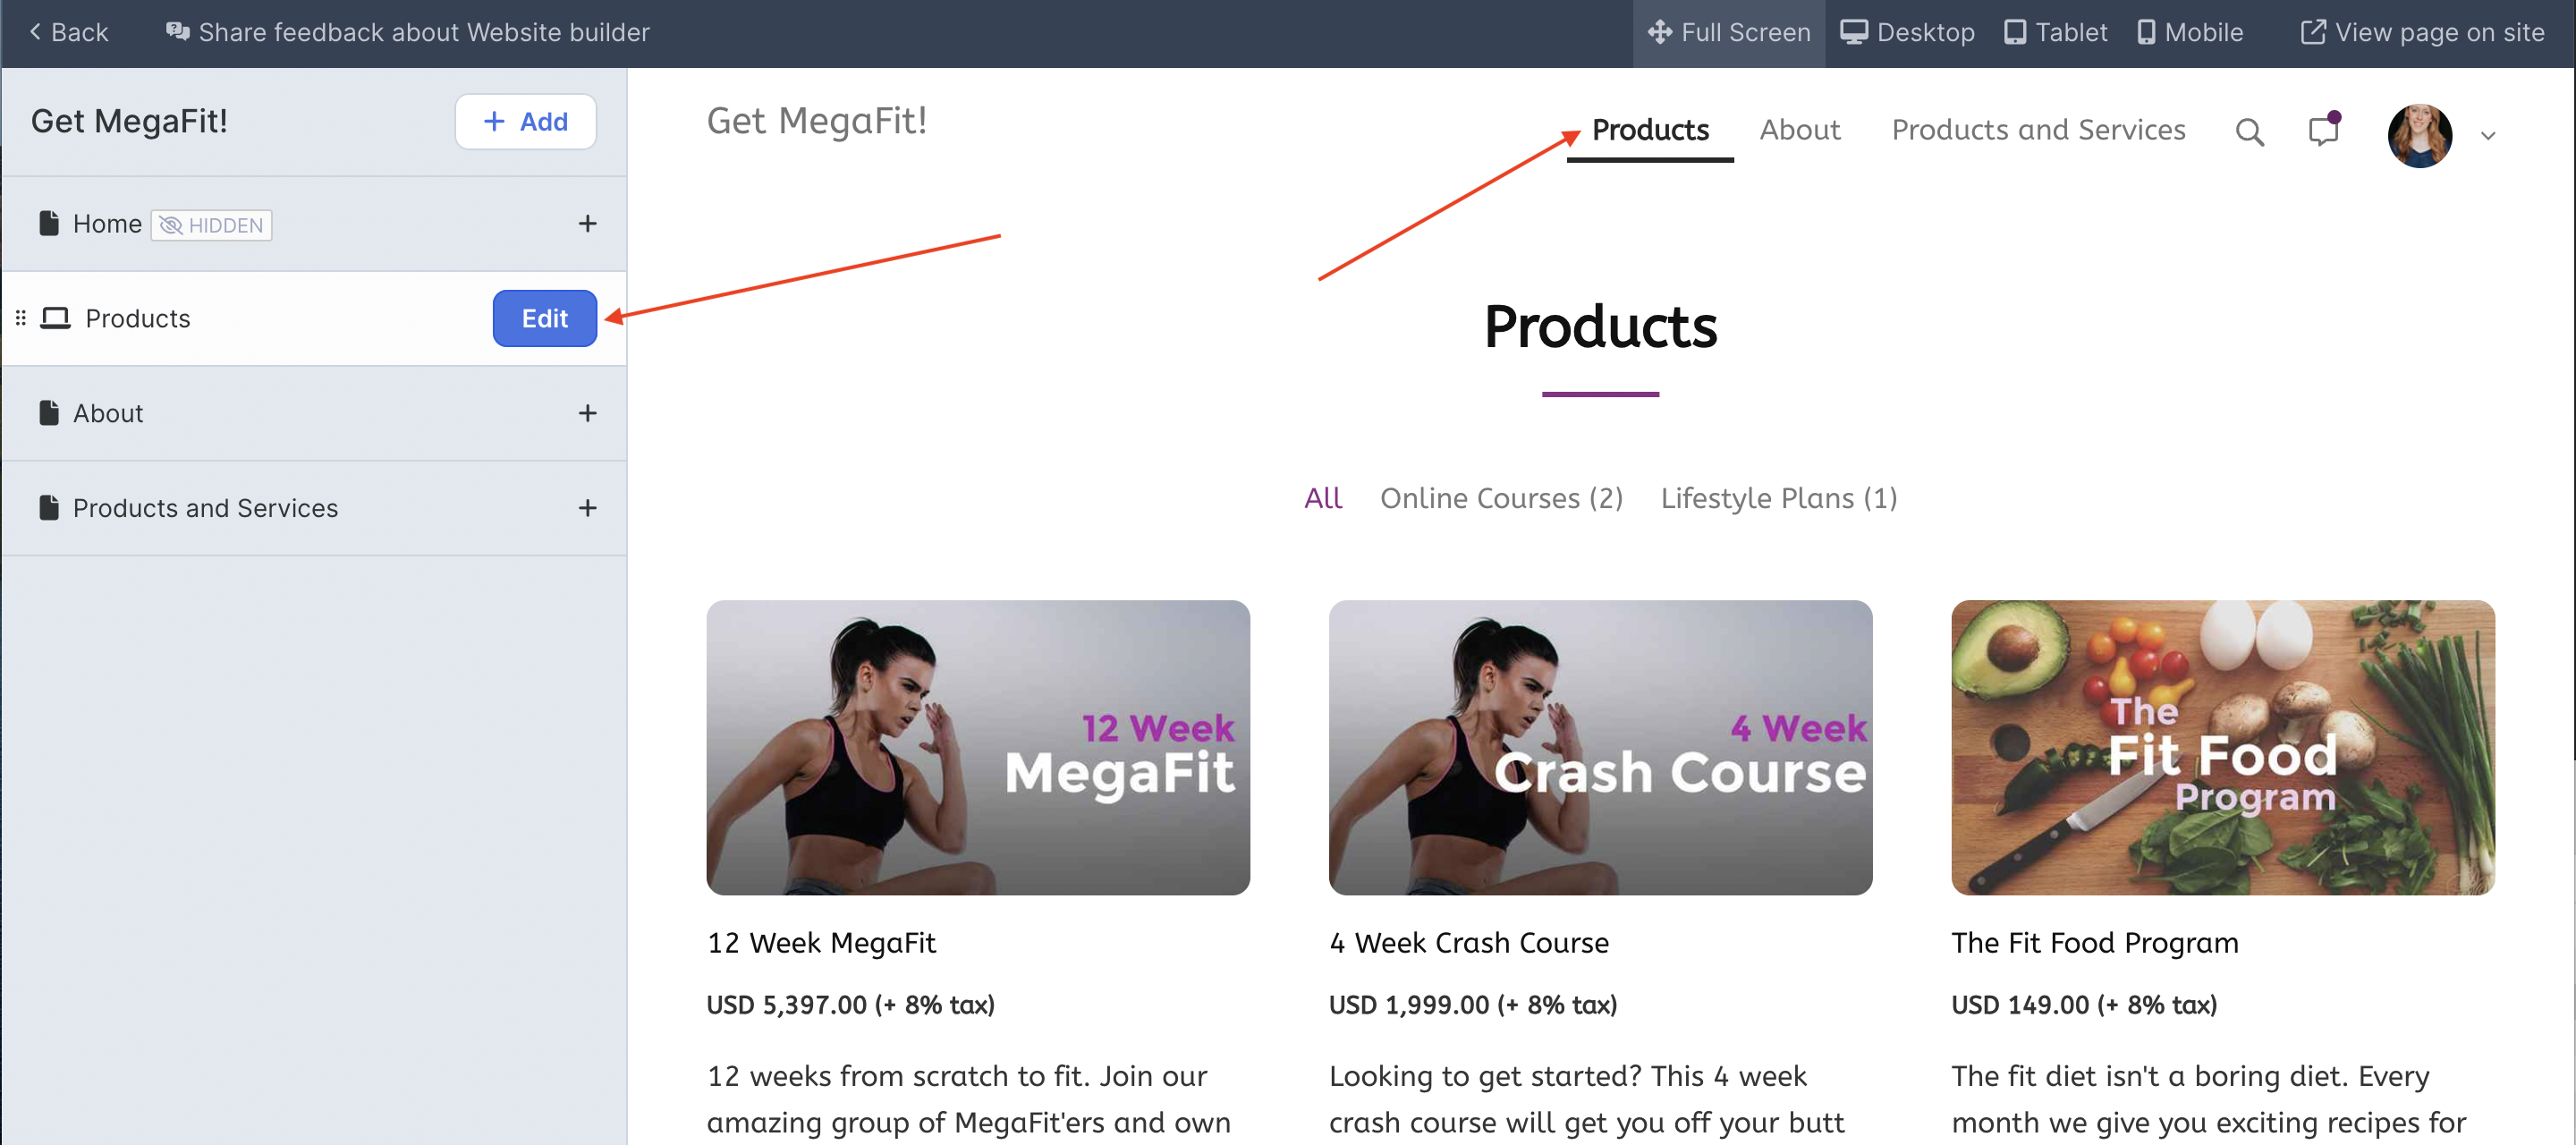
You can create a content page and use the Products section to feature all of your Listed Products, or choose the Featured Products section and just feature a select few products of your choice:

You can create a sales page for every product or a single sales page that talks about all your products with buttons that link to their order forms.
You can also use the pre-formatted Product Catalog page. This page is determined by your products catalog. From there, you'll be able to add categories and list and unlist products:

Webbooks

This is a great tool to structure long pieces of content. Use the Text section to add headings and paragraphs, then enable the option to Auto-generate a table of contents to be displayed on a left sidebar:

Add Chapters under the webbook section on the builder using the plus icon:
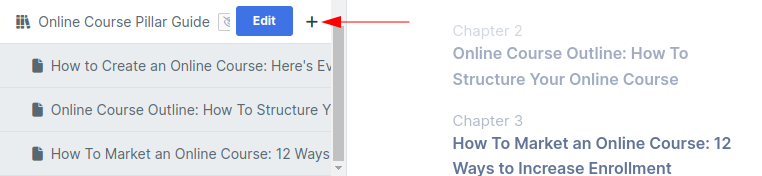
The first page is considered the primary page in the webbook, and all the other pages are mounted at the "primary page's path/their slug":
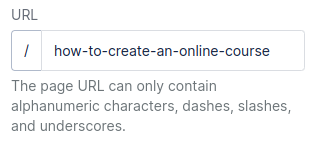
You will still have the freedom to later edit each of the pages' slugs and customize them if you want:

NOTE! We’ll always include h1 and h2 headings in the table of contents, but only include h3 and h4 headings if the total number of headings does not exceed 10.
Check out this live Webbook to see the full user experience!
Favourites
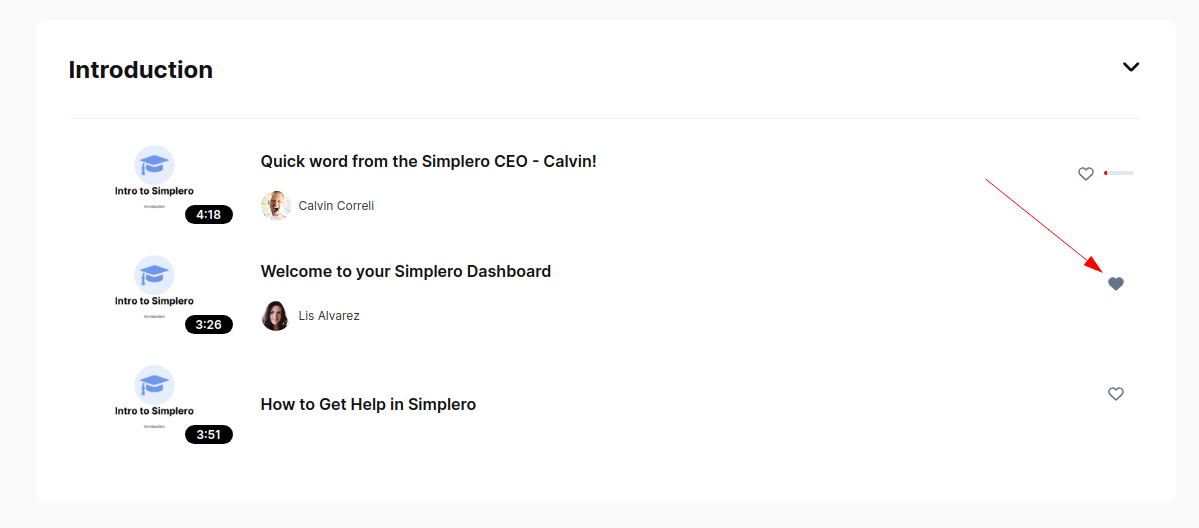
Your members can save their favourite lessons across your site courses using the heart icon displayed on the course overview:
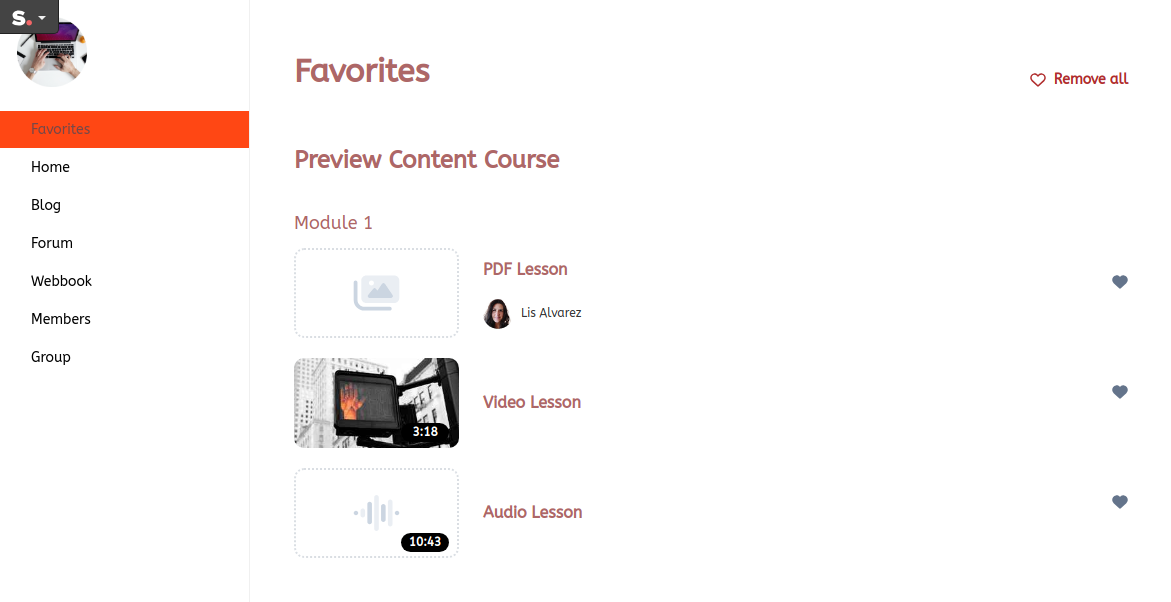
Favourite content is saved at the site level and can be reached on the site URL /favorites (www.example.com/favorites).
Adding a Favourites page to your site will improve your members’ experience as they will have their favourites handy from anywhere on your site.
Social Media Sharing
We know you and your customers want to share your website on social media. But sometimes those shares don't look the way you want them to, and Facebook prevents users from editing the share. We know this is to protect against the false representation of the shared site, but for legit companies like you, who want their business represented beautifully, this can make things a little harder.
But Simplero makes it easy for you to control what image will be in that share, giving you some say in how your website is represented.
All you need to do is follow the steps below:
Select Marketing from your Simplero Dashboard.
Choose Main website from the dropdown menu.
Select the Pages tab.
Find the page you want to share and click the blue Editor pencil icon on the right side of the page name.
The editor interface screen will open.
Select the Settings tab for that page.
Scroll down to the Search engines and social section.
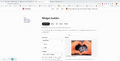
In the Social sharing image, click the Choose media button:
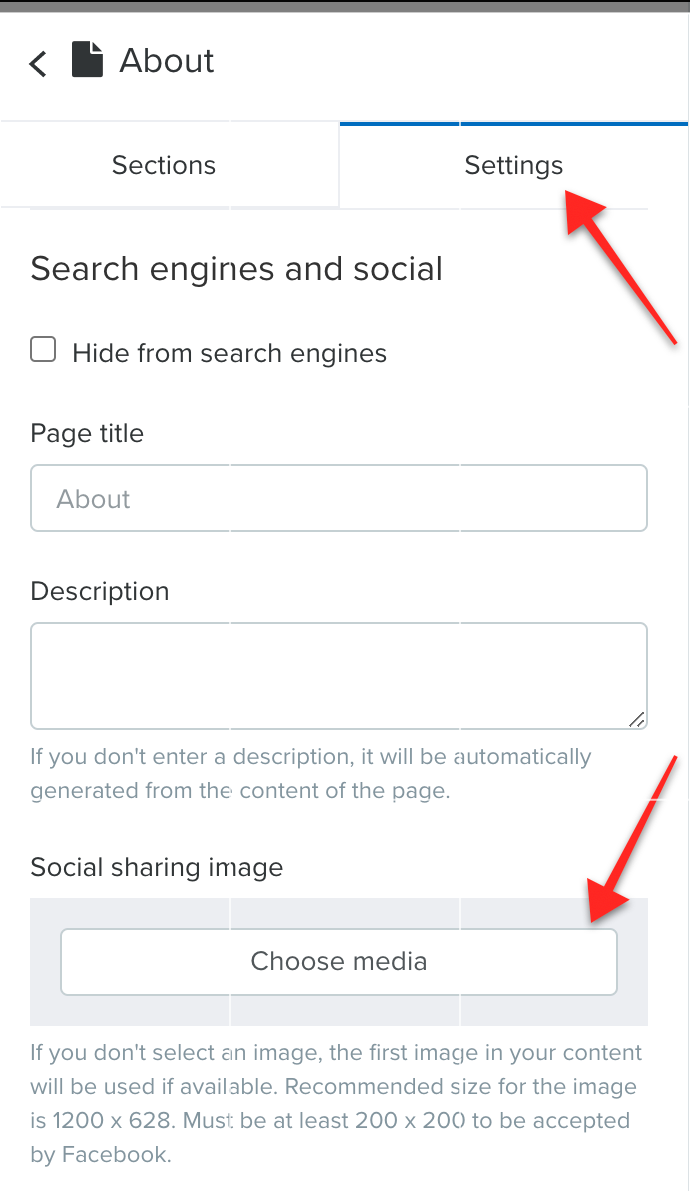
Choose the image you want to display. NOTE! The image must be at least 200 x 200 to be accepted by Facebook.
Select the blue Save changes button.
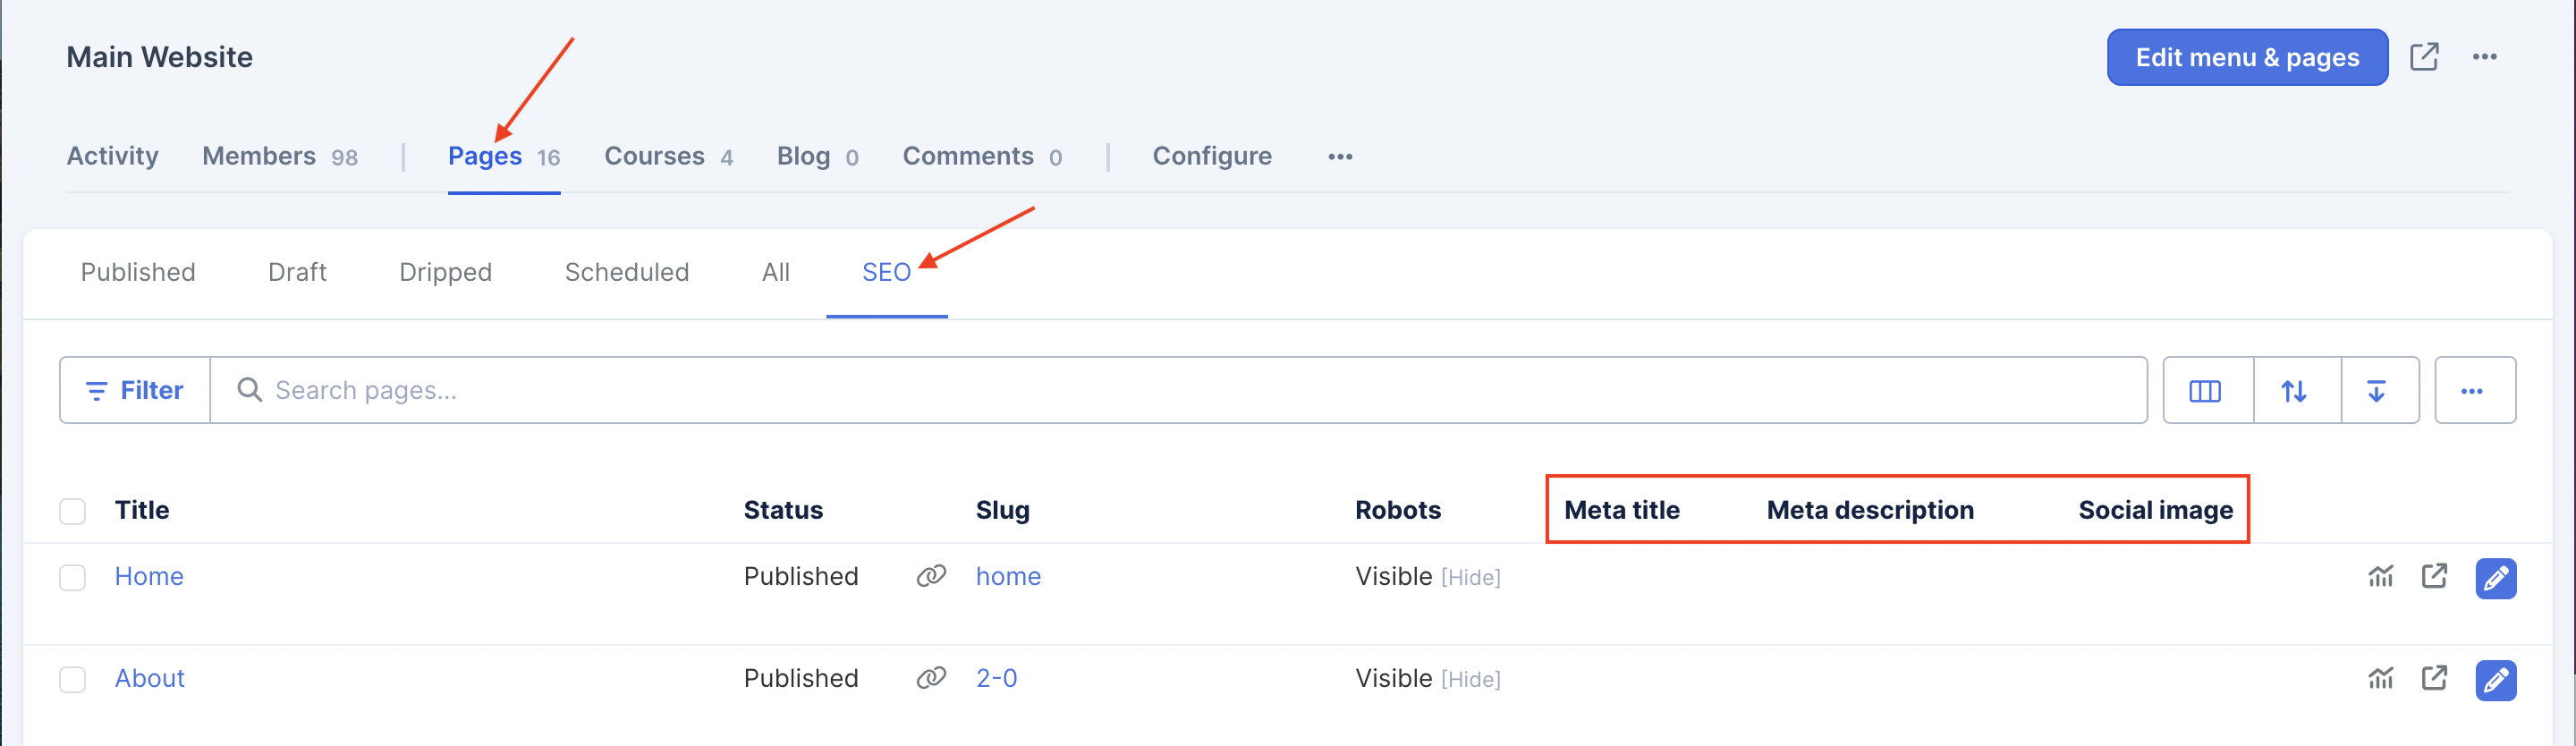
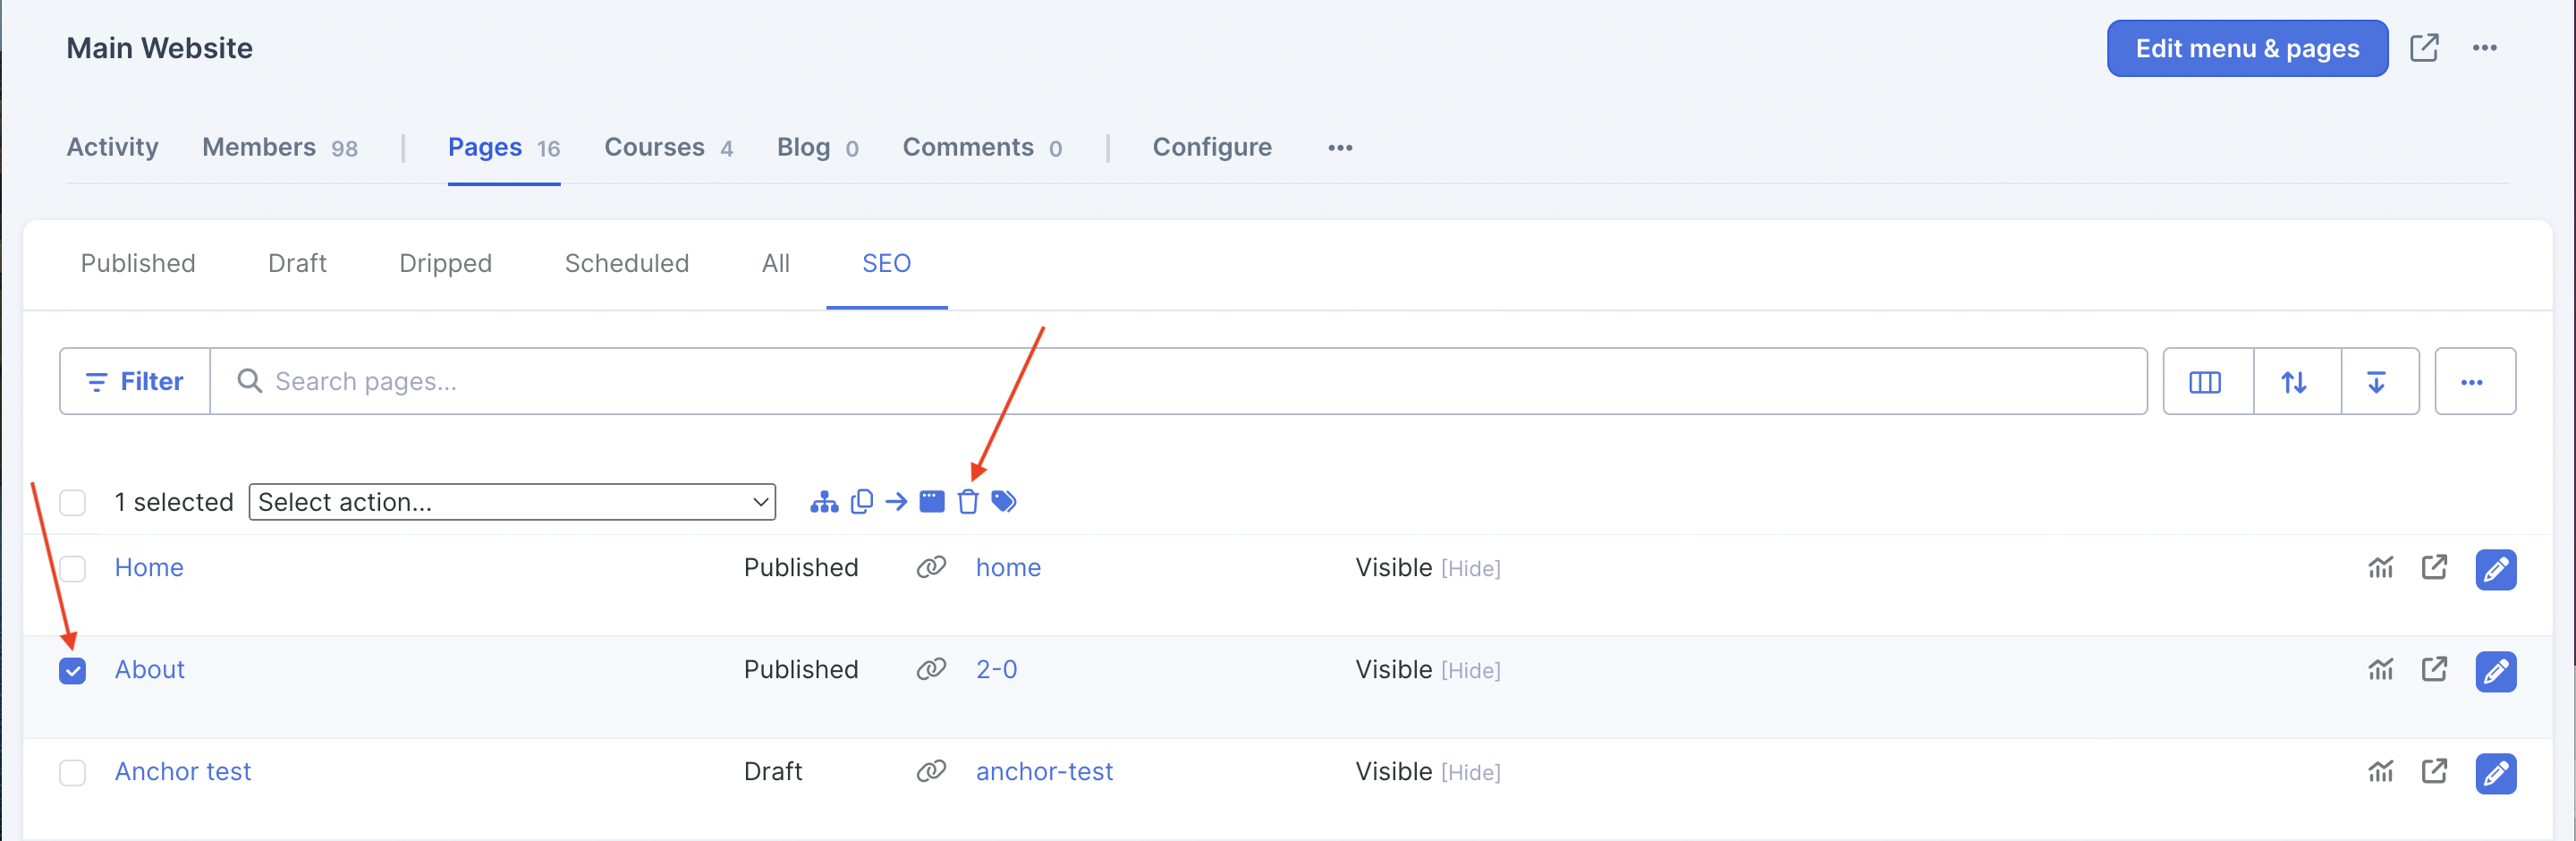
To edit multiple pages in a row, or to see which ones have already been updated, you will also find these settings on the very convenient Marketing >> Main Website >> Pages >> SEO tab:
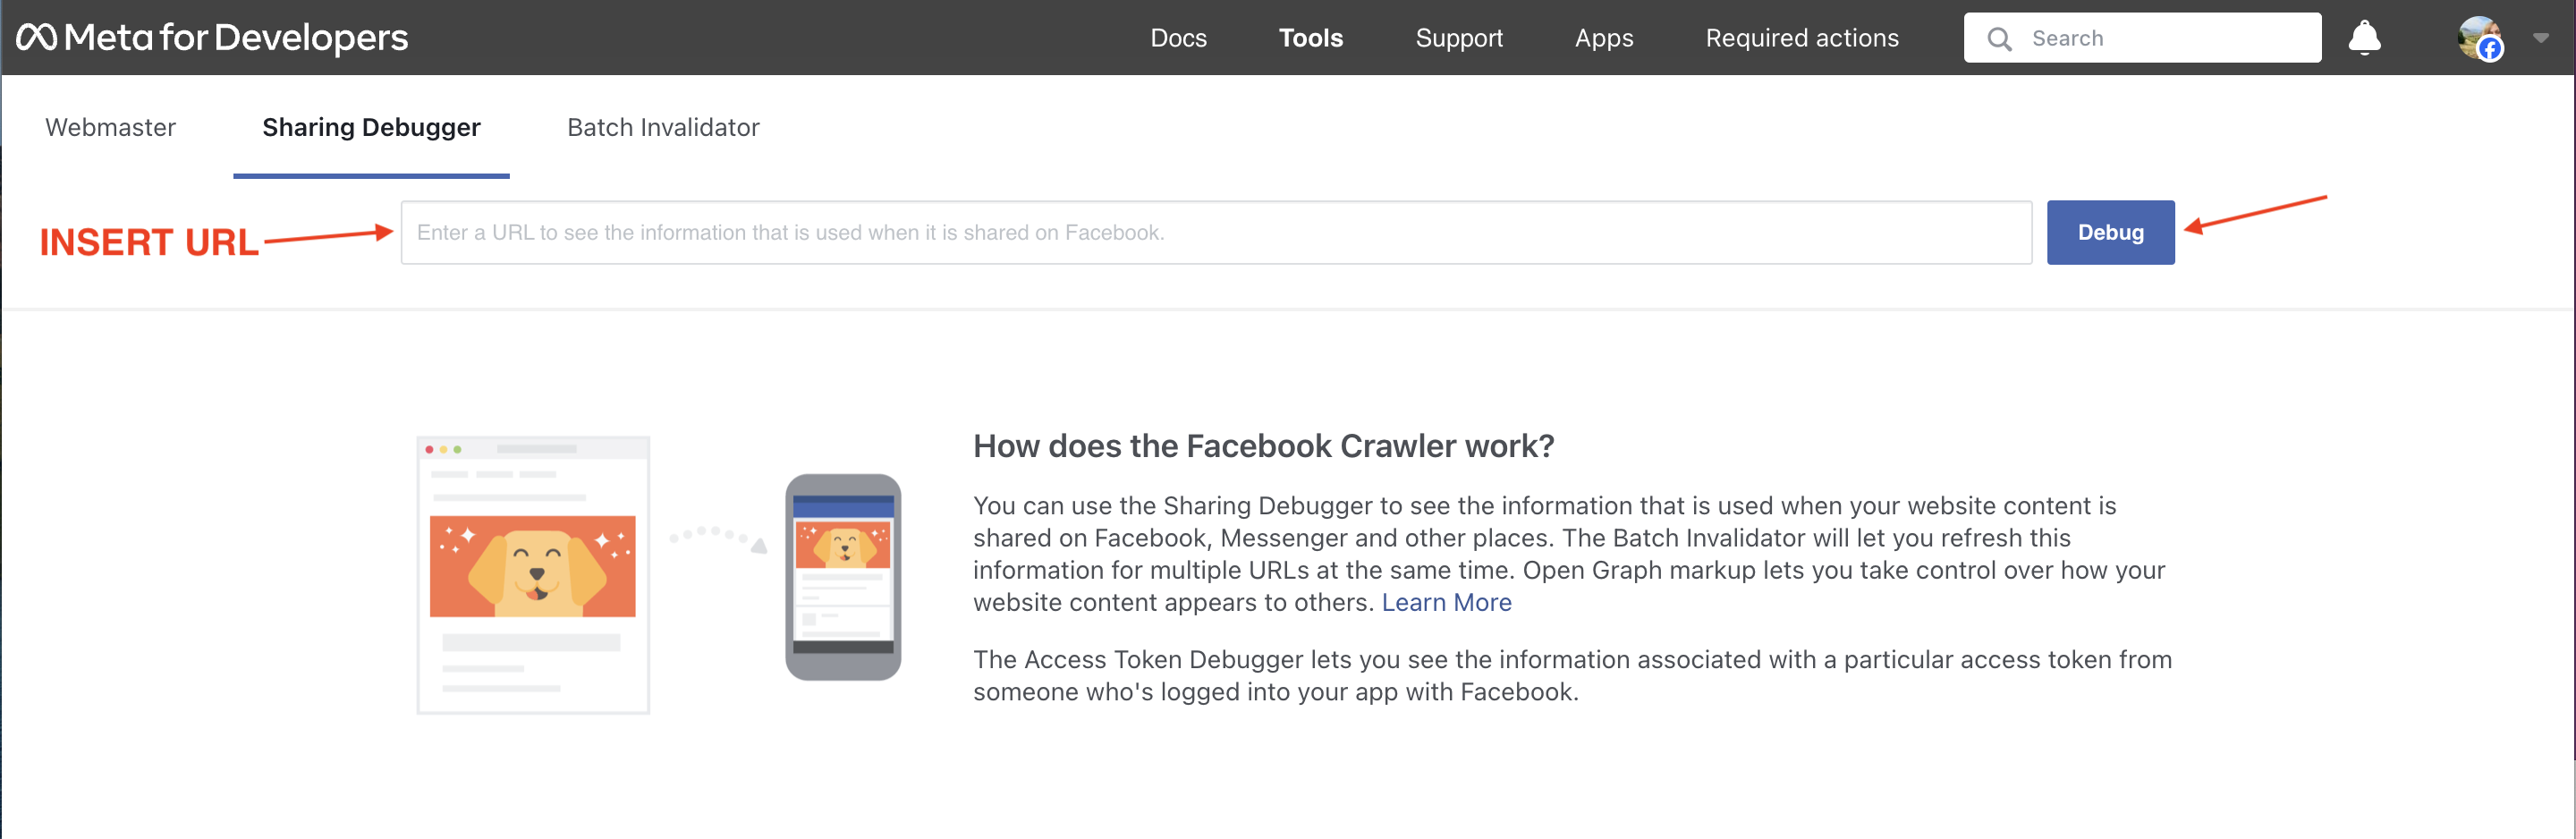
NOTE! If you add the social sharing image and it doesn't appear when you try to share the page on Facebook, run it through the Facebook Sharing Debugger tool and scrape it a few times until the image appears. See below:
Removing a Page
Select Marketing from your Simplero Dashboard.
Choose Main website from the dropdown menu.
Select the Pages tab.
Find the page you want to remove and click the blue Editor pencil icon next to the page name.
The editor interface screen will open.
Towards the bottom left corner, you will see a grey link that reads"Delete page."
Confirm your request.
Alternatively, delete the page from the Pages table >> Select action dropdown:
Website XML
To see your sitemap XML, for sending to Google, for example - just add /sitemap.xml to the end of your URL, like this: https://simplero.com/sitemap.xml