Lesson Settings
Find the Lesson settings by clicking on the lesson name ,which will take you to the Lesson Edit screen.

From this page, you can edit:
Info

-
Title: The public name of your lesson, the one that your customers will see
- Custom thumbnail (optional): If you want your lesson to have a different thumbnail than the default you set on your course settings
- Author
-
Publish state: Who can see your lessons? This is determined by the Publish state. It is important to note that your customers need to have access to the site, course, and module first. Otherwise, they will not see the lesson regardless of this setting.
- Draft - Only admins can see that the lesson exists
-
Published - Means viewable all the time to anyone who has access to the module.
- Dripped - Means that you control when someone who has access to the course and module gets access to the lesson. You will need to grant access via product, list, automation, trigger, or manually. Otherwise, they will not be able to see the contents of the lesson, even if they have access to the course and module. You can let them see a preview of some lessons by using course preview settings inside each lesson.
- Schedule - Choose the date when your lesson will be published. This will be the same date for all of your customers.
-
Date: The date will show on the lesson. Useful if you have live calls or event recordings. This is only informative. It will not change when your lesson is viewable or affect it in any way.

Content
This is the main lesson content. Choose between:
- None
- Video
- Audio
- Quiz - See how to create your quiz in this guide
- Worksheet - See how to create your worksheet in this guide
- Other
Then choose the text content for the lesson. This will show below the main content.

This is what your customers will see:

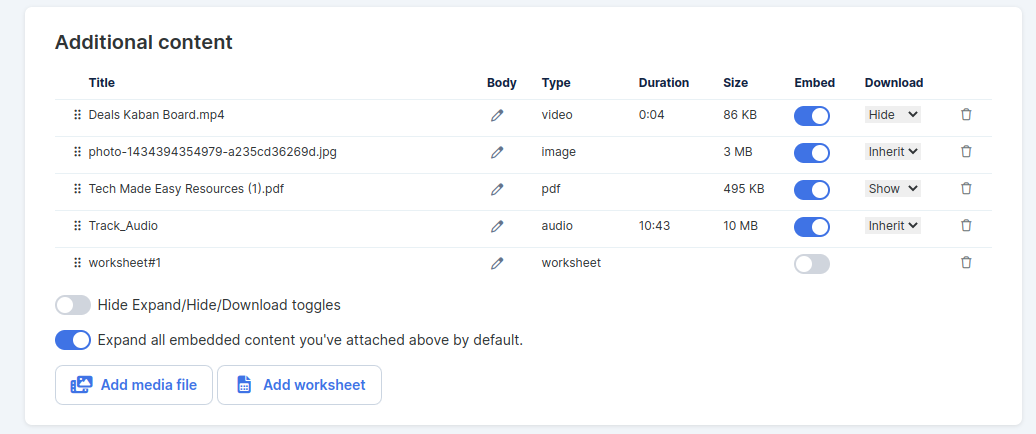
Additional Content
Sometimes, within a course, you might want to embed the contents of a PDF, video, audio, images, or any kind of media on a course page that is not the Main Lesson content. You add any media, as well as worksheets, to your lesson using this additional content section.
This is how it will show on your lesson:
-
Add your files/media from your Media Library or by drag and drop
-
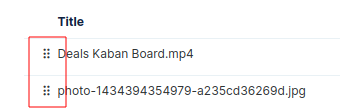
You can reorder it using the drag dots on the left.
-
Turn Embed On/Off to either be visible right there on the page (On) or as downloadable links (Off).
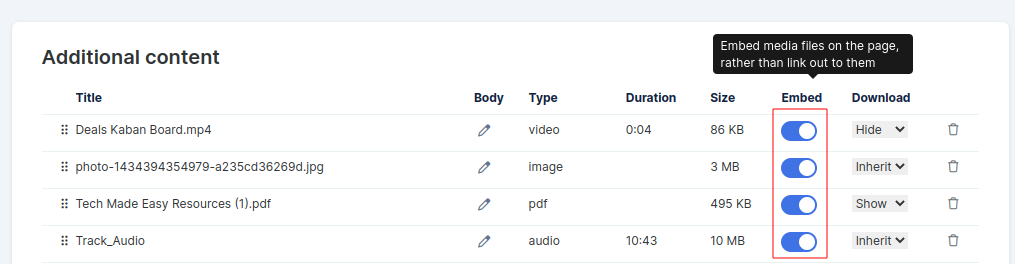
This is how it shows on the page:
-
Edit the settings of a specific file: file description, and decide to show/hide the download link.

-
Expand all embedded content you've attached above by default - will show all your content expanded when they open the lesson, so your customers don't have to

Lesson Preview
Preview settings help you determine what your customers see when they don't have access to the course or to the lesson

-
"When someone doesn't have access to this COURSE, show" - Allows you to decide what your customers see when they don't have access to the course yet. This is perfect if you want to upsell your courses. See more details on this guide. This setting only shows if the course is set to "Dripped".
- "When someone has access to this course but not this LESSON, show" - Lets you decide what they see if the lesson is set to drip and you haven't given them access to it yet. This can be useful if you want them to purchase access to that specific lesson and want them to see that it exists.
Settings
-
Track multiple completions. For example, workouts, meditations, etc. This will allow your customers to complete a lesson multiple times.

-
Always start at 1x speed (regardless of the user setting). (Only visible if you add an audio/video as the Main content)

Automations
-
Start/ stop automation based on completion of the lesson
Triggers
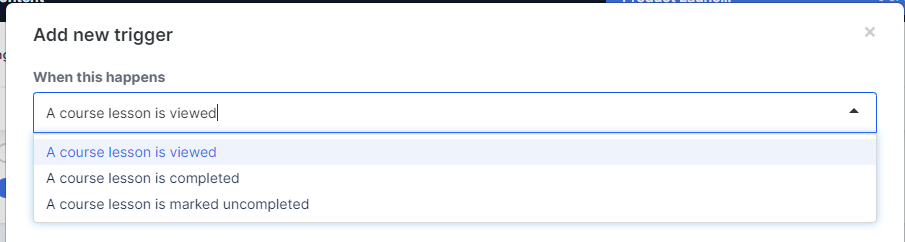
-
You can add actions based on triggers :

These are the available triggers based on Lessons:
#1139
Newark, DE 19713
United States